Brown Butter Carmelita Bars
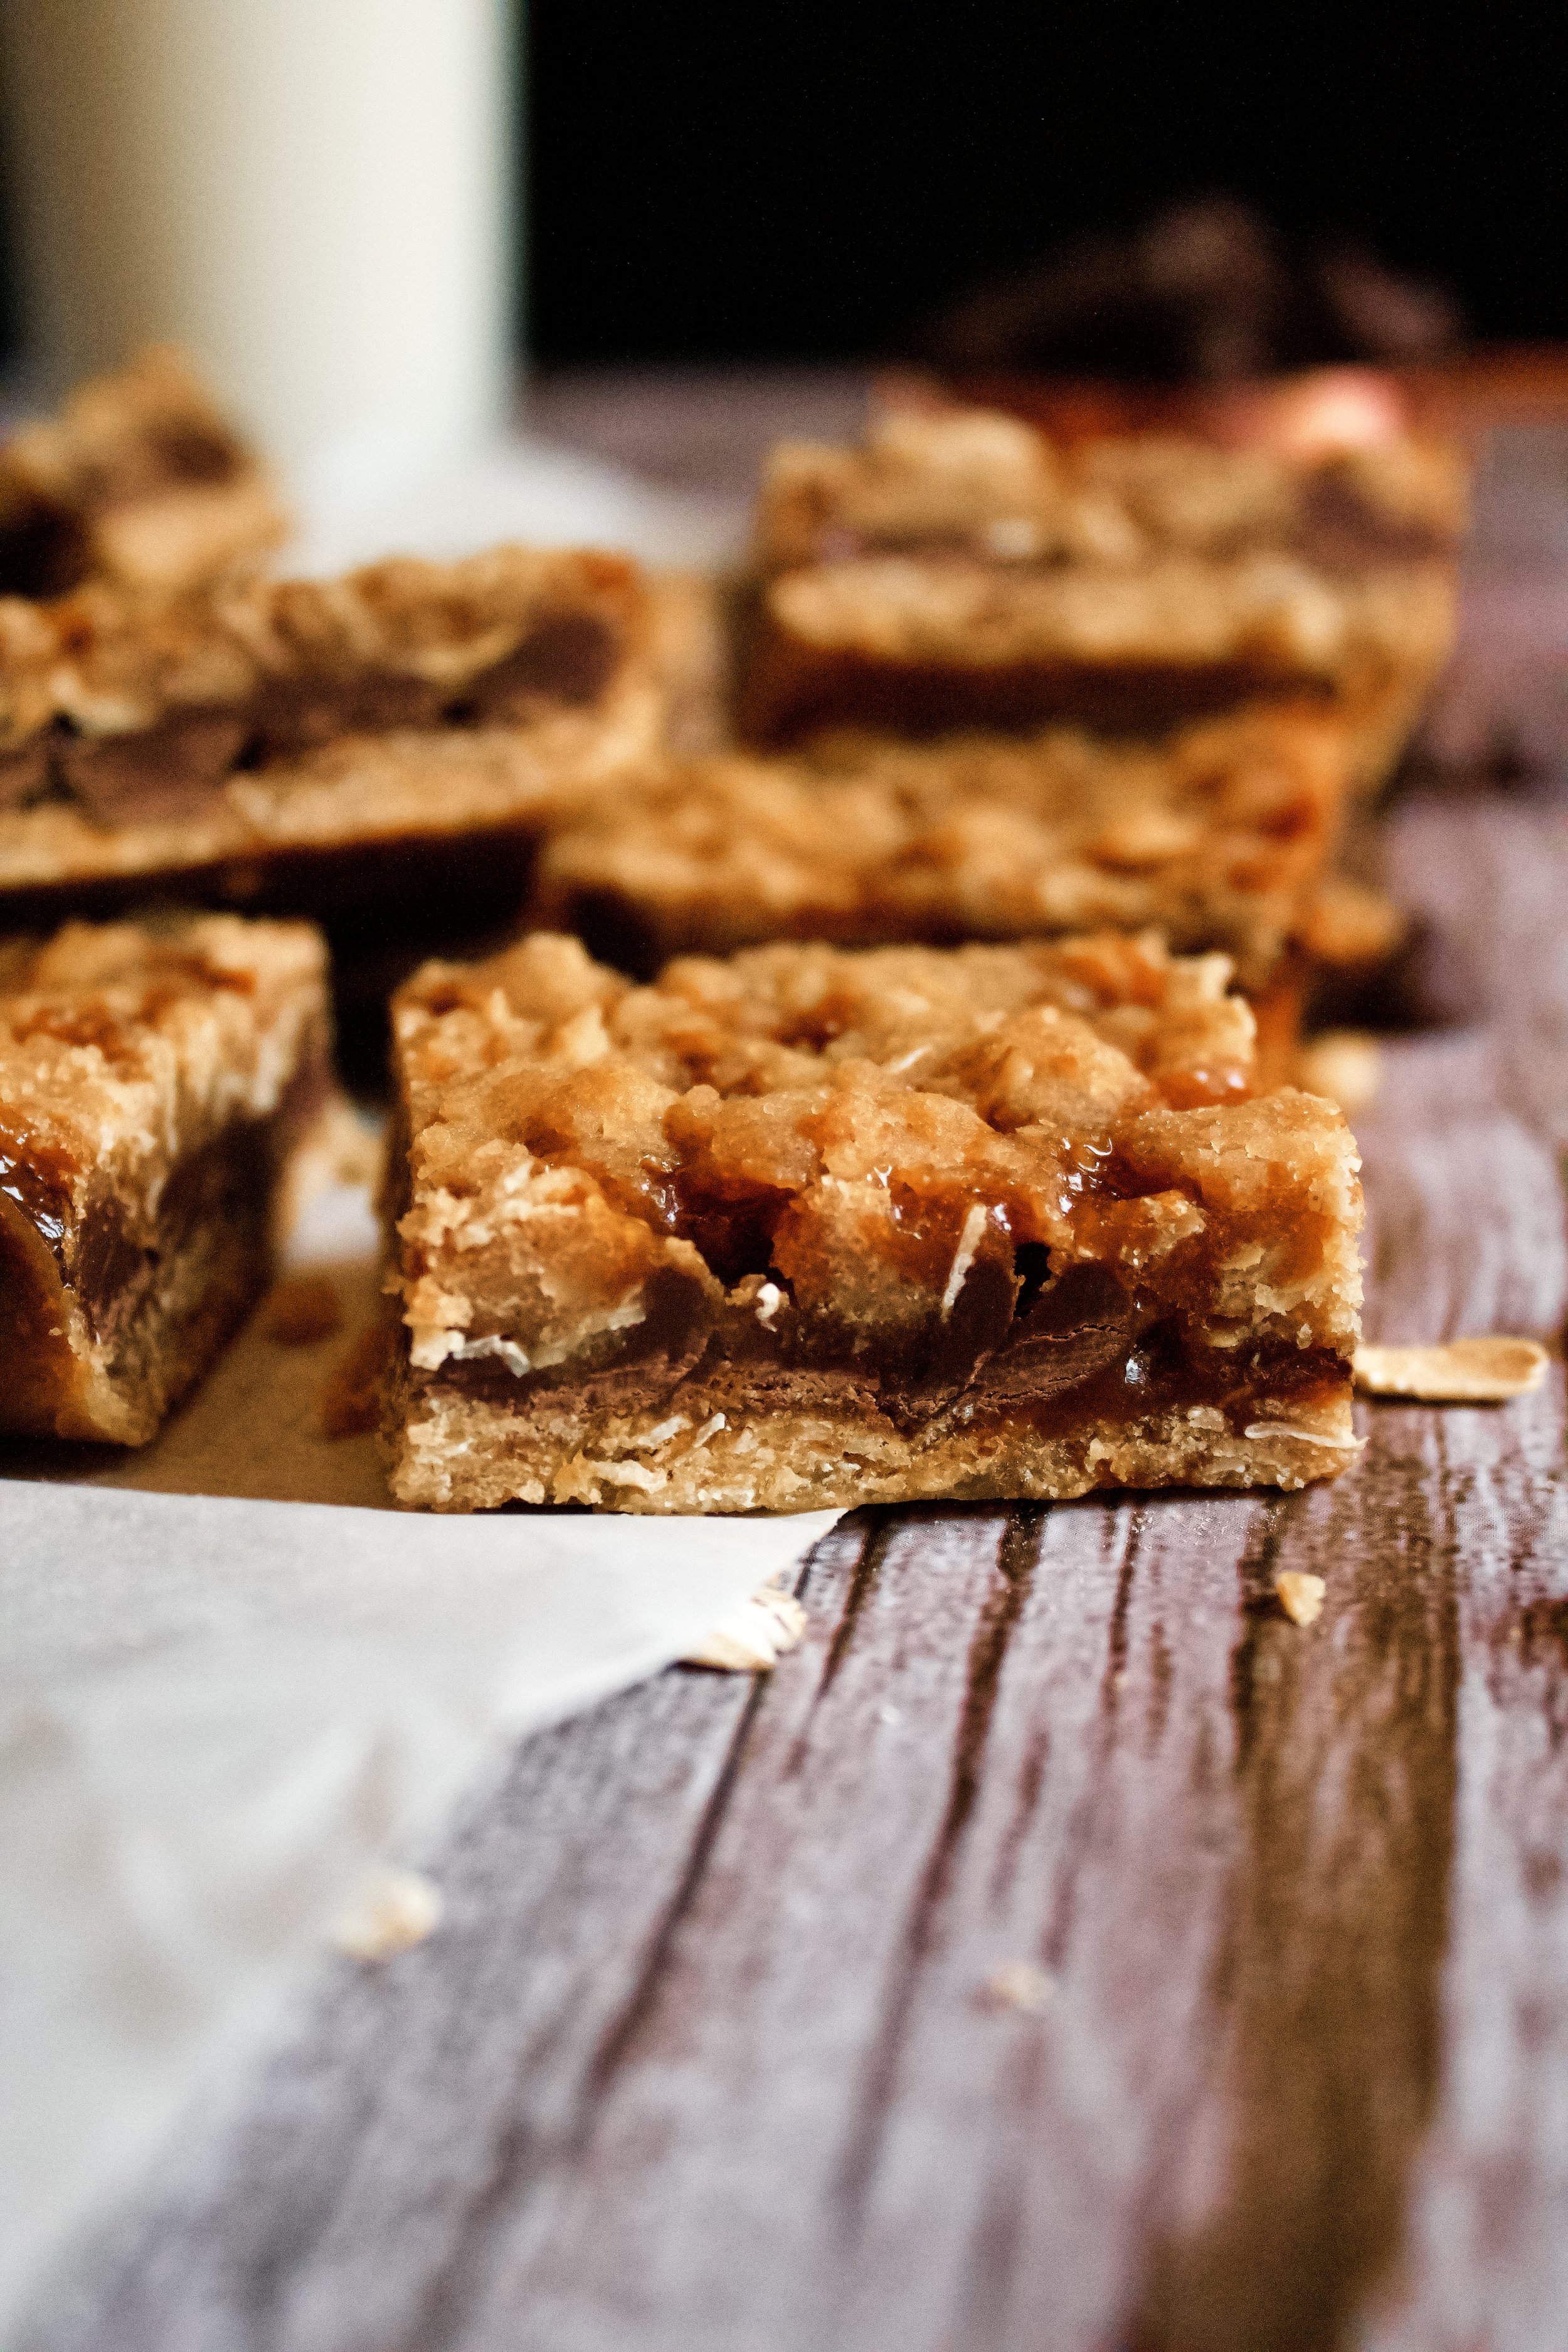
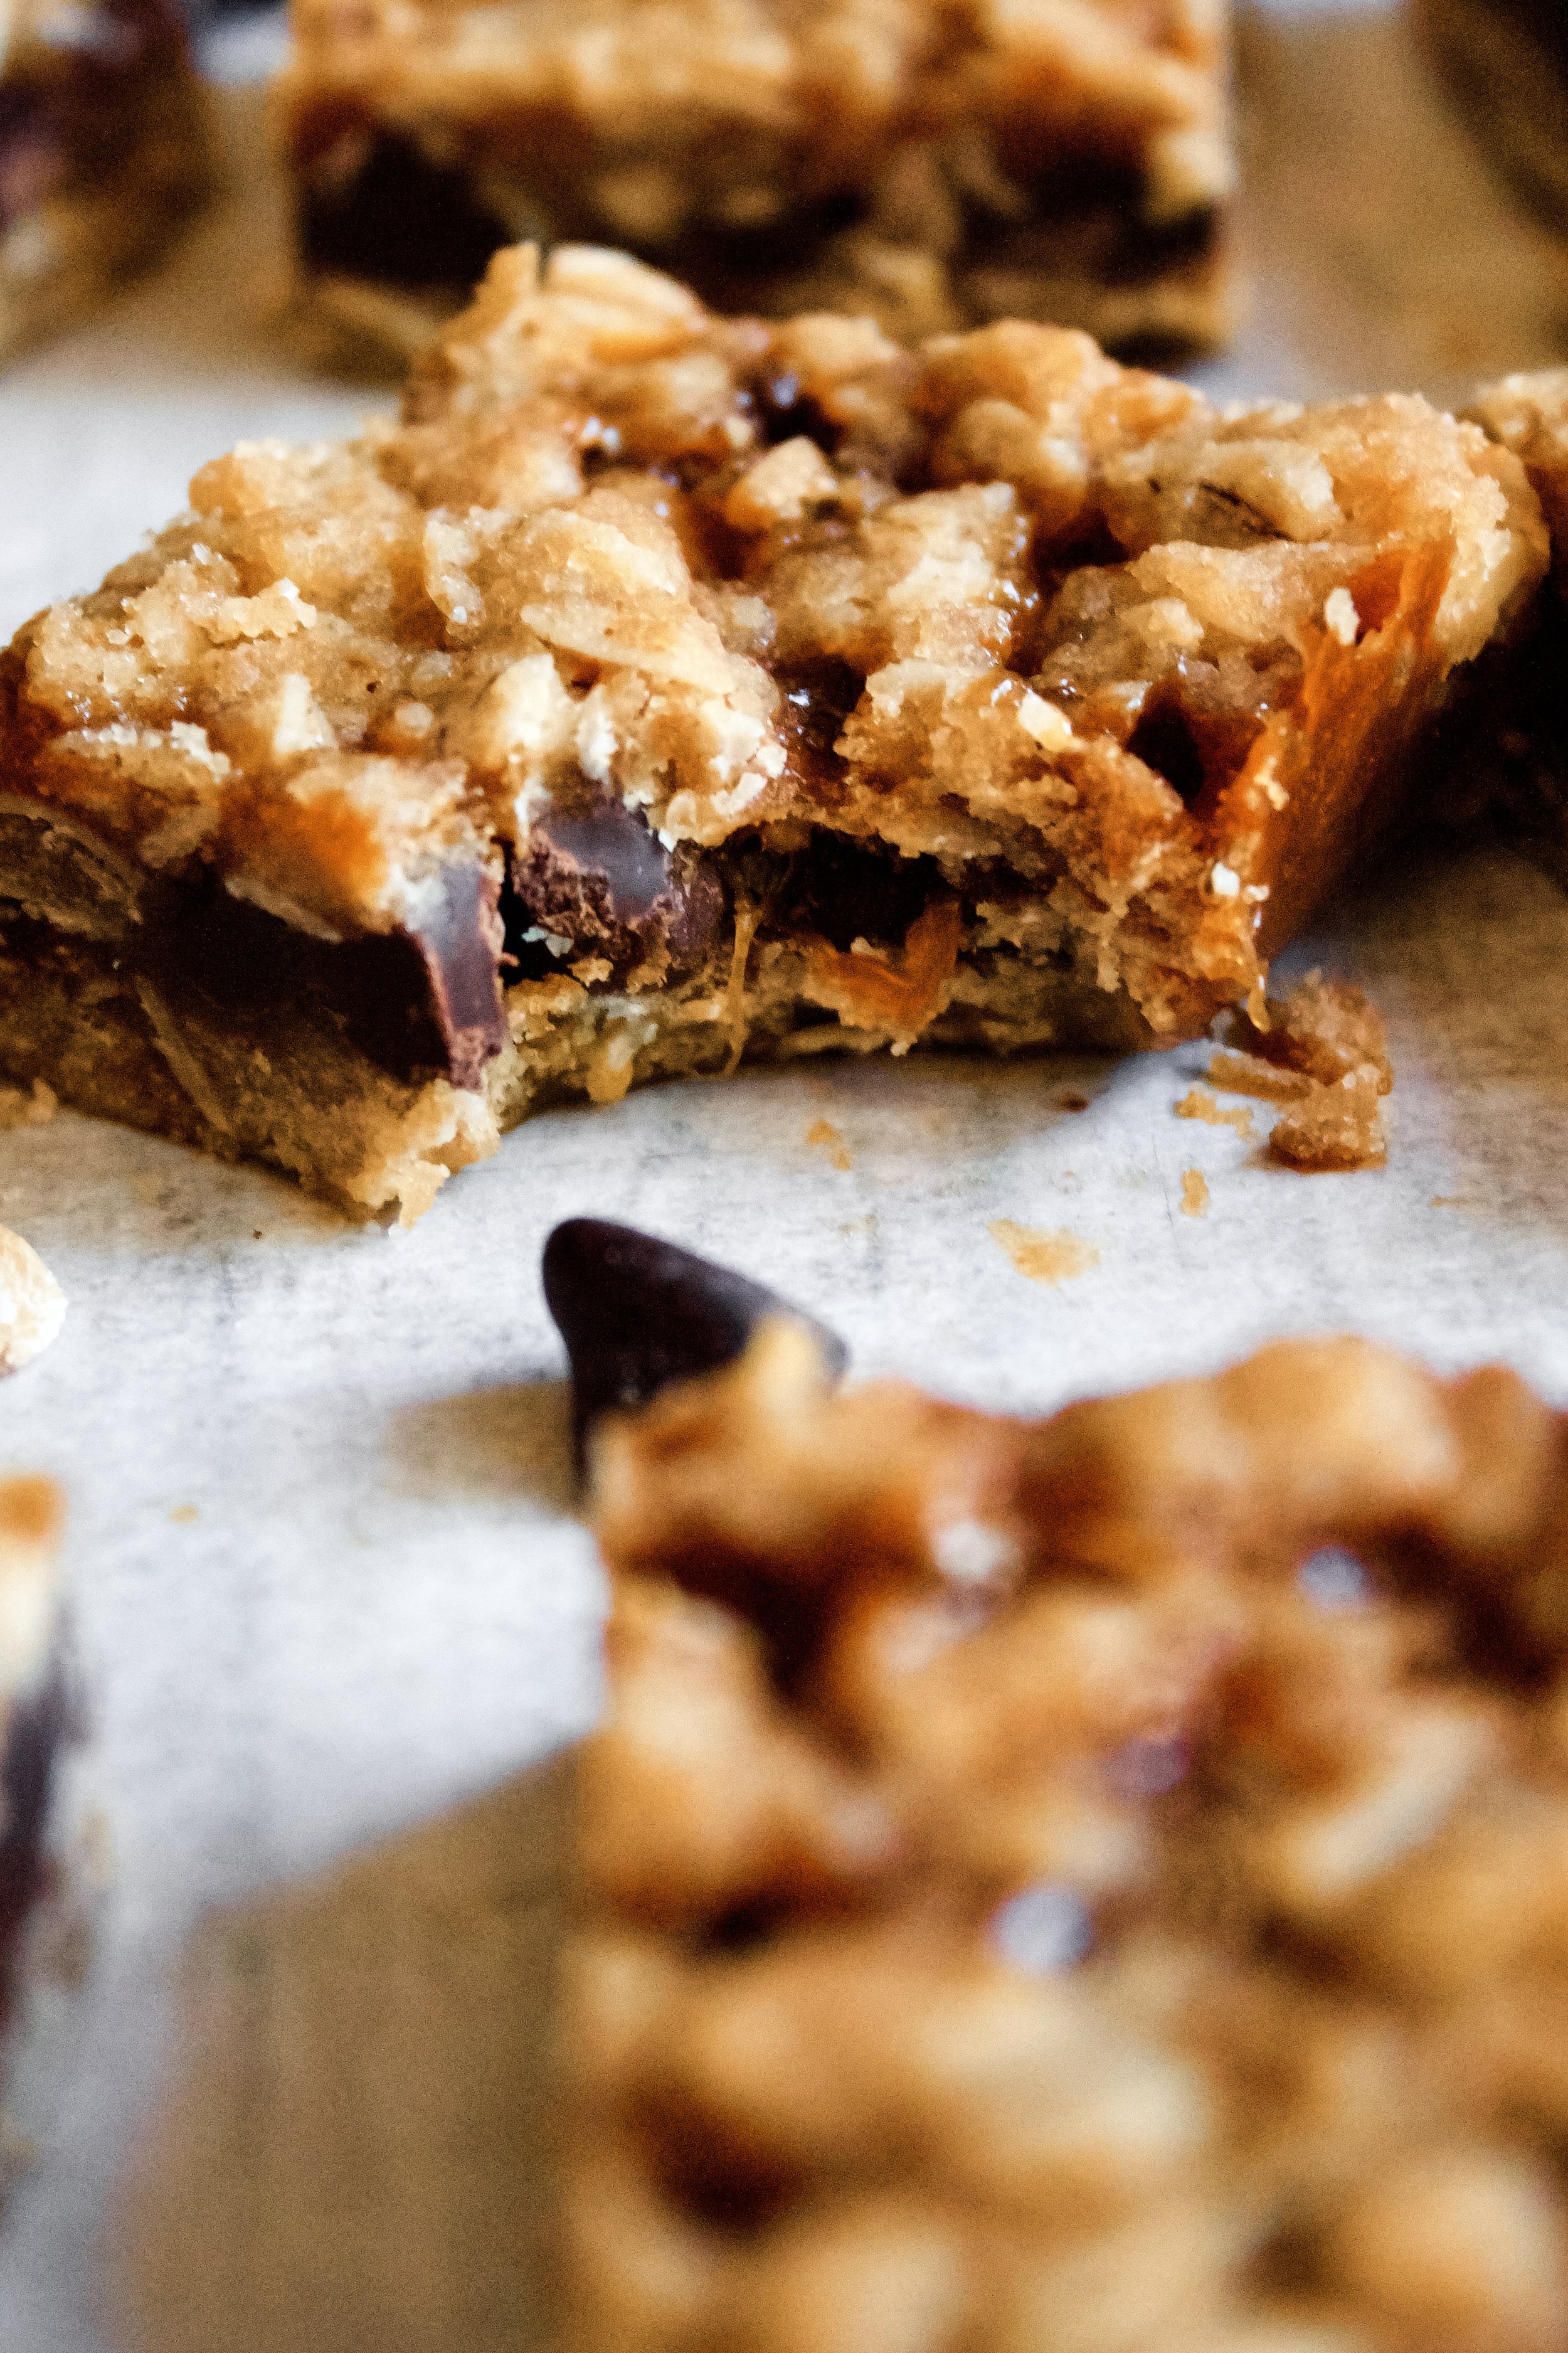
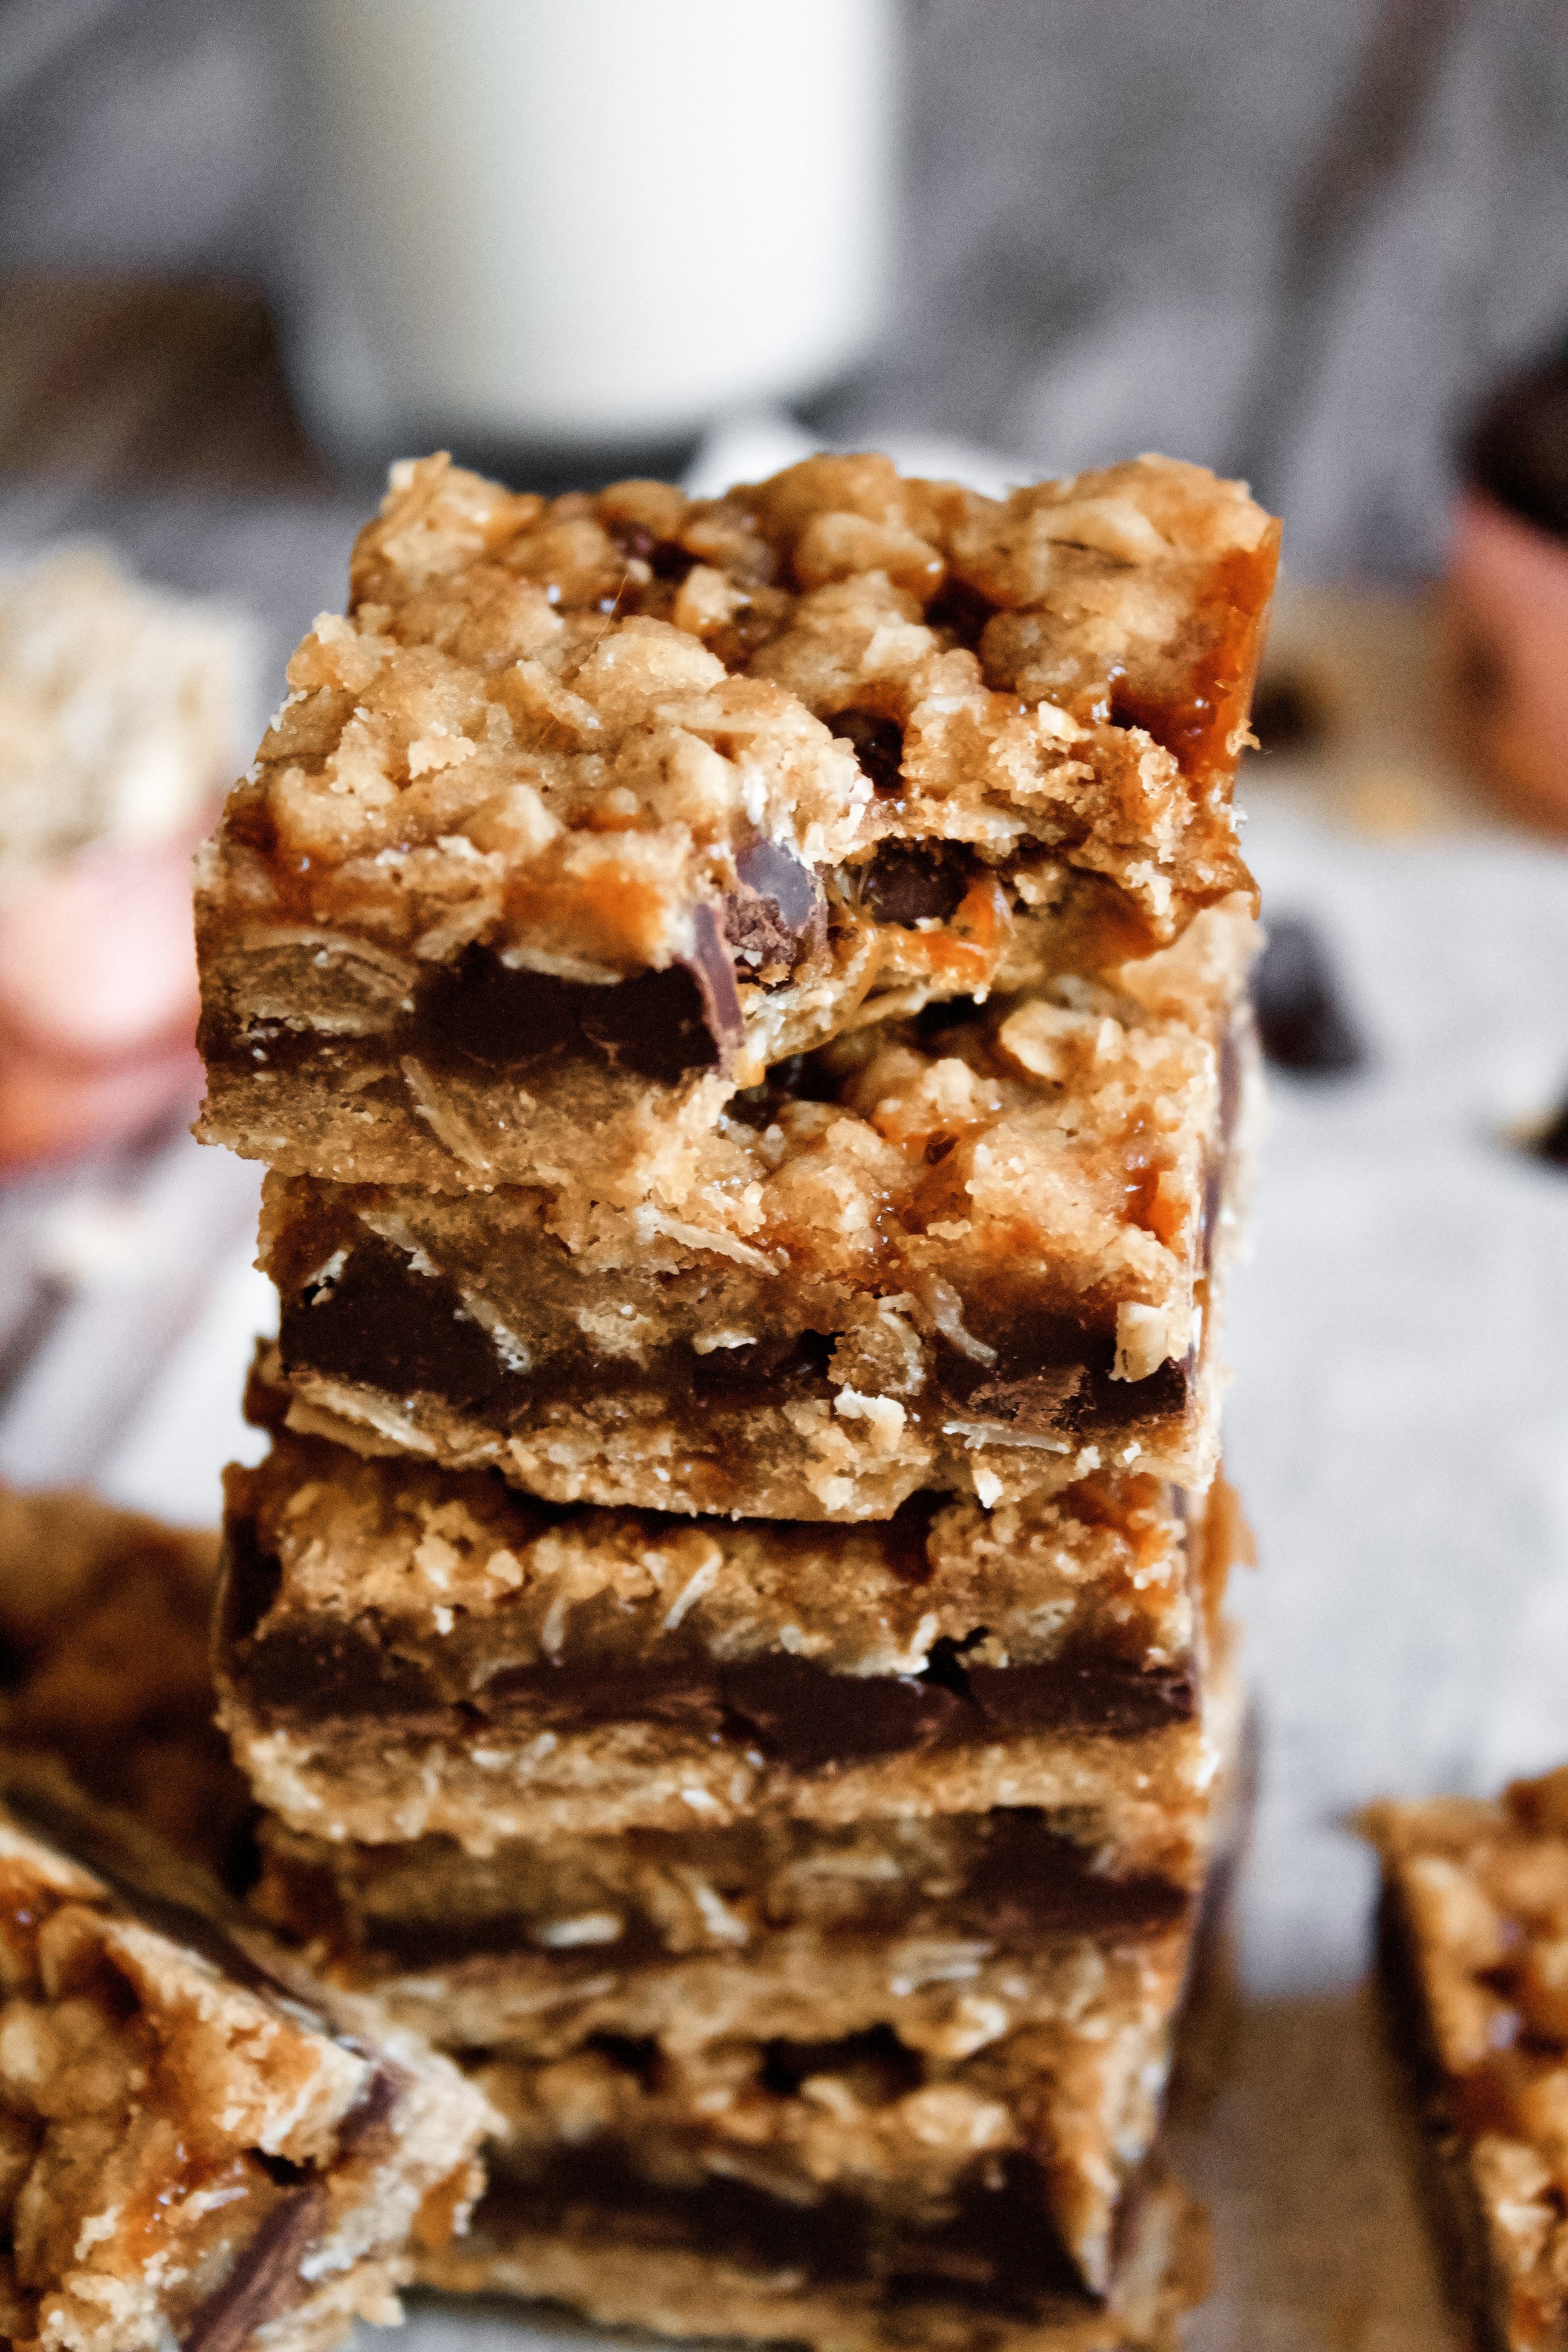
Chewy oatmeal cookie layered with chocolate and homemade caramel sauce. These bars are as simple to make as they are addictive.
This post may contain affiliate links from which, at no additional cost to you, I may earn a small commission to keep this site running. Only products I myself would or do use are recommended.
Guys, I have one week left of summer break and I can’t even. I’m so, so not ready. On top of it feeling too early, it’s actually too early! Our summer got cut short by a week this year because of calendar scheduling things. I’ll get that week back at Christmas, but man do I want it right now.
I’m impatient like that.
I also love summer too much to be willing to go back the beginning of August. Whose idea was it to start before the weather calms down??? I have exactly enough energy in this heat to go swimming and take my daughter to the park. Not lesson plan and classroom prep.
And I know, I know. I can’t complain. At least I get summers off. Just check out my paycheck and compare that to how many hours I actually work during just 38 or so weeks of school. I think I have a right to complain a little.
Anyway, brown butter carmelita bars. Which bothers me, because it should be caramelita. Carmelita is a name that means garden or orchard. That has NOTHING to do with caramel cookie bars!
As much as I am a chocolate girl through and through, there’s a special place in my heart for caramel. And when you combine caramel and chocolate, I’m in my happy place. Throw in some chewy oatmeal cookie and basically I don’t see why I should eat anything else for the rest of my life.
That’s these bars. A chewy brown butter oatmeal cookie dough filled with chocolate chips and salted caramel sauce. It’s just…perfection.
Why this recipe works
Using brown butter and brown sugar in the eggless cookie dough makes for the chewiest of bars. Plus, it packs so, so much flavor. As well, using old-fashioned oats instead of instant (as some oatmeal cookie recipes call for) means you get a great oatmeal texture in your finished cookie. (Plus, it has more fiber, so…health.) I also love using homemade caramel sauce, as it’s easy to make, leaves you with a little extra, and has such a deeper flavor. I personally like using a salted caramel sauce, but regular is fine, too. The only difference is a little extra sea salt. Something about that homemade salted caramel sauce brings a lovely chew that complements the chocolate and chewy cookie so perfectly. Not too sweet, but definitely richly caramel.
Key ingredients
Flour. Be sure to spoon then level your flour so you don’t pack it in.
Rolled oats. Use old-fashioned, rolled oats, not steel cut or quick cook (those will disintegrate).
Baking powder. This gives just a subtle rise to the dough.
Brown sugar. This goes so well with the browned butter and caramel sauce and adds such a depth of flavor.
Browned butter. You’ll brown it just before using—no need to let it cool until solidified.
Vanilla. A must! Use pure extract, not imitation.
Chocolate chips. I like semisweet, but your favorite kind is fine. You can also sub chopped baking chocolate.
Salted caramel sauce. I like that this one is harder to burn and has sea salt. You can use any caramel sauce that’s thick when cooled/room temperature, like this quicker one I have. See note below for more substitution options.
How to make carmelita bars
1. Brown the butter. This can be done right when you start, since you’ll use it while it’s warm.
2. Whisk together flour, oats, baking powder, and brown sugar. Be sure to thoroughly mix any clumps of brown sugar so it doesn’t burn during baking.
3. Stir in browned butter and vanilla. It’ll be crumbly at this point.
4. Press about 2/3 into a lined pan. I usually do about 1/2 to 2/3 of the dough in the bottom, so the top has a good balance, too. Be sure there are no visible holes and that the dough gets all the way to the edge of the pan.
5. Bake for 10 minutes. Heat the caramel sauce up to a pourable consistency while the bottom crust bakes.
6. Immediately sprinkle chocolate chips then pour on caramel sauce. You want the chocolate to melt into the hot crust, so be prepared to do this right away.
7. Crumble remaining dough on top. You don’t have to fully cover the caramel, but that’s absolutely an option. I prefer to just sprinkle it casually.
8. Bake 15-20 minutes more. Since the dough is already golden, watch for darkening along the edges and some bubbling caramel visible throughout.
9. Cool then serve. This is necessary so they retain their shape and so the caramel cools enough not to run everywhere.
Enjoy!
Tips and FAQ’s for this recipe
Can I sub the caramel sauce?
Yes! Most recipes call for a bag of soft Kraft caramels (either the wrapped ones or the bits) melted with about 1/3 cup heavy cream. You could do that, but I prefer something homemade with no preservatives. If you don’t want to to through the hassle of my old fashioned caramel sauce, you can use this quicker one (just heat the sugar slowly so it doesn’t burn). Or use your favorite recipe or even a store bought jarred sauce—as long as it’s solid at room temperature. Don’t use one that’s a pourable consistency without being heated up—you want a more solid sauce for these bars. Otherwise, you’ll end up with what I’ve affectionately termed my Caramel Cookie “Oopsie” Bars. Because, oops, sundae caramel sauce is not suitable for cookie bars.
Do I have to brown the butter?
No, but you should. You can simply melt it, but browning it creates an even chewier bar that’s richer in flavor. It’s actually fairly easy to brown your butter. If it’s your first time, feel free to remove it from the stove as it foams so you can keep checking the bottom (that’s where the browning action happens). Then replace it on the stove until you see streaks of amber butter coming up and being stirred into the foam. Another helpful tip is to use a much larger pan than you think you’ll need so the foam dissipates quicker and you have more visual control over the process.
Can I use any chocolate?
Yes! I like my Kirkland Signature semisweet chocolate chips. But you can use milk or dark or extra dark chips. You can also chopped baking chocolate. In the end, the chocolate melts in the oven and creates a lovely layer in the bars, so the exact shape or type isn’t very important.
How do I keep my caramel from burning?
The key is to not let it get super dark early on. If it starts getting really dark before you’ve added more sugar, turn the heat down slightly. It helps to have a good handle on your stove and how hot it cooks, which is why I usually cook mine a bit under medium, since it tends to cook a little hotter.
Can I split up the work?
Yes! I made the caramel a few days ahead so I could use half in a mini batch of Samoa Cookie Bars. The caramel will need to be reheated before pouring over the chocolate. You can do this in the microwave at half power in 15 second intervals. Or, you can immerse it in a pan of gently simmering water that is level with the caramel (not higher—you don’t want water getting into your jar).
Use European butter!
Personally, I think it makes a huge difference. It’s creamier and has a very different consistency than sweet cream butter. Since you only have a few ingredients here, you want to make sure each one is of the highest quality. But don’t worry—you can often find it at places like Costco on sale!
My tools
Here are my must-have tools I use for making these bars. Affiliate links provided.
All-rubber spatula (this makes stirring easier so the dough doesn’t get all over a wooden handle)
Heavy enameled saucepan (for the caramel)
Brown Butter Carmelita Bars
- prep time: 30-35 minutes (includes making homemade caramel)
- bake time: 25-30 minutes
- total time: 1 hour, 5 minutes
servings: 12-16
Ingredients:
- ¾ cup (170g) salted butter*
- 1 cup (136g) all purpose flour
- 1 cup (80g) old-fashioned rolled oats
- ½ teaspoon (2g) baking powder
- ¾ cup (150g) packed brown sugar
- 1 tablespoon (13g) pure vanilla extract
- about ⅔ to ¾ batch of vanilla salted caramel sauce**
- 1 ½ cups (255g) semisweet chocolate chips (or chopped baking chocolate)
Instructions:
- If using homemade caramel sauce, be sure to make it ahead of time or at least before starting on the rest of the bars. If making it the same day, just let it cool to where it’s still pourable but not too hot.
- Preheat the oven to 350F/175C and line an 8x8 square pan with parchment paper by cutting or folding a strip to be the exact width of the pan and hang over two sides. You can also use foil, but parchment is great for absorbing any excess grease.
- Brown the butter. In a medium saucepan (deeper than you think you need), heat the butter over medium heat, stirring constantly, until it bubbles then foams and begins to brown. This will take about 8-10 minutes. Watch carefully–it’s typically done while it’s foamy and you can’t actually see the bottom, so watch for streaks of golden butter coming up from the bottom and being stirred into the foam. It will also have a nutty aroma when it’s browned. Remove from heat and set aside. In a medium mixing bowl, whisk the flour, oats, baking powder, and brown sugar. Be sure to mix until no sugar lumps remain, as those can melt then burn during baking.
- Stir in browned butter and vanilla until fully combined. It will be crumbly.
- Sprinkle ½ to ⅔ of the dough evenly into the prepared pan. (I used ⅔ and found it to be perfect, because I wanted a fairly full top crust with some bits of filling bubbling through. As long as you have at least half the dough on the bottom crust, the exact ratio is up to your preference.) Press gently to seal edges and ensure no cracks on the bottom that caramel could seep through. Don’t press too hard or it will be tough after baking.
- Bake the bottom layer for just 10 minutes.
- While the bottom layer bakes, heat up your caramel sauce until a pourable consistency. You can do this in the microwave at half power in 15 second increments, in a double boiler, or in a cup or pan of very warm water (not fully submerged–you don’t want water getting into the jar). Don’t heat it so hot that you can’t touch it–just get it to where you can easily pour it over the bars.
- Once the bottom dough has baked for 10 minutes, remove from oven and immediately sprinkle the chocolate evenly over the crust.
- Carefully pour the caramel sauce over the chocolate. The recipe makes about 2 cups, but that’s about ½ cup or so more than you probably need, so don’t use all of it. The chocolate should ideally be covered in caramel but not drowning. Do not stir or spread the caramel–try to pour as evenly and slowly as you can. Sprinkle remaining oatmeal dough evenly over the caramel sauce.
- Return the pan to the oven and bake 15-20 minutes more, until the edges begin to brown (you might also see some caramel bubbling along the sides, but the dough may be covering this lovely action).
- Cool in the pan at least 1 hour, so the bars are set and the caramel is not scalding. Remove by pulling up the edges of the parchment and cut into desired number of bars.
Enjoy!
Store leftovers in an airtight container on the counter 3-4 days or the fridge up to 1 week.
*European butter is ideal, as it is creamier and will brown better. If using unsalted butter, add ⅛ teaspoon sea salt or ¼ teaspoon table salt to the flour mixture.
**You can sub this quicker caramel sauce that doesn’t require a candy thermometer but does require a watchful eye. It makes a little less, so you’d use most if not all of the recipe. Or, you can sub your favorite recipe, a thicker store bought sauce that is solid at room temperature, or one bag of soft Kraft caramels or bits melted with ⅓ cup heavy cream.


