
Fresh Mint Brownies
Perfectly fudgy brownies with a summery hint of fresh mint to balance the rich chocolate flavor. These have that perfect texture: chewy with that thin crackle on top and packed full of chocolate chips. And since these come together in about 10 minutes, even boxed brownie enthusiasts love this easy, homemade recipe!
This post may contain affiliate links from which, at no additional cost to you, I may earn a small commission to keep this site running. Only products I myself would or do use are recommended.

Guys, I have a problem. A problem with plants. And not the kind you’d expect—someone who can’t stop buying plants to the point where they’re living their own version of Fern Gully. Then they run to social media to brag-complain about the herbs and vegetables that are so fertile they need help finding recipes for the excess of vegetation that effortlessly sprouted around them.

No. I have the other plant problem. The one where I have this vision of myself as a homegrown home baker, lilting past my thriving succulents to my adorable window with lush herbs and maybe some green onion trimmings in a mason jar, sprouting even more green onions for next week’s paella. There, I’ll trim a sprig of mint for my herbal tea as I sip it in one of countless well-lit nooks and ponder how wonderful life is with nothing to do but sit and look Instagram-able.

Turns out I’m not a walking light & airy IG feed. I live in a house with exactly four windows (literally) that only get the light that wakes my toddler up at 5am—not the kind that illuminates all of my hipster dreams. Certainly not the kind to keep herbs or succulents alive. And even when I plant them outside, they only do well when I forget about them. The second I think, “Oh, I should go harvest my overgrown basil,” it starts wilting and one whole half of the plant turns brown overnight (what the heck???).
Sigh.

So my husband generally takes care of the plants. We do not coparent our plants—he definitely has to ask me to babysit them if he can’t water them, then gently remind me seven times before it maybe gets done.

Soooo…last night I realized my mint plant was taking a nosedive to death because I hadn’t pruned it in…ever. Luckily, I CAN bake. So I pruned the whole thing like a poor stray dog, cutting all but the new buds. Of the trimmings, I had just barely enough to make these brownies. Because then I won’t feel like I wasted all that mint if I can make ONE thing from a once wildly overgrown bush. Right?

And so fresh mint brownies were born. Not sure if they’re a thing, but they are now. They’re not pepperminty, just minty. My favorite kind. Plus they’re so fudgy with the perfect shiny top that my husband—the plant savior and boxed brownie purist—asked if they were from a box.
I’m pretty sure that’s the top compliment any brownie baker can hope for.

How to make fresh mint brownies
Wash and dry the mint. You want clean mint to avoid and weird tastes.
Sift and whisk the flour, cocoa, baking powder, and salt.
Pulse the mint with the sugar until finely ground. This helps to both release the mint’s oils and also get the sugar fine enough that it’ll dissolve when whisked.
Melt the butter.
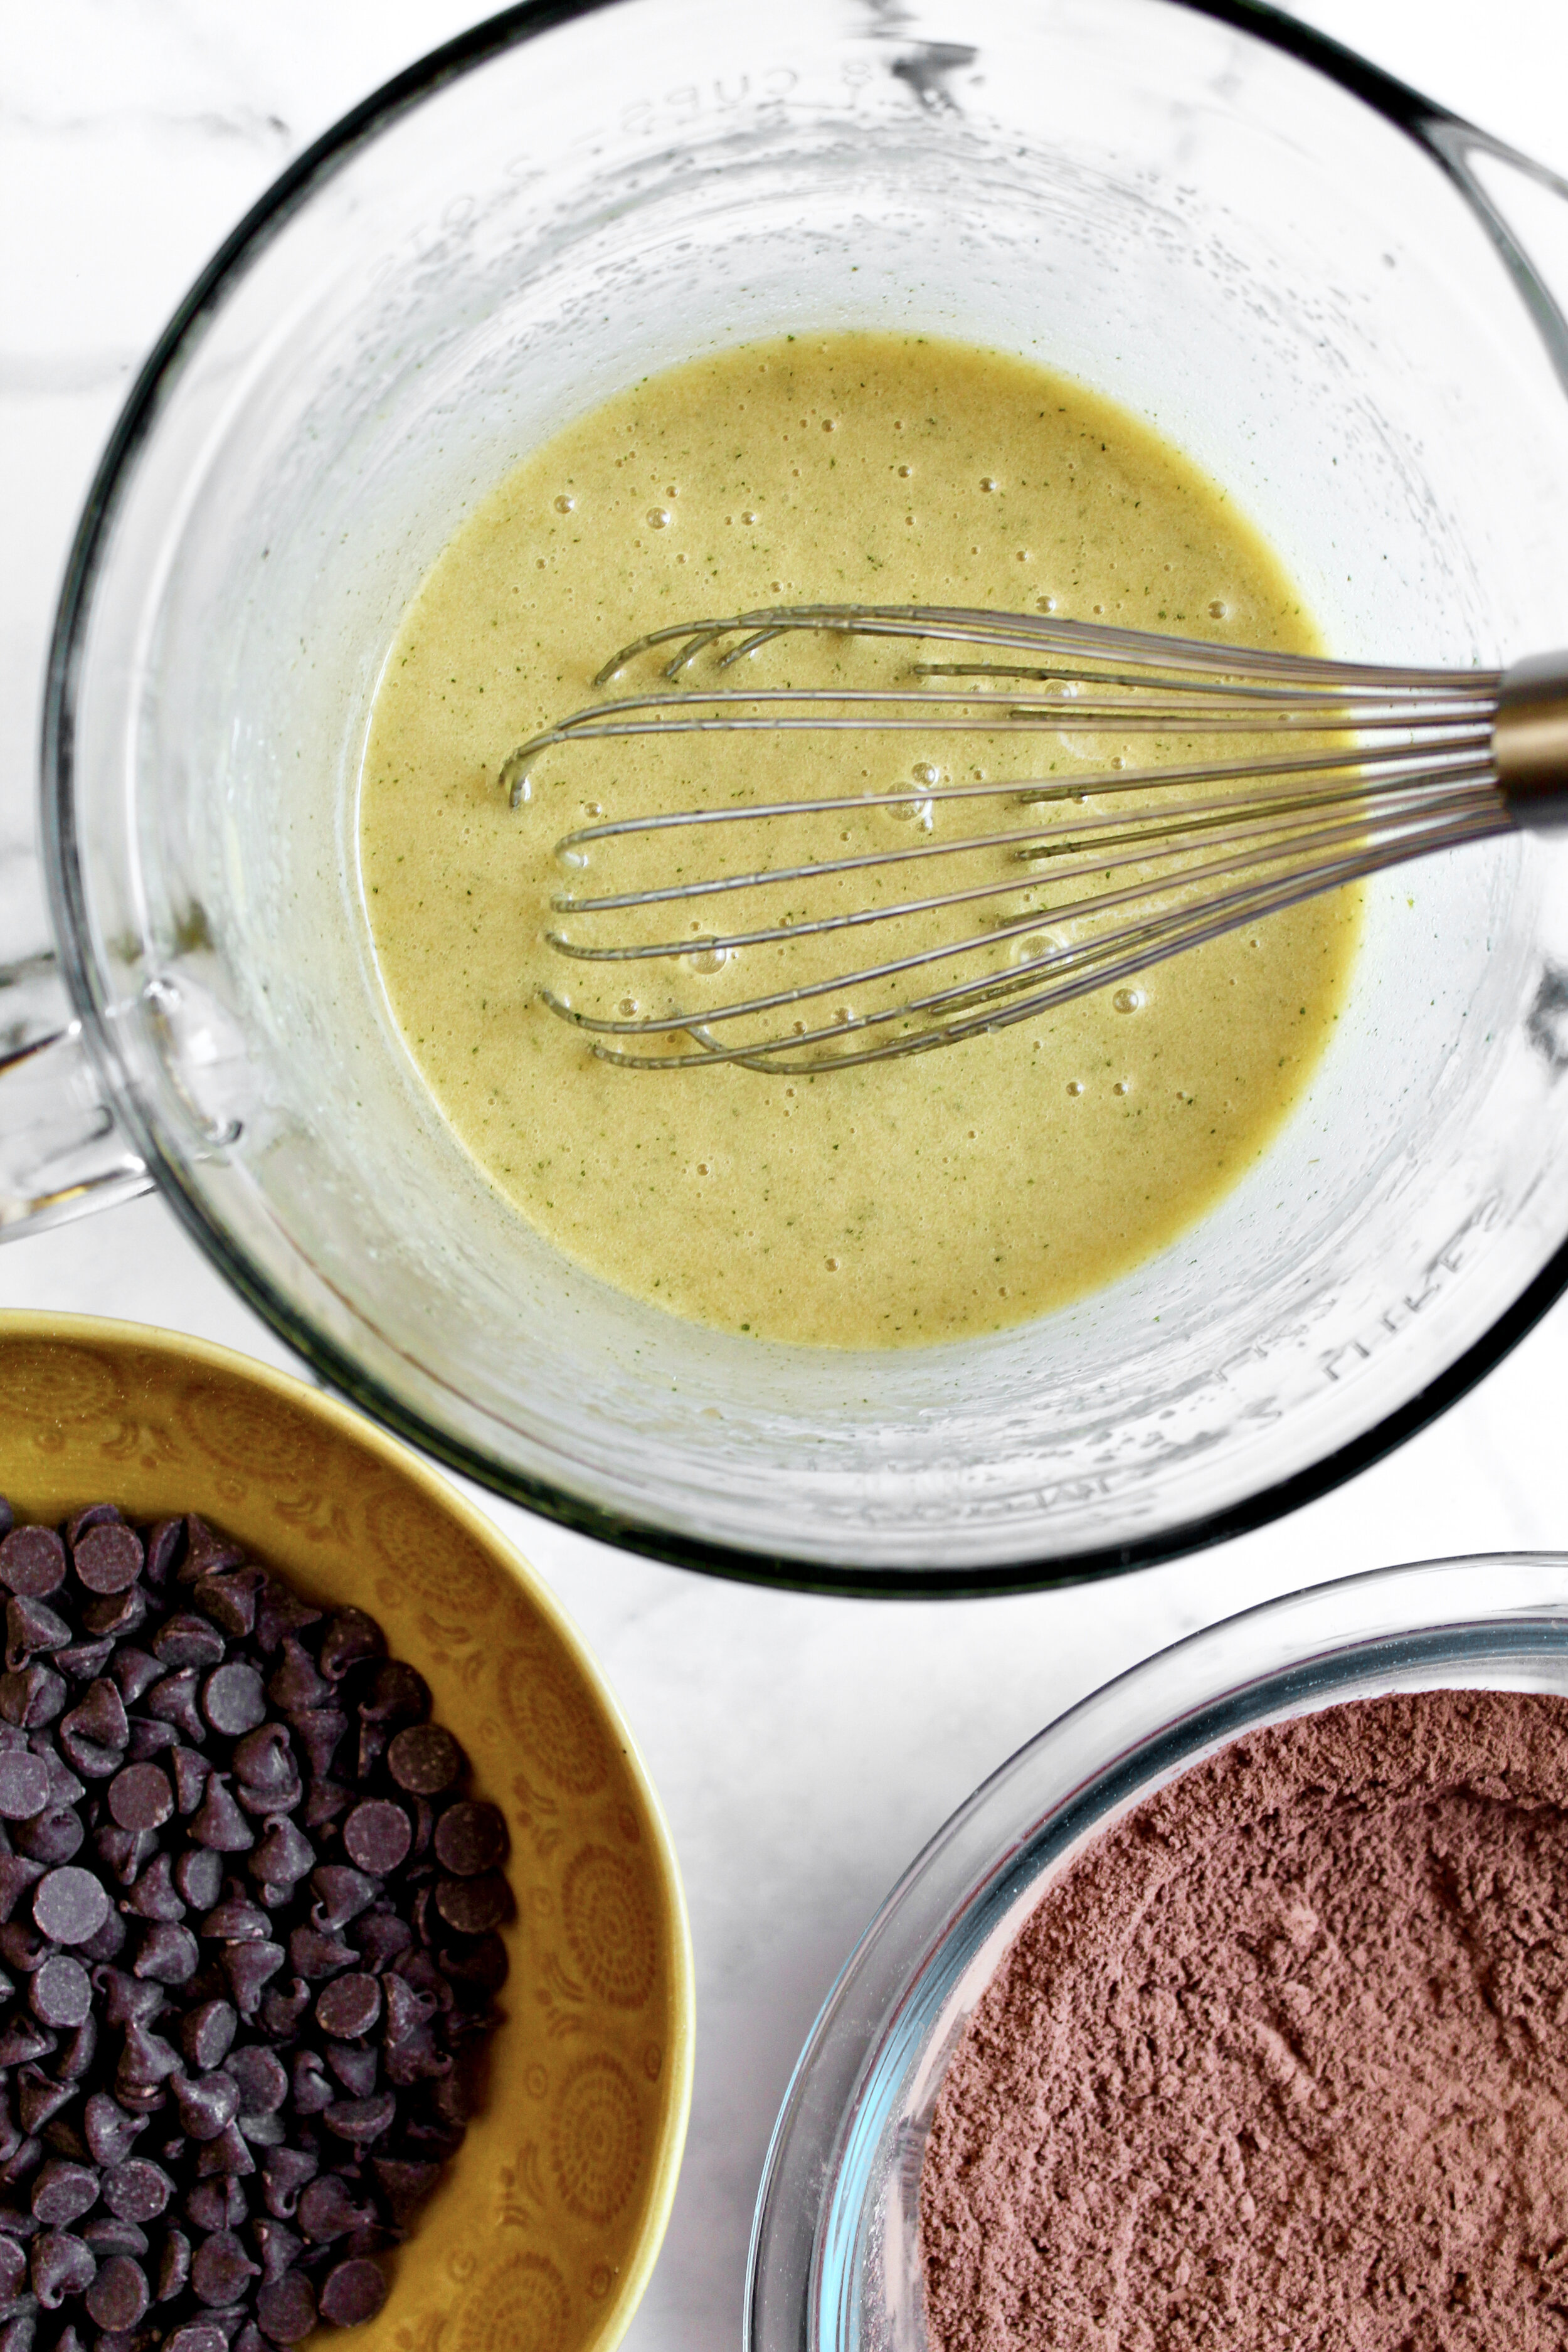
Whisk still-hot butter into the minty sugar. Whisk for a good minute or so to help it begin to dissolve.
Add the eggs, one at a time. Whisk about a minute after each egg. Add the vanilla and whisk well again.
Gently fold in dry ingredients. Leave some streaks of flour.
Fold in the chocolate chips. This step should take care of the remaining streaks of cocoa and flour.
Pour into a greased pan and bake. Brownies are done when the top is no longer shiny and the middle is slightly jiggly but not liquidy. You can also use a toothpick, but most people like it when about half of the toothpick comes out with some doughy (not raw) batter on it.
Let cool then serve (with ice cream, if possible!).


Tips and notes for this recipe
Sift your dry ingredients
Usually, you don’t need to sift the dry ingredients unless it’s cake. However, I realized that every time I tried making brownies, my cocoa left little clumps that in turn caused me to over mix my batter. Instead, sifting the dry ingredients means you can simply fold them into the wet ingredients without over mixing, resulting in a tender, fudgy brownie that’s not dense.

Use quality cocoa
Since cocoa is the main flavor here, you want a good brand. Opt for something organic and fair trade, if possible, because this usually means it was produced in smaller batches and thus higher quality and is often fresher, too. Plus, the flavor of the high quality cocoa is always noticeable in the brownies. My go-to is Volupta, from Costco, but some other good options are Ghirardelli, Guittard, Scharffen Berger, Anthony’s, or even Hershey’s Special Dark in a pinch.

Use more or less mint
A few things will impact your mint flavor: how fresh the mint is, how large each leaf is, and how strong your cocoa powder is. If you want a really minty brownie, use at least 40 leaves. If you want a lighter mint taste, use around 30. You could do around 20 leaves, but there’s a likely chance no one will even notice the mint flavor at all, so I’d stick with at least 30 (ish) then adjust it the next time to your liking.

Measure the chocolate chips with your heart
I was telling my best friend about some amazing cookies I’d just made and that it was crazy how easy the recipe was. Of course, I always use extra chocolate chips. And she said one of my favorite quotes I’ve ever heard: chocolate chips should be measured with the heart. And it’s true. I always measure out what the recipe calls for then pour a little extra for good measure. But two notes: 1) this only works for mix-in chocolate chips, like in cookies and brownies, not ganache or things like these dark chocolate cupcakes, and 2) there is a point where you’ve added so many chocolate chips that they’re literally drowning out the batter or dough. As long as you keep those in mind, follow your heart.

My Brownie Tools
Here are my must-have tools I use for making these brownies. Affiliate links provided.
Fine mesh sieve (because sifting is KEY)
Mini serving spatula (weird, but I LOVE this for bars and brownies!)


Fresh Mint Brownies
- prep time: 10-15 minutes
- bake time: 20-25 minutes
- total time:
servings: 12-16 (or 9, if you cut large, bakery-sized brownies!)
Ingredients:
- 1 cup (200g) granulated sugar
- 1 handful (about 30-40 large leaves) fresh mint, rinsed and dried
- ½ cup (68g) all-purpose flour
- ⅔ cup (53g) unsweetened cocoa powder
- ½ teaspoon (2g) baking powder
- ¼ teaspoon (2g) sea salt (or ½ teaspoon (3g) table salt)
- ½ cup (113g) unsalted butter*
- 2 large eggs
- 1 tablespoon (13g) pure vanilla extract
- 1 cup (170g) chocolate chips (or as many as your heart says you need)
Instructions:
- Preheat oven to 350. I’ve found 350 is good for convection and regular, which is weird but at least it works! Grease an 8x8 square pan with butter and flour or baking spray.
- In a small food processor or blender, blend the sugar and mint until the mint is finely ground. You’ll hit a point where it’s about the size of quinoa or a bit smaller and just isn’t getting any smaller, so stop then. If you keep blending, it’ll create a crusty paste on the blades of your food processor/blender instead of becoming finer. Place in a large-ish mixing bowl and set aside.
- Using a fine mesh sieve set over a small mixing bowl, sift then whisk together the flour, cocoa powder, baking powder, and salt. Set aside.
- In a small saucepan, melt the butter until completely liquid. Immediately add it to the mint sugar and whisk for about a minute, until it comes together and the sugar begins to dissolve.
- Add the eggs, one at a time, whisking for about a minute after each egg. Add the vanilla and whisk well again (half a minute should do this time).
- Add the dry ingredients in and gently fold in with a wooden spoon or rubber spatula, until almost blended some streaks of flour remain.
- Gently fold in the chocolate chips.
- Pour into your prepared pan, smoothing the top and getting the batter mostly into the corners (I like to leave a ½ inch gap that will absolutely fill in during baking but prevent an overly crunchy corner).
- Bake for 20-25 minutes, or until the top is no longer shiny/raw looking and the middle is slightly jiggly but not liquidy. You can try a toothpick, but that should actually come out with some matte-looking batter (not quite raw dough, not quite crumbly brownies). If you prefer fully cooked, non-fudgy-middle brownies, cook a little longer until a toothpick comes out with several brownie crumbs rather than a smear of almost-cooked batter.
- Let cool at least 10 minutes before cutting and serving with vanilla or mint chip ice cream!
Enjoy!
Brownies will last in an airtight container at room temperature for 3-5 days, if you can resist eating them all before then!
*European butter is best! It has less water and makes a better brownie, in my opinion.

