
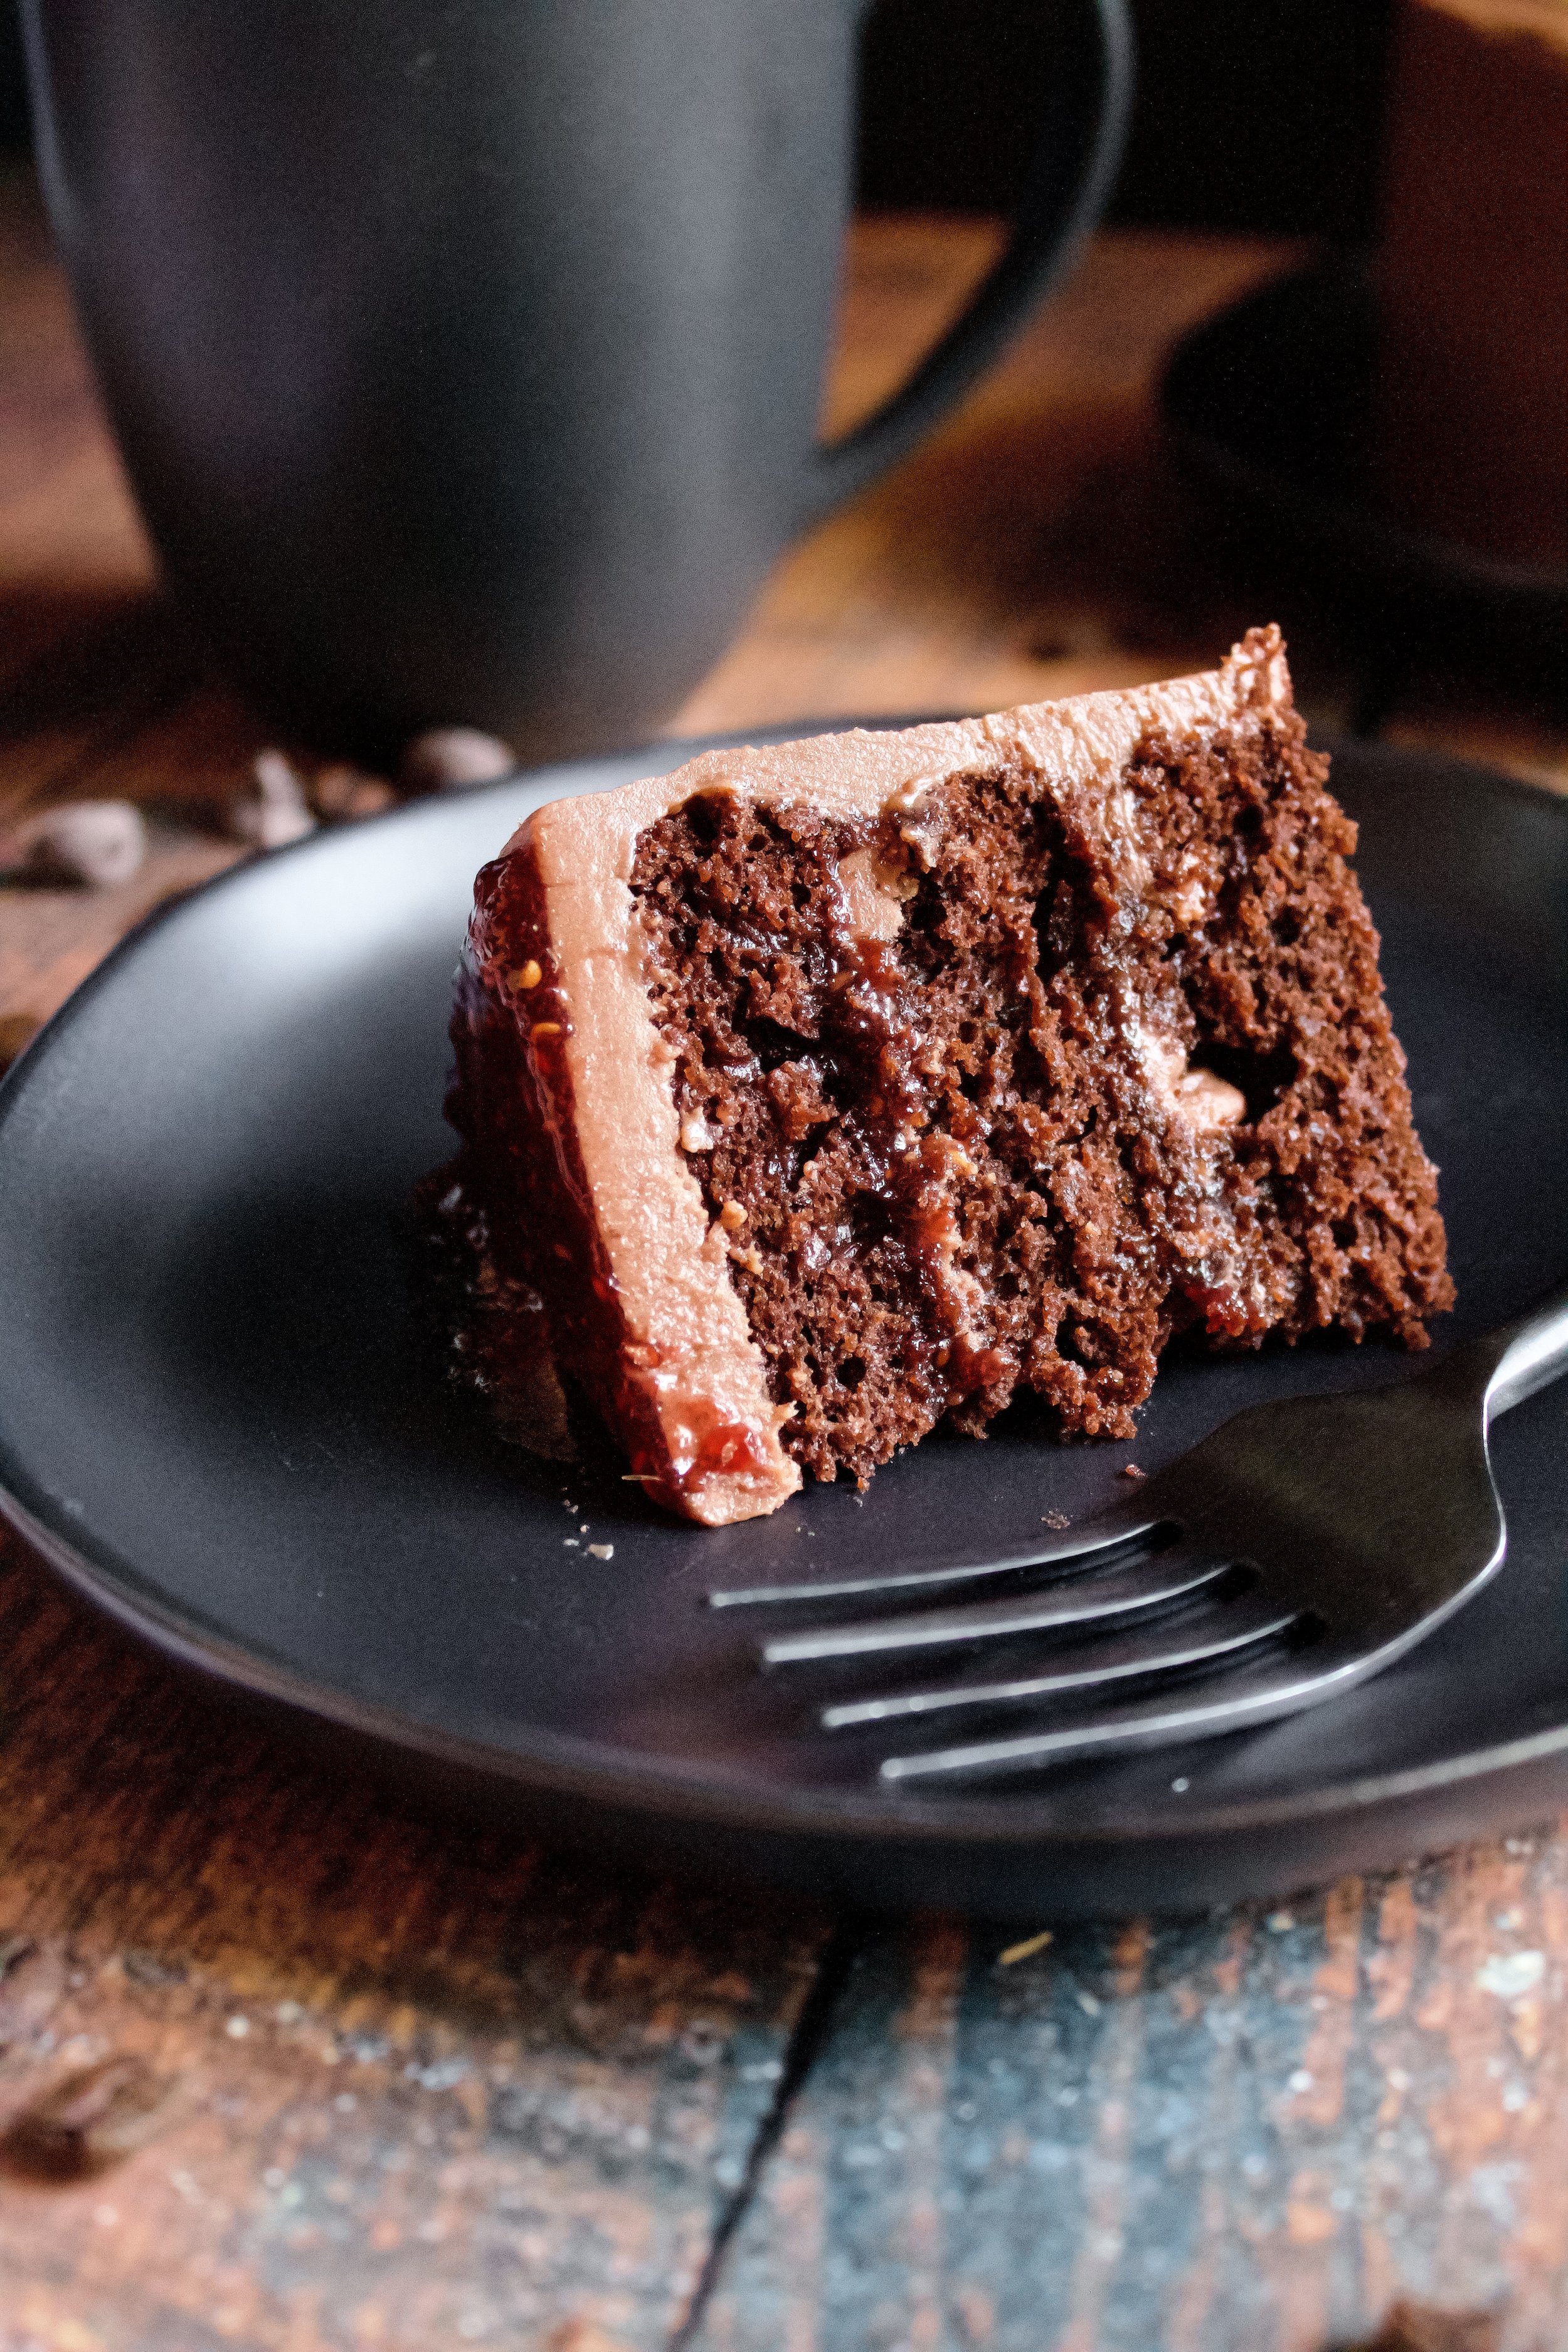
Chocolate Raspberry Mocha Cake
Fluffy and rich chocolate cake with chocolate mocha buttercream and raspberry jam for a delicious raspberry mocha flavor! This combination of flavors is always a hit and delicious anytime of the year!
This post may contain affiliate links from which, at no additional cost to you, I may earn a small commission to keep this site running. Only products I myself would or do use are recommended.

Why this recipe works
First, the chocolate cake. It’s just SO good. Fluffy yet moist, rich but not overly so, and the perfect amount of sweet. It’s my absolute favorite chocolate cake. It’s that white whale of cakes: fluffy and moist yet sturdy and reliable. It’s great for stacking nice and tall.
Next, the jam and frosting! I absolutely love raspberry mochas, so a cake version was a must. I love that combination of sweet and tart raspberry jam with the the rich chocolate and that earthy hint of coffee. It’s not too overpowering, and balances nicely.

Key ingredients
Flour. Be sure to spoon then level your flour so you don’t pack it in, and always sift with a fine mesh sieve!
Cocoa powder. Sifting this is a must, as it tends to clump. Be sure you use unsweetened cocoa. Regular is preferred, but Dutched will work as well.
Sugar. Obviously! You’ll need this in the cake as well as the caramel sauce.
Baking powder/soda. Both are needed to help the cake rise properly. Be sure they haven’t been open longer than a few months or they do start to lose their umph, regardless of the indicated expiration date. And be sure they’ve been well-sealed! Any moisture getting in will stop them from working properly.
Salt. Again, needed in all elements of this cake. I highly recommend sea salt, as it helps complement the sweetness better.
Buttermilk. I always make my own by adding 1 tablespoon white vinegar to a 1 cup measuring cup. I then fill it the rest of the way with room-temperature whole milk.
Oil. I prefer avocado or grape seed oil, as they are light and tasteless but still heart-healthy. Vegetable or canola oil work, too.
Eggs. Use fresh, large eggs and make sure they have reached room temperature.
Vanilla. Always use pure extract in baking, not imitation.
Hot coffee. Be sure your coffee is piping hot when you use it. You can make it as strong or light as you’d like. I prefer blond coffee in most cakes, but you really can’t taste it if you use a dark roast. It just serves to bring out a more intensely dark chocolate flavor.
Chocolate mocha buttercream. This delicious recipe adds instant espresso to classic chocolate buttercream and is oh-so-good!
Raspberry jam. You can use homemade or store bought. My homemade recipe is a bit on the thicker side, as it’s intended to be used in cakes.

How to make chocolate raspberry mocha cake
Make the jam ahead
1. If using homemade jam, make that first. It needs a couple hours to set, so doing that first is ideal. It will keep in the fridge for a couple of weeks. You can use any recipe you like, I just prefer working with cornstarch as it’s a bit thicker and sturdier for a cake. (P.S. No judgment if you prefer to just use store bought!)
Make the cake
2. Sift and whisk dry ingredients. Don’t skip the sifting! It’s key to making this cake nice and fluffy.
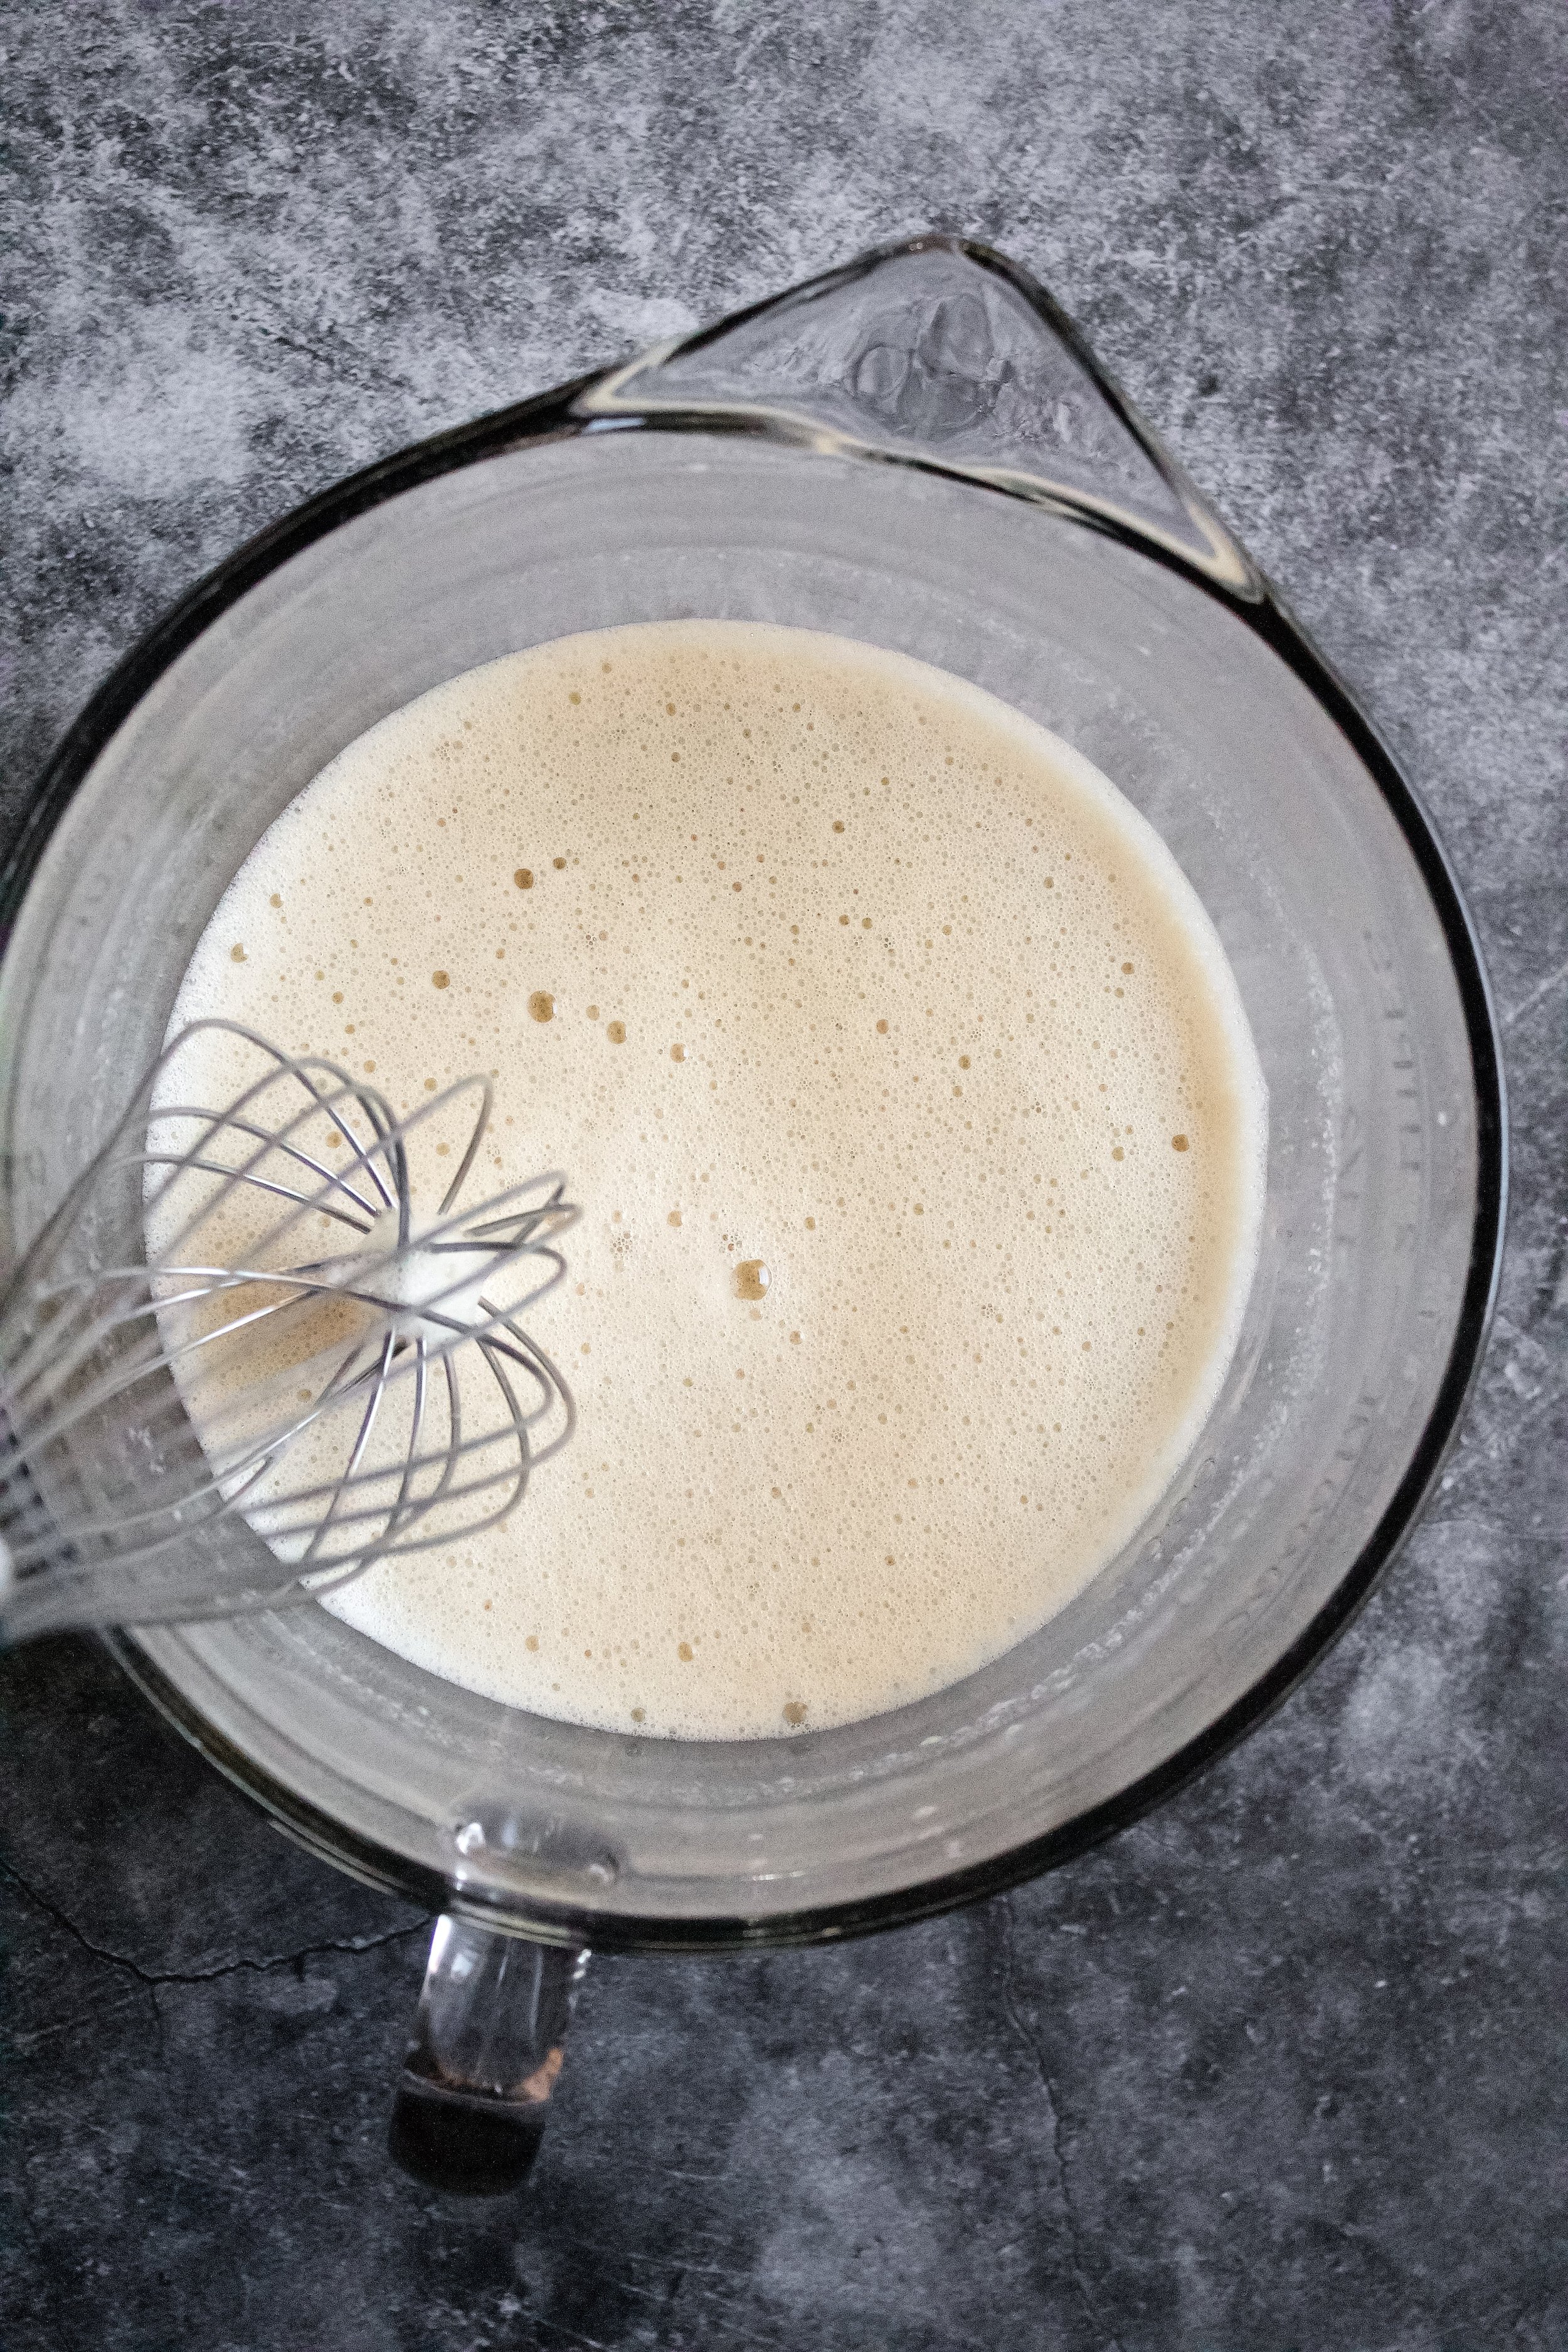
3. Whisk eggs, buttermilk, oil, and vanilla. Whisk very well to fully emulsify (blend) it all, especially the eggs and oil.
4. Slowly whisk hot coffee into wet ingredients. Whisk very quickly and pour slowly to avoid scrambling the eggs. If you do think you scrambled some, you can run it through your fine mesh sieve.
5. Slowly stir wet ingredients into the dry. Do this on low and immediately stop and scrape the bowl once everything is combined.
6. Beat on medium for exactly 2 minutes. Set a timer so you don’t under or over mix.
7. Bake. Bake until a toothpick or cake tester comes out with just some moist crumbs—not fully clean, as this can mean it’s over baked. Remember that it continues to bake a little when you take it out of the oven.


To assemble
8. Make the chocolate mocha buttercream. This can also be made ahead. It can keep on the counter (well-sealed) overnight, or can be refrigerated for up to two weeks. If refrigerating, bring it to room temperature on the counter then stir well. If it seems grainy, beat for a few minute with a mixer.
9. Trim and halve cakes. This recipe rarely results in domed tops for me, but different altitudes and climates can yield vastly different results. If you have any domed tops, use a large serrated knife (or cake leveler) to trim those off. Then, carefully cut the cake into two even layers. (This is optional, but ideal so you can do thin (and thus sturdy) layers of filling and still get lots of that yummy flavor!)
*Note: the photos in this post only show three layers because I used three mini pans to make a mini cake with extra batter I had. Normally, I make two layers and divide them in half for a four layer cake to maximize that filling!
10. Fill with buttercream and jam. Spread a thin layer of buttercream, pipe a thin dam of buttercream around the edge, then fill with a thin layer of jam. Repeat until all layers are stacked.
11. Crumb coat. This cake does well with a crumb coat, so carefully spread a very thin layer of buttercream all around the cake and refrigerate for about 20 minutes to set it.
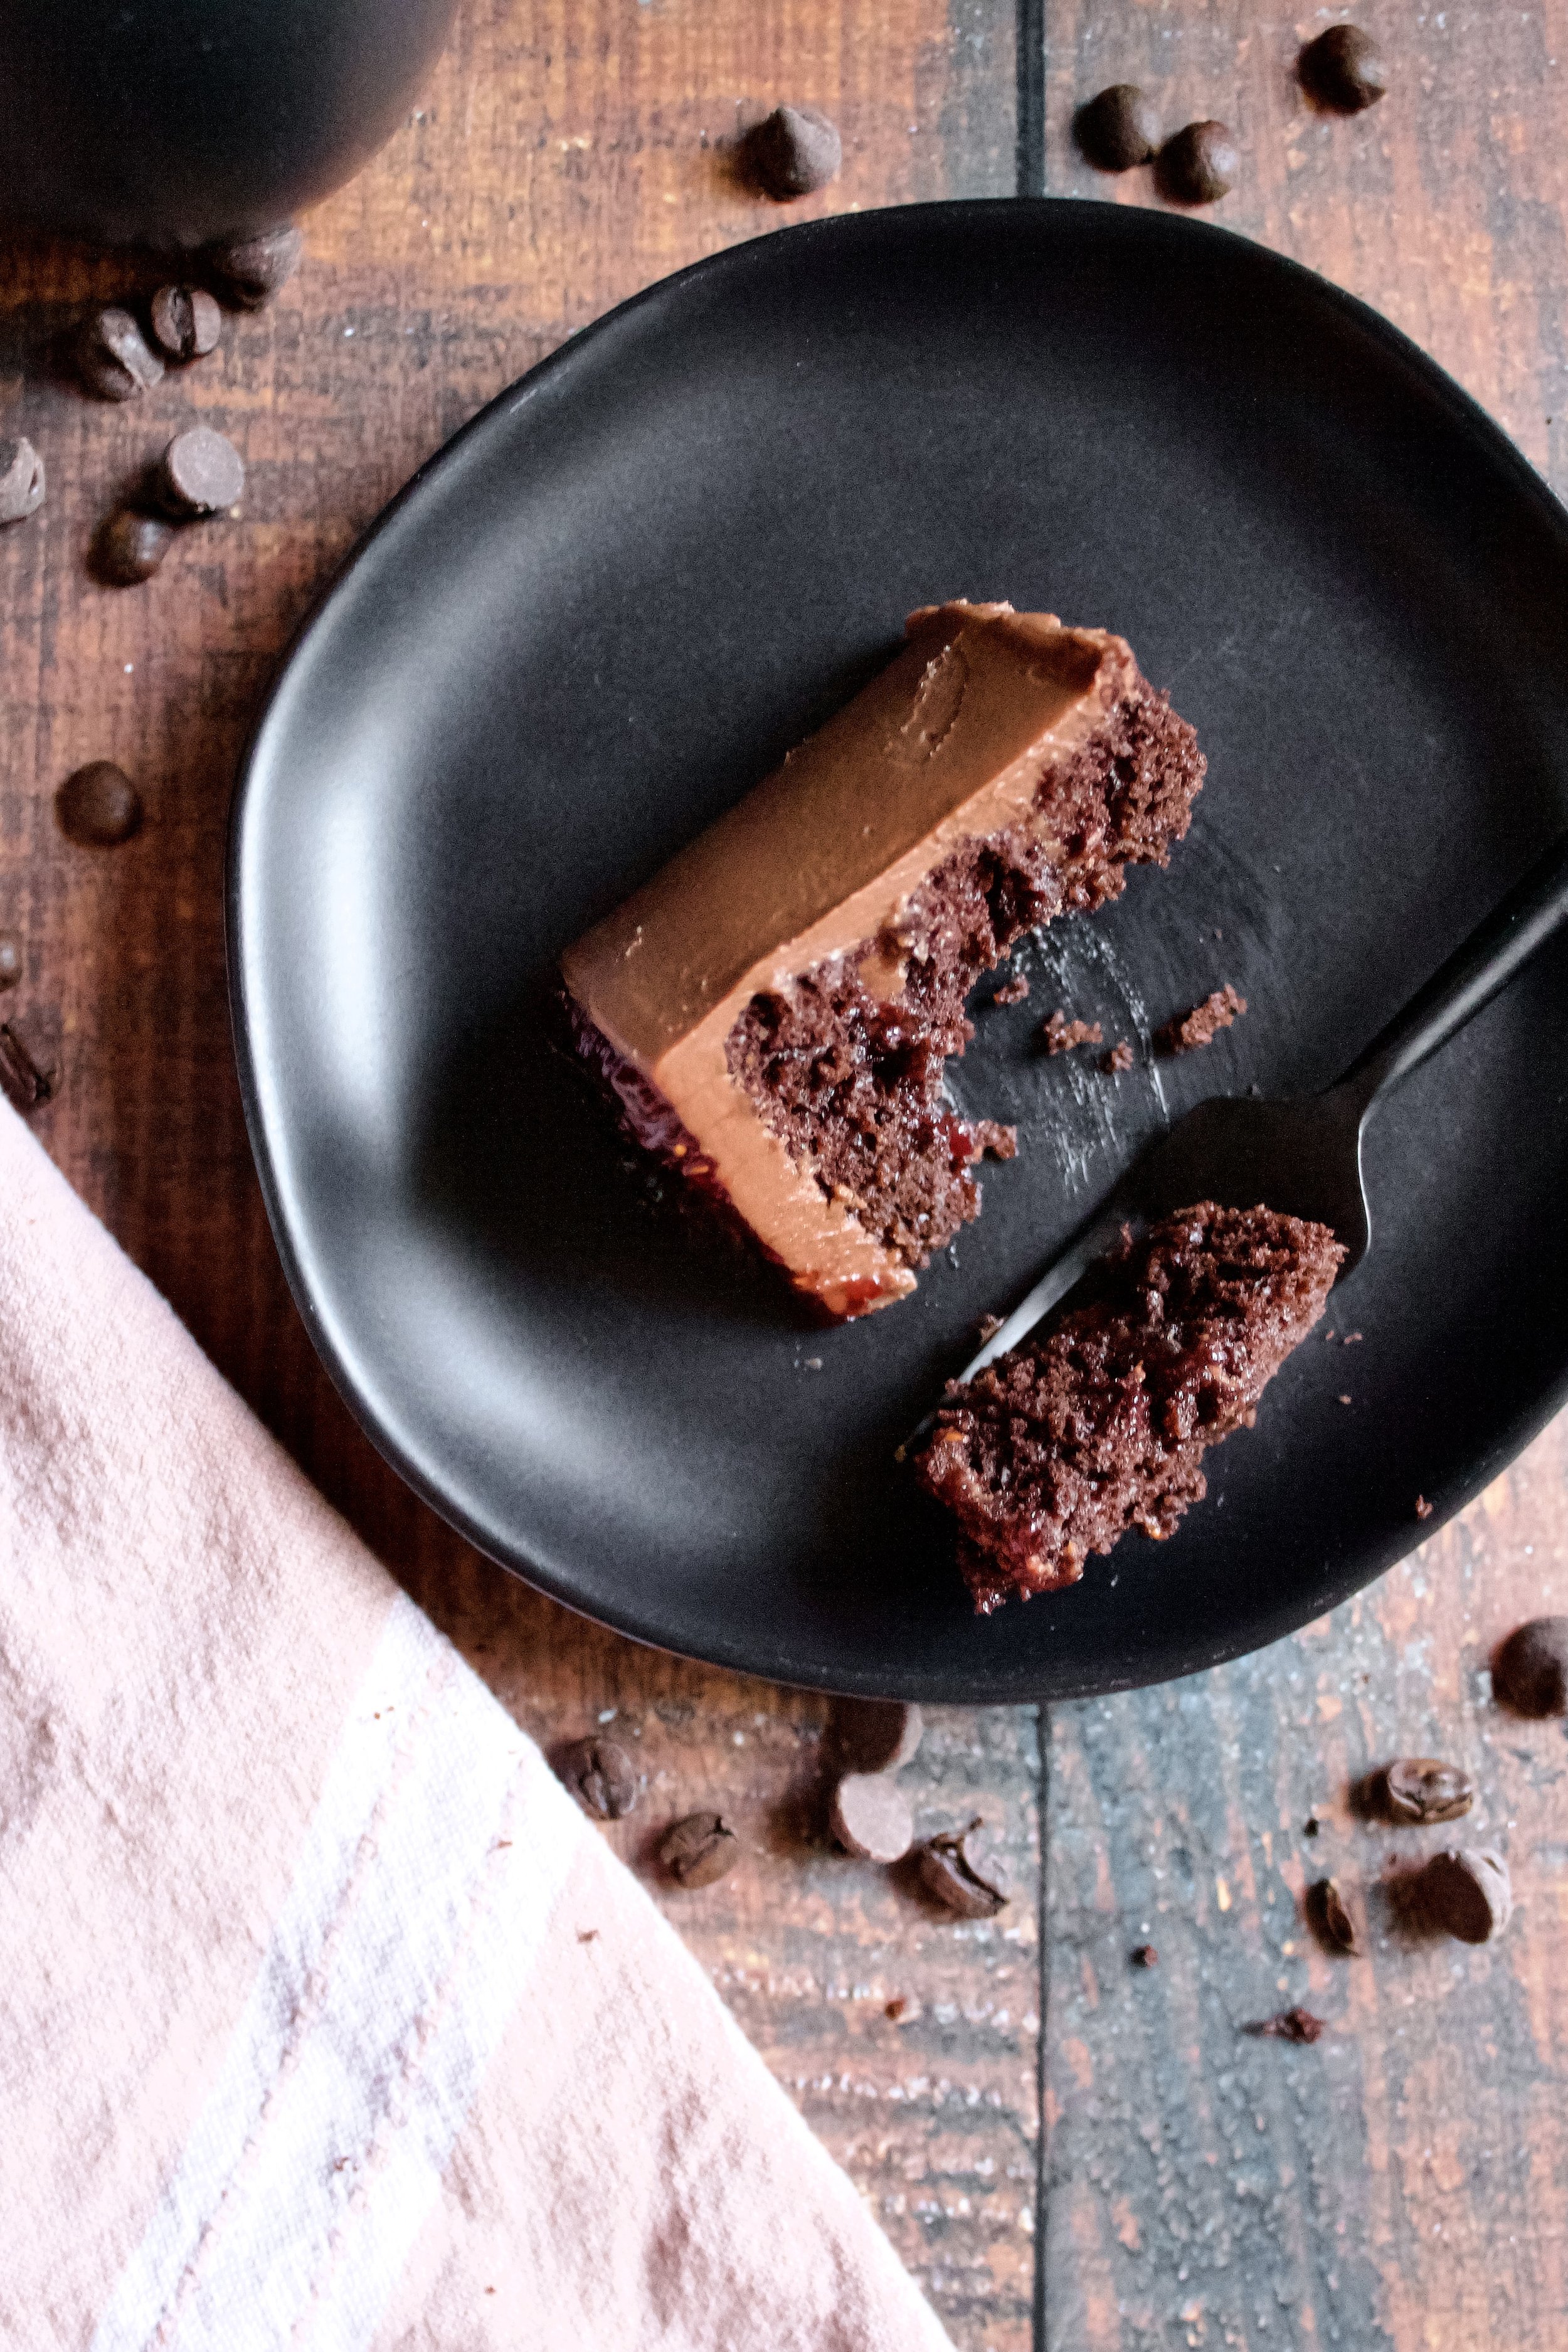
12. Frost cake. Once the crumb coat is set, you’re good to frost the cake however you’d like! I topped it with a swoosh of jam for fun, but I’m not a fancy cake decorator haha.
Enjoy!


Tips and FAQ’s for this recipe
Can I use a different frosting or jam?
Yes! I really love this combination, but you can swap the frosting for a regular chocolate frosting (or my favorite chocolate ganache buttercream). Chocolate hazelnut is another great combo with the raspberry. If you want a more minimal chocolate flavor, you could use plain coffee buttercream. Or, if you want a really raspberry-y cake, you can use raspberry buttercream. You just won’t have the mocha flavor unless you add some espresso powder to the cake itself (it’s very easy—just add it in with the dry ingredients).
Any jam that goes with chocolate is fine! One fun option would be blackberry lavender if you’re up for something floral and a little extra.
How can I get a stronger coffee flavor?
I only added coffee to the frosting, which was just enough for the flavor balance I wanted. But I’m also a lover of strong coffee! You can easily make the cake stronger in flavor in two ways. The easiest is to add 1-2 teaspoons of instant espresso or coffee to the dry ingredients of the cake. You can also make double strength coffee for the cake and use a dark roast (or a few double shots of espresso—just be sure they’re fresh and hot when you use them in the cake).
Can I make this into Cupcakes?
Yes! You’ll just pour the cake batter into lined cupcake pans (makes 24, fill about 2/3 to 3/4 full). To fill with the jam, you can either use a piping tip meant for filling donuts or just a larger round one. Or, you can cut a small hole out of the cupcake and fill with about 1/2 tablespoon of jam. Then, frost as desired (I love using my 1M piping tip to make simple rosettes—fast, easy, and fancy!)

Measure dry ingredients carefully
Always spoon flour and cocoa into your measuring cup then level with the back of a knife or other straight edge. And be sure to sift with a fine mesh sieve so your cake is nice and fluffy.
Sift your dry ingredients
Sifting dry ingredients is KEY in baking, especially for baking cakes and extra important with chocolate cakes. You always want to ensure the cocoa is sifted because it can create little pockets of cocoa that never get mixed in and thus don’t bake. The one time I made this cake without sifting the dry ingredients, it turned out dense and chewy and just not good. So trust me—sift!

Use room temperature ingredients
This is another baking must. Room temperature ingredients (when called for) are non-negotiable. I have seen the difference in cakes that are tough and don’t rise. Plan ahead and make sure your ingredients have had time to sit out.
Use quality cocoa
Since cocoa is the main flavor here, you want a good brand. Opt for something organic and fair trade, if possible, because this usually means it was produced in smaller batches and thus higher quality and is often fresher, too. Plus, the flavor of the high quality cocoa is always noticeable in the brownies. My go-to is Volupta, from Costco, but some other good options are Ghirardelli, Guittard, Scharffen Berger, Anthony’s, or even Hershey’s Special Dark in a pinch.
My cake tools
Here are my must-have tools I use for making this cake. Affiliate links provided.
All-rubber spatula (this makes scraping the bowl easier so the batter and frosting doesn’t get all over a wooden handle!)
Mesh sieve (because sifting is KEY for a fluffy cake)
Offset spatula for frosting
Cake leveler (to halve the cake layers)


Chocolate Raspberry Mocha Cake
- prep time: 35-40 minutes (less if using store bought jam)
- bake time: 25-30 minutes (varies by pans used)
- total time: 1 hour, 10 minutes (plus cooling time)
serves: 12-16
Ingredients:
for the cake
- 1 ⅔ cups (333g) granulated sugar
- 1 ⅔ cups (227g) flour, sifted
- ¾ cup (75g) unsweetened cocoa powder, sifted
- 2 teaspoons (8g) baking powder, sifted
- 1 teaspoon (5g) baking soda, sifted
- ½ teaspoon (3g) fine ground Himalayan sea salt (or 1 teaspoon table salt)
- 2 large eggs, room temperature
- 1 cup (240g) buttermilk*, room temperature
- ½ cup (120g) avocado or olive oil
- 1 tablespoon (13g) pure vanilla extract
- 1 cup (240g) very hot coffee (light or dark roast is fine, can sub water but coffee is preferable for the flavor)**
to assemble
- one batch chocolate mocha buttercream
- one batch raspberry jam filling (or other raspberry jam recipe or 1-2 jars store bought)
Instructions:
- If making homemade jam, make this ahead so it can cool for at least a couple hours. It will keep in the fridge for at least 2 weeks. (By the way, no judgment if you use a different recipe or store bought jam! I only use homemade for special occasions and to photograph for recipes–I don’t have that much time on my hands!)
make the cake
- Preheat your oven to 325F/165C. Lightly grease and flour two 8” or 9” cake pans or three 6” cake pans (or use baking spray) and line the bottom with parchment paper or silicone baking mats. Optionally, you can use four 8” or 9” pans, but even I don’t have that many in this size!
- In the bowl of stand mixer (or large bowl), whisk together sugar, flour, cocoa, baking powder, baking soda, and salt, being sure to sift as instructed. I prefer using a hand whisk for this step as the whisk attachment doesn't always get the very bottom mixed in. Fit this to your stand mixer with the paddle attachment. You can also use a large mixing bowl with a hand mixer. I also like to make my coffee at this time so it’s fresh and hot.
- In a separate bowl, whisk together eggs, buttermilk, oil, and vanilla.
- VERY slowly, pour coffee mixture into the egg mixture, whisking the eggs quickly and constantly to avoid scrambling them. Feel free to do it in increments if this is your first time.
- Turn mixer to low. Slowly pour wet ingredients into dry. It will clump up halfway through then settle into a liquid-y consistency. Immediately turn off mixer once all ingredients are combined then scrape down sides with a rubber spatula, making sure to get to the very bottom. Beat on medium for exactly 2 minutes. Do not overmix!
- Pour batter evenly into prepared pans. Gently tap pans on the counter a couple times to get some of the bubbles out.
- Bake for 25-30 minutes (about 15-20 if using 4 pans), until a toothpick inserted in the middle comes out with some moist crumbs but no raw batter. Always check cakes a little early, as oven time can vary. If not using a convection oven, rotate cakes halfway through.
- Cool in pans 5-10 minutes then remove to a cooling rack until completely cooled.
make the frosting and assemble
- While the cakes cool, make the frosting. This can also be made ahead and kept refrigerated up to 2 weeks (well-sealed) or frozen up to 2 months. Let come to room temperature on the counter. And stir well to smooth it out.
- Using a large serrated knife (or cake leveler), trim any domed tops off of your cake layers (if any formed–they usually don’t but every kitchen is different). Carefully cut each layer in half horizontally, to create four even cake layers.
- Place your first layer on your cake board, stand, or plate. Spread a thin layer of buttercream on the cake. Using a piping bag with a small hole cut out (or small piping tip), pipe a thin ring of buttercream around the very edge of the cake, to help keep the jam from seeping out. Spread a layer of jam inside this ring.
- Continue stacking and filling each layer in this method until all layers of cake are stacked. Cover the cake in a crumb coat of frosting and refrigerate at least 20 minutes.
- Frost cake to desired thickness. You can optionally top with fresh raspberries, chocolate covered espresso beans, or a simple swoosh of jam like I did.
Enjoy!
Cake can be made up to a day in advance. Store leftovers by placing a piece of plastic wrap right against the cut edges and sealing against the frosting, then placing the entire cake in an airtight container. Leftovers will last 3-5 days at room temperature.
*You can make your own buttermilk by adding 1 tablespoon of white vinegar to a 1 cup measuring cup then filling the rest of the way with room temperature whole milk. Stir and let sit 5-10 minutes.
**To make a stronger coffee flavor (it’s not noticeable in the cake, only the frosting), you can add 1-2 teaspoons of instant espresso or coffee powder to the cake when you whisk the dry ingredients in step 1. Or, you can use double strength strong coffee (such as French roast) or even a few double shots of espresso, so long as they are fresh and hot when used.

