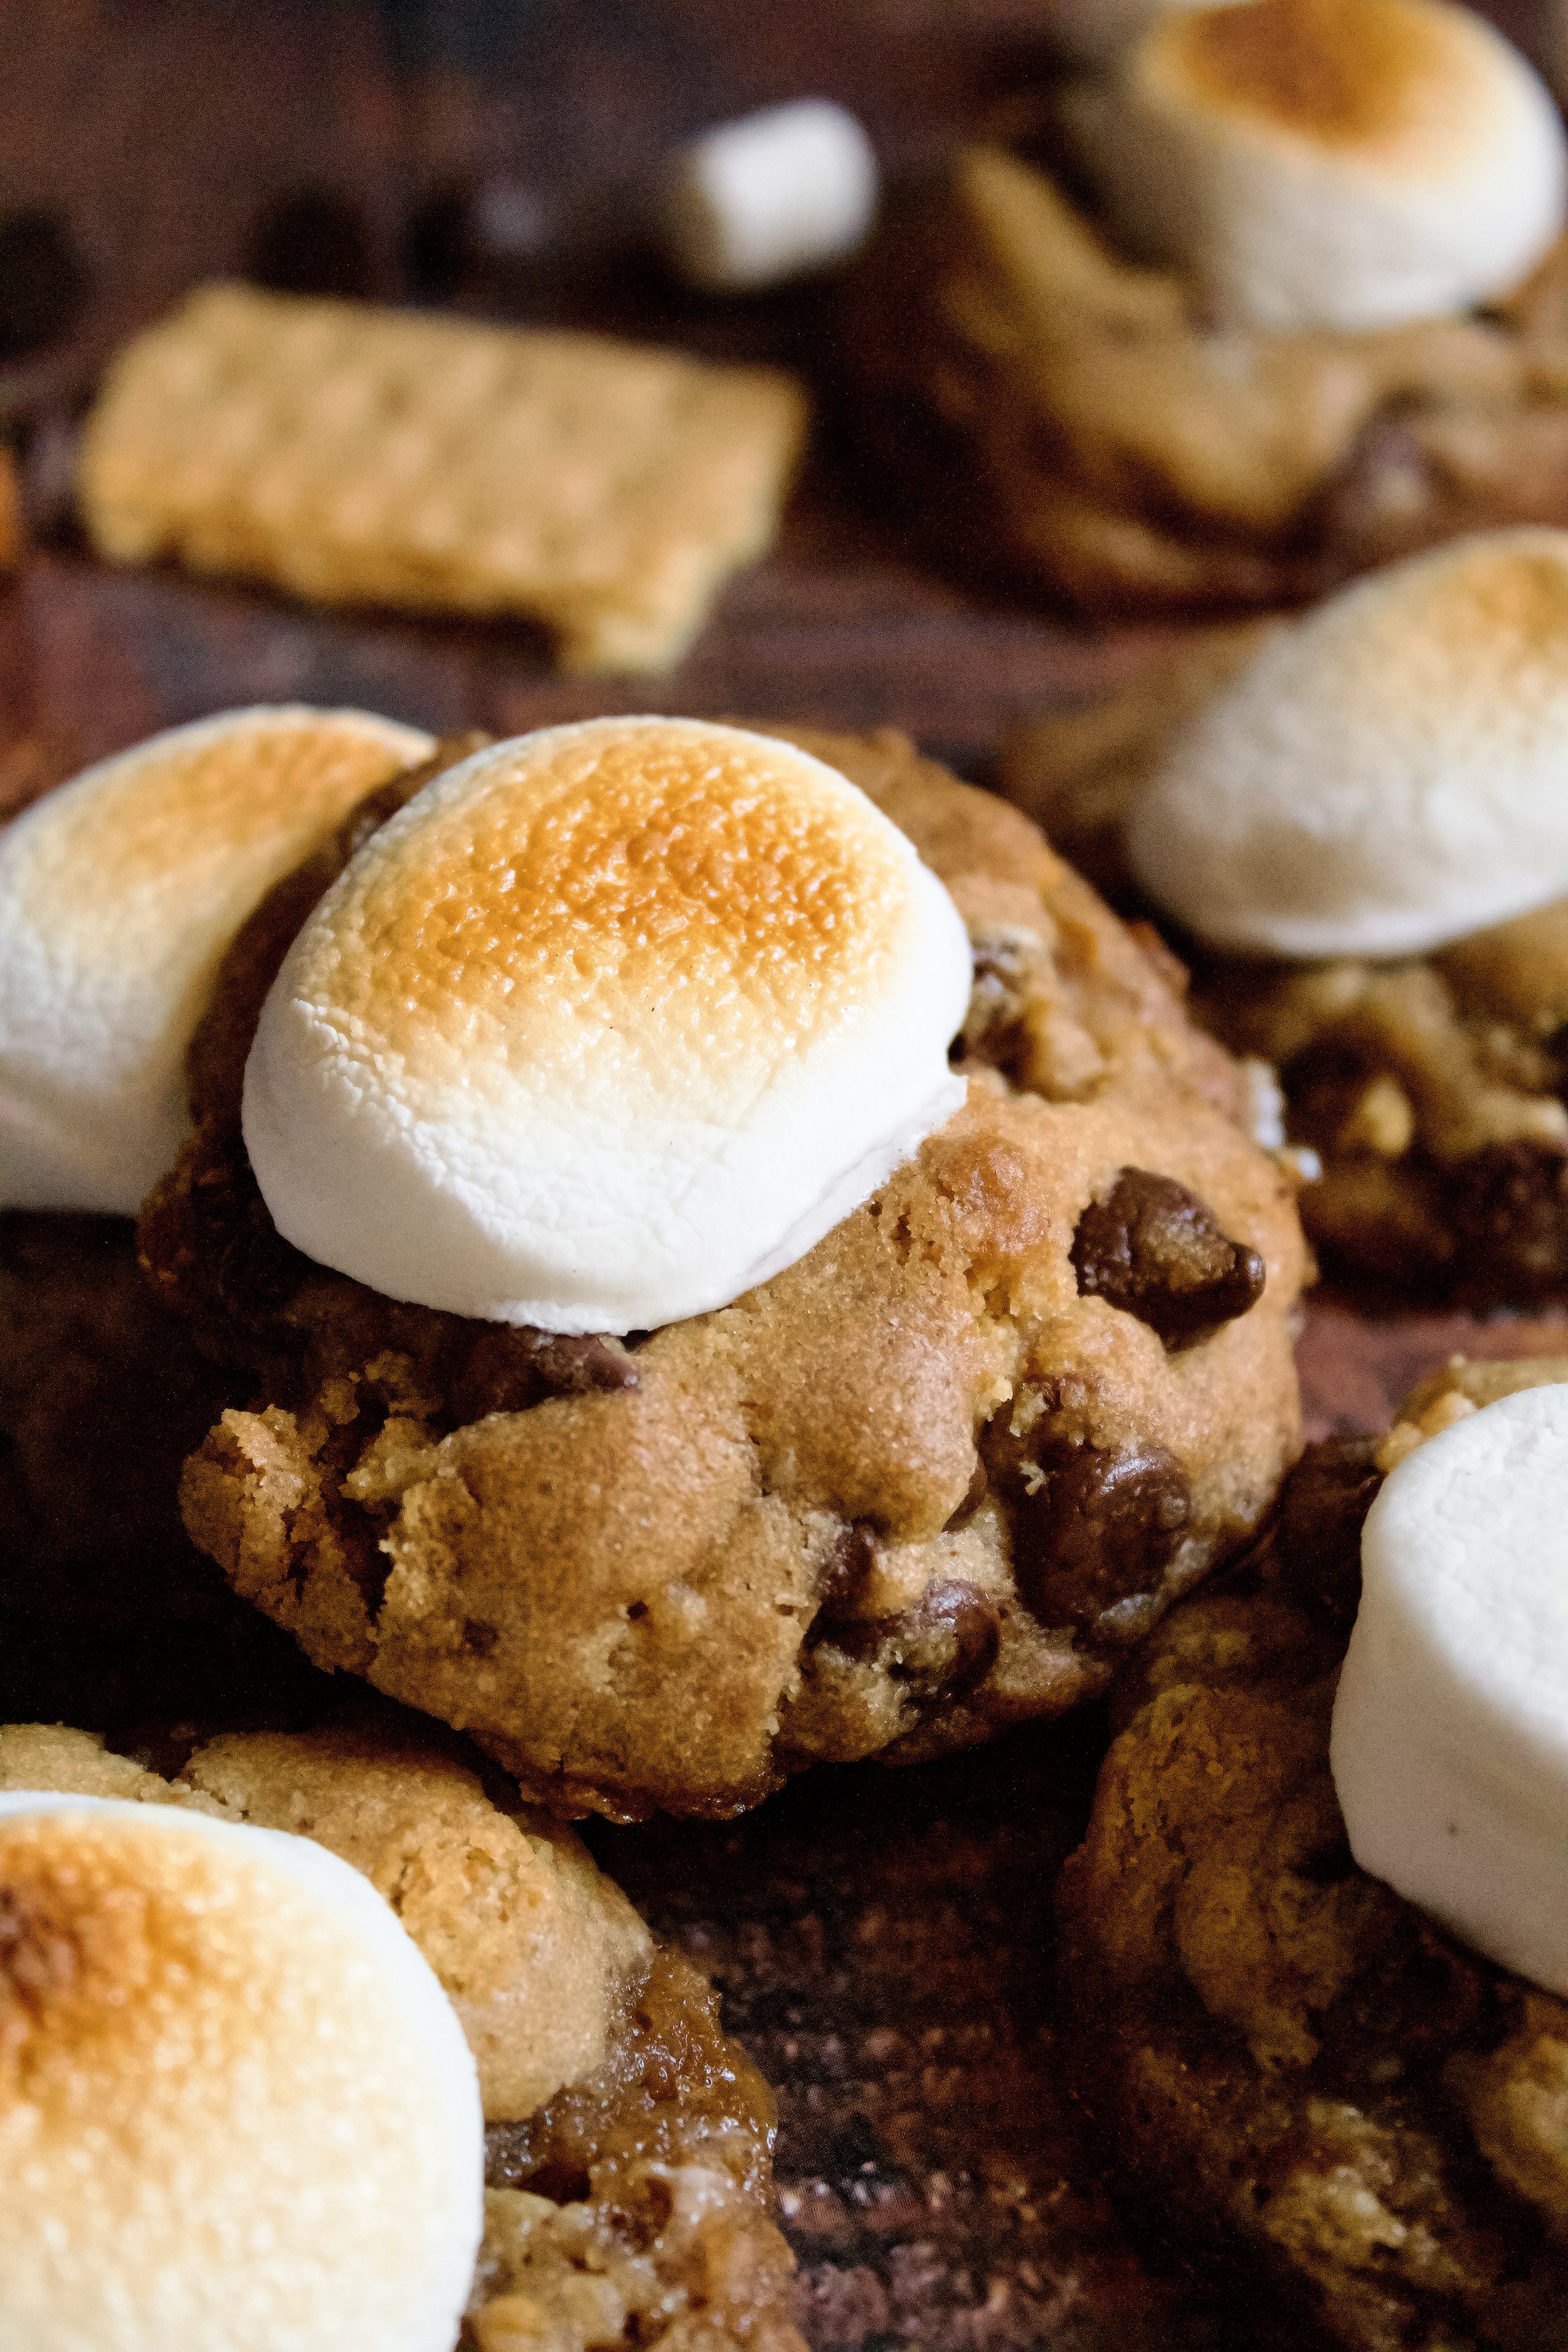
Loaded S'mores Cookies
Gooey brown butter graham cracker cookies filled with chocolate chips, graham cracker pieces, and mini marshmallows, topped with a toasted marshmallow. These cookies are loaded with all the s’mores things and are a summer must-have!
This post may contain affiliate links from which, at no additional cost to you, I may earn a small commission to keep this site running. Only products I myself would or do use are recommended.

Hello! It’s been awhile since my last recipe, which was…also a s’mores recipe… Oops. Life has been hectic this summer, trying to bake when I had half a second of free time (usually after the kids went to bed) and take photos when I could manage (either during the baby’s morning nap or with her in her little activity chair right next to me, whining to get out).
When I wasn’t trying to squeeze some new recipes in, I was either packing, traveling, unpacking, or doing laundry before packing again. It was such a full, fun summer, but I’m also so tired. We took four trips as a family of four (well, we left the kids with YiaYia and Papou for our anniversary trip, but that somehow involved the most packing). Prepping for and taking a trip with a baby is always a lot of work, even though she’s a great little traveler (she didn’t start out that way—we’ve had to train her to tolerate so much travel).
And now I’m back at school. So these 7 s’mores cookies for Brooklyn’s 7 month birthday are coming to you when she’s…8.5 months old. Oh well. At least she’s cute!

Why this recipe works
I of course used the Nestle recipe as the base here, but I had to get crafty and experiment with graham cracker crumbs. I reduced the sugar, knowing the grahams added sweetness. My first try, I added too many graham cracker crumbs and found this ratio keeps the cookies from spreading too thin or being too dry and crumbly, but still gives that graham cracker taste. I also reduced how many mini marshmallows I added, because my first try resulted in too much spreading and some caramelized or even burnt marshmallows. You can omit them entirely if you’d like, as they still spread a bit for me and I had to use a circular cookie cutter to swirl them back into shape—but they were so good that it was worth it.
I also love how loaded with s’mores things these are! I used plenty of chocolate chips, chunks of graham crackers, and added a melted marshmallow on top. This took a lot of experimentation, and I found that placing the marshmallow on top right when the cookies finished cooking (and after I re-shaped them) mean it stuck to the cookie best. Then, I had the freedom to pop them back in the oven for 1-2 minutes or wait until serving so that I had a warm, freshly toasted, gooey marshmallow.

Key ingredients
Graham Crackers. You’ll need graham cracker crumbs as well as crushed graham crackers, so about 14ish full crackers total.
Flour. Be sure to spoon then level your flour or you will have too much and will end up with dry, dense cookies.
Baking soda. Be sure it is fresh—not open for longer than 6 months (it will lose potency after that, regardless of the listed expiration date).
Salt. I prefer sea salt in my cookies, but table salt works, too.
Unsalted butter. Use European style butter, as it has less water and is needed to make these have the perfect texture.
Brown sugar/sugar. Don’t be tempted to increase the sugar, as it turns to liquid when baking and will make the cookies go flat.
Eggs. Be sure your eggs are fresh and room temperature.
Vanilla. Use pure vanilla extract (or vanilla bean paste).
Mini marshmallows. These are optional—the ones on the edge will caramelize a bit and possibly spread out, but a round cookie cutter can fix that—just swirl the cookie gently in a cutter slightly larger than it and it’ll snap back into shape!
Regular marshmallows. This is the star here. I cut each one in half and it was perfect—it stuck to the warm cookie well and then was perfectly gooey when I reheated it briefly to toast it.
Chocolate chips. Measure with your heart, my friend! I wrote the recipe with the typical two cups, but I usually use closer to three. Don’t go beyond that, or the cookies won’t hold together.

How to make loaded s’mores cookies
1. Brown your butter. This will take about 10 minutes over medium-low to medium heat. Be sure to use a medium to large pan, because the butter will bubble up to about 10x its original volume. Learn from my greasy, buttery messes and use a larger pan than you think you’ll need! Once the bubbling starts to calm down and you see brown streaks as you stir and smell a nutty aroma, it should be cooked. Let cool completely (it will become opaque).
2. Sift and whisk dry ingredients. Sifting is technically optional, but I think it helps prevent over mixing. It’s also helpful to get any large chunks of graham cracker crumbs out.
3. Beat butter and sugar. You want the sugar slightly dissolved and the mixture to be light and fluffy, so mix at least 3 minutes.
4. Add eggs and vanilla, one at a time. Beat until well-blended each time, about 30 seconds on medium.
5. Mix in dry ingredients. Mix on low until just barely combined.
6. Stir in chocolate chips, graham pieces, and mini marshmallows (if using). You can use up to 3 cups chocolate chips, but don’t use more, as the cookies will start to fall apart.


7. Chill, if desired. This is optional, and simply helps the cookies keep their rounded shape better during baking. You can also freeze them for 10 minutes after shaping and placing them on a cookie sheet.
8. Form into balls. I like using a cookie scoop so I can just place the dough onto my baking sheet, but you can use a spoon then roll it into a rough ball. Place cookies at least 2” apart on your prepared cookie sheet. Optional: you can freeze the shaped dough for about 1-2 months, if well-sealed. Bake straight from the oven.
9. Bake. Bake until no longer matte in appearance and the edges begin to darken, about 10-12 minutes. If needed, re-shape cookies after baking using a round cookie/biscuit cutter. See below for more details.
10. Top with half a marshmallow. Do this immediately, even if you aren’t toasting the marshmallows yet. It will help the marshmallow adhere to the warm cookie.
11. Toast the marshmallow. Either right after placing the marshmallow on top or when ready to serve (they taste best freshly toasted!), place the cookies back in your oven for 1-2 minutes, just until the marshmallows are toasted. If doing this after the cookies have cooled completely, you can place them under the broiler for 1 minute, but watch closely. You can also use a kitchen torch, but be careful not to burn them!
12. Let cool on pan then on cooling rack. You don’t want them to keep cooking once you take them out of the oven, so only keep them on the pan 5-10 minutes.
Enjoy!


Tips and FAQ’s for this recipe
Can I make these ahead of time?
Yes! The dough will last up to 3 days in the fridge or at least a couple months in the freezer, depending on how well-sealed they are. I like to scoop my dough out, place it on a cookie sheet and let it freeze for an hour, then place the frozen cookie dough balls into freezer safe bags. Bake as directed (adding the marshmallow halves after baking). Be sure to label the dough with the date so you don’t keep them too long.

Do I need to brown the butter?
No, but it does make a difference. Browned butter cookies are chewier and don’t dry out as easily. If you choose not to brown it, you’ll want to increase the flour by about 2-4 tablespoons.
Do I have to use European butter?
Personally, I think it makes a huge difference. It’s creamier and has a very different consistency than sweet cream butter. Since you only have a few ingredients here, you want to make sure each one is of the highest quality. But don’t worry—you can often find it at places like Costco on sale!

Mini marshmallows are optional
I went back and forth on these. In the end, I kept them because they truly make these “loaded” s’mores cookies. However, leave plenty of room between cookies (at least 2 inches on all sides). This gives the cookie room to spread out of needed (mostly from the melting marshmallows) and gives you room to re-shape them using a round cookie cutter.
Leave plenty of room between cookies
As with the note above, you want to leave plenty of room between each cookie. Two inches or more is ideal. The mini marshmallows could melt and spread out a bit, so they need space. Plus, you’ll need some room to re-shape the cookies using a round cookie cutter.

How do I re-shape cookies after baking?
It’s actually pretty easy. You take a round cookie cutter slightly larger than the cookie itself, scooch up any melted marshmallows, then swirl it gently in a circular motion (I like to go one direction then back the other; think “wax on, wax off”). After the first couple of cookies, it’s pretty easy, so just do a little practicing. Be sure to do this right after the cookies come out of the oven, as it only works when they are freshly baked and still piping hot.

Spoon then level your flour
Don’t scoop your flour! I never knew this until I started blogging, but it seriously makes a big difference. You will end up with roughly 25% more flour than the recipe called for if you just doonk (official baking term right there) your measuring spoon into the flour container and scoop. Gently spoon your flour into your measuring cup then level it off with the back of a knife. Trust me! It makes a difference.

My tools
Here are my must-have tools I use for making these cookies. Affiliate links provided.
Mesh sieve (because sifting is KEY for a perfect shortbread cookie)
Silicone baking mats or parchment paper
Round cookie cutter (to re-shape any cookies that spread out)

You might also like:
Oatmeal Chocolate Chip Cookies
Gooey S’mores Cookies (chocolate cookies with graham and marshmallow swirls)
Brown Butter Espresso Chocolate Chip Cookies

Loaded S’mores Cookies
- prep time: 15-20 minutes
- bake time: 11-13 minutes (including the second “toasting” bake)
- total time: 33 minutes
servings: 24-36 (depending on size of cookie)
Ingredients:
- 1 cup (227g) salted butter*
- 2 cups (272g) all purpose flour
- 1 cup (about 85g) graham cracker crumbs (from 9-10 full crackers)
- 1 teaspoon (6g) baking soda
- 1 cup (200g) packed brown sugar
- ⅓ cup (67g) granulated sugar
- 2 large eggs, room temperature
- 1 tablespoon (13g) pure vanilla extract
- 2 cups (340g) semisweet chocolate chips (or chopped baking chocolate)
- 4 whole graham crackers, broken into dime-sized pieces
- 1 cup (60g) mini marshmallows (optional–does ooze a bit in baking)
- 12-18 regular marshmallows, cut in half
Instructions:
- Brown the butter (this helps create a chewier cookie that doesn’t dry out as easily). In a medium saucepan (deeper than you think you need), heat the butter over medium-low heat, stirring constantly, until it bubbles then foams and begins to brown. This will take about 10-15 minutes. Watch carefully–it’s typically done while it’s foamy and you can’t actually see the bottom, so watch for streaks of golden butter coming up from the bottom and being stirred into the foam. It will also have a nutty aroma when it’s browned. Remove from heat and set aside. Let cool for about one hour, until opaque (you can refrigerate it to speed this process up).
- When ready to make the cookies, preheat oven to 325F/165C and line a cookie sheet (or sheets) with parchment paper (or use a silicone mat). Optionally, you can do this after chilling the cookies for 1 hour or up to 3 days.
- In a medium mixing bowl, whisk the flour, graham cracker crumbs, baking soda, and salt. Set aside.
- In the bowl of your stand mixer fitted with the paddle attachment (or a large bowl, using a hand mixer), beat the cooled butter and the brown and granulated sugars on high for at least 3 minutes, until it gets lighter and fluffier and the sugar starts to dissolve. Scrape the bowl as needed, at least once during this 3 minutes.
- Add the eggs, one at a time, and beat on medium until well blended, about 30 seconds each time. Add the vanilla and beat on medium until blended.
- Add the flour mixture and beat on lowest setting until mostly combined (leave some flour streaks to be mixed in during the next step).
- Add the chocolate chips, graham cracker pieces, and mini marshmallows and stir by hand (I suggest using a wooden spoon or strong rubber spatula). Stir until fully combined.
- Optionally, chill the dough. This creates a chewier yet sturdier cookie and is recommended but not necessary. Cover and chill the dough at least an hour or up to 34 days. I found that chilling overnight was perfect. If you’re in a rush, you could form them into balls and freeze them for 20 minutes to get a similar result.
- When ready to bake, preheat oven (if not already done–see above). Use a spoon or cookie scoop to form the dough into balls about 1 to 1 ½ inches in diameter.
- Bake for 10-12 minutes, until cookies are matte in appearance and brown slightly on top. If the marshmallows cause the cookies to spread, use a round cookie/biscuit cutter in a circular motion (think “wax on, wax off”) to put cookies back into nice, round shapes.
- While the cookies bake, cut your regular-sized marshmallows in half.
- As soon as you take the cookies out of the oven, place a half of a marshmallow cut-side down on each cookie so it adheres to the warm cookie. Let cookies cool for a few minutes (or leave while you bake the rest of your dough). Return to oven for about 1 minute, until the marshmallow is golden. Optionally, you can place them under a broiler for about 1 minute, if serving later.
- Let cool on the pan about 10 minutes, then either enjoy or remove to a wire rack to cool completely.
Enjoy!
Store leftovers in an airtight container on the counter 3-4 days or the fridge up to 1 week.
*European butter is ideal, as it is creamier and will brown better. If using unsalted butter, add ⅛ teaspoon sea salt or ¼ teaspoon table salt to the flour mixture.