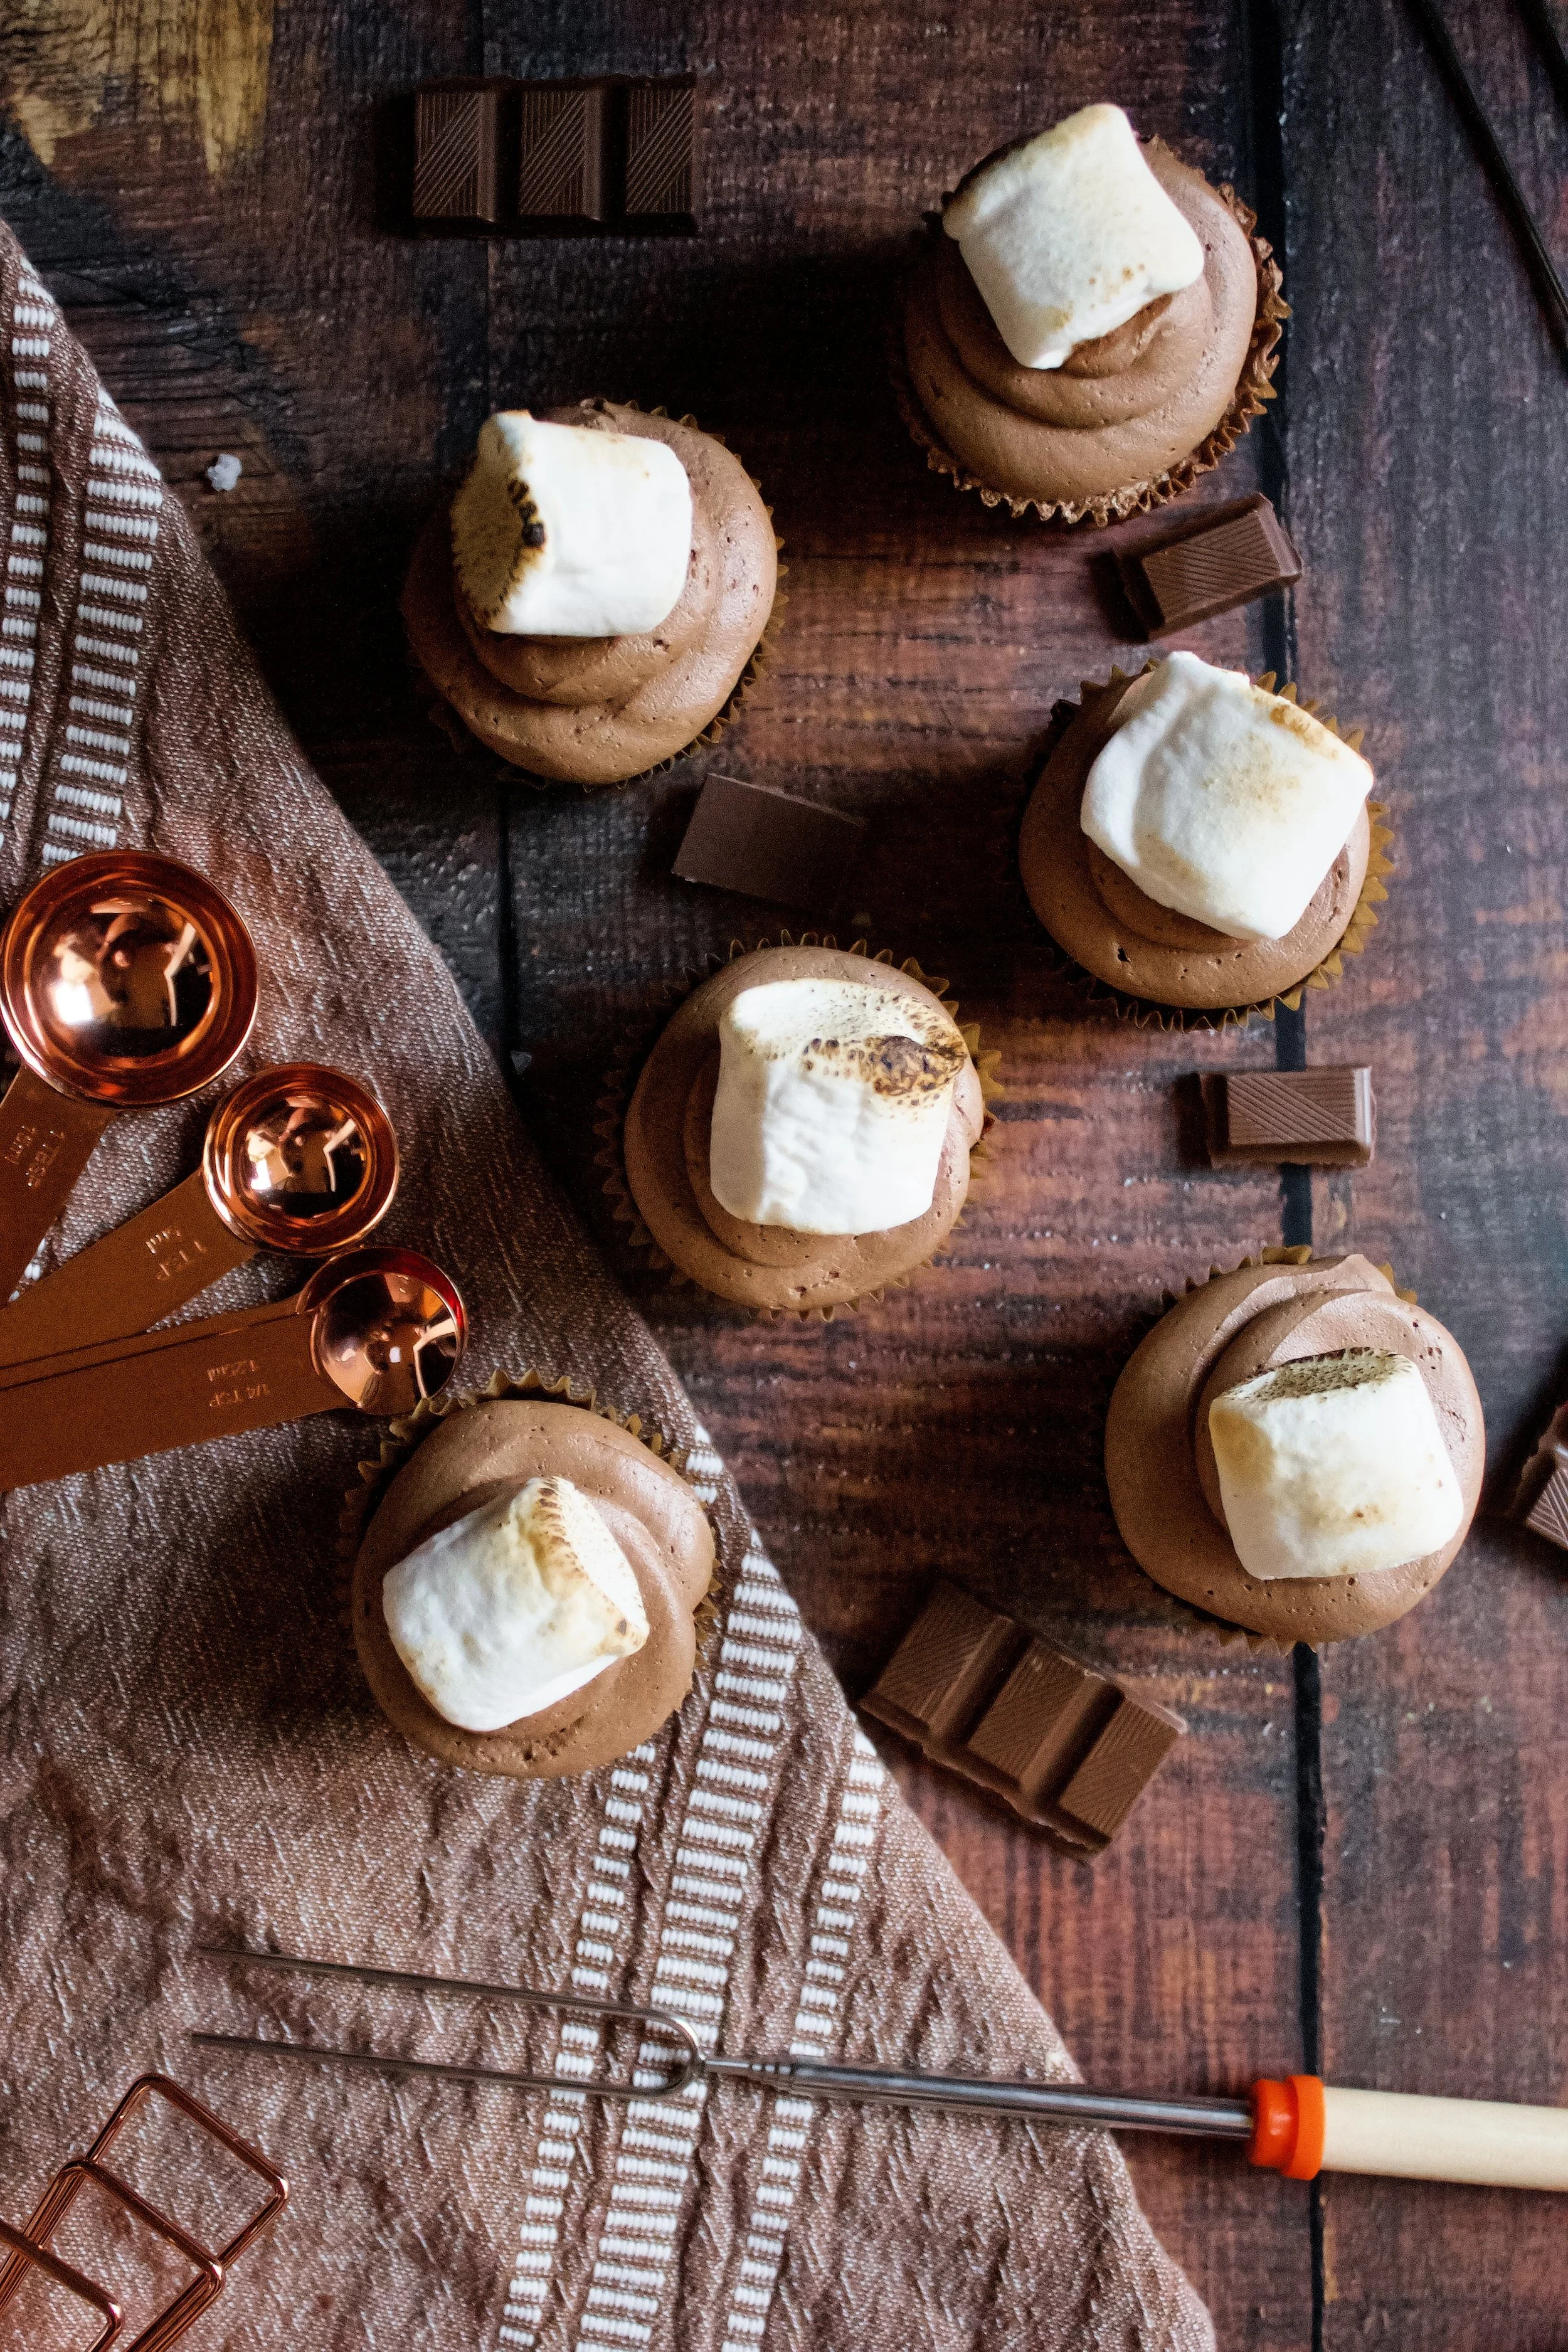
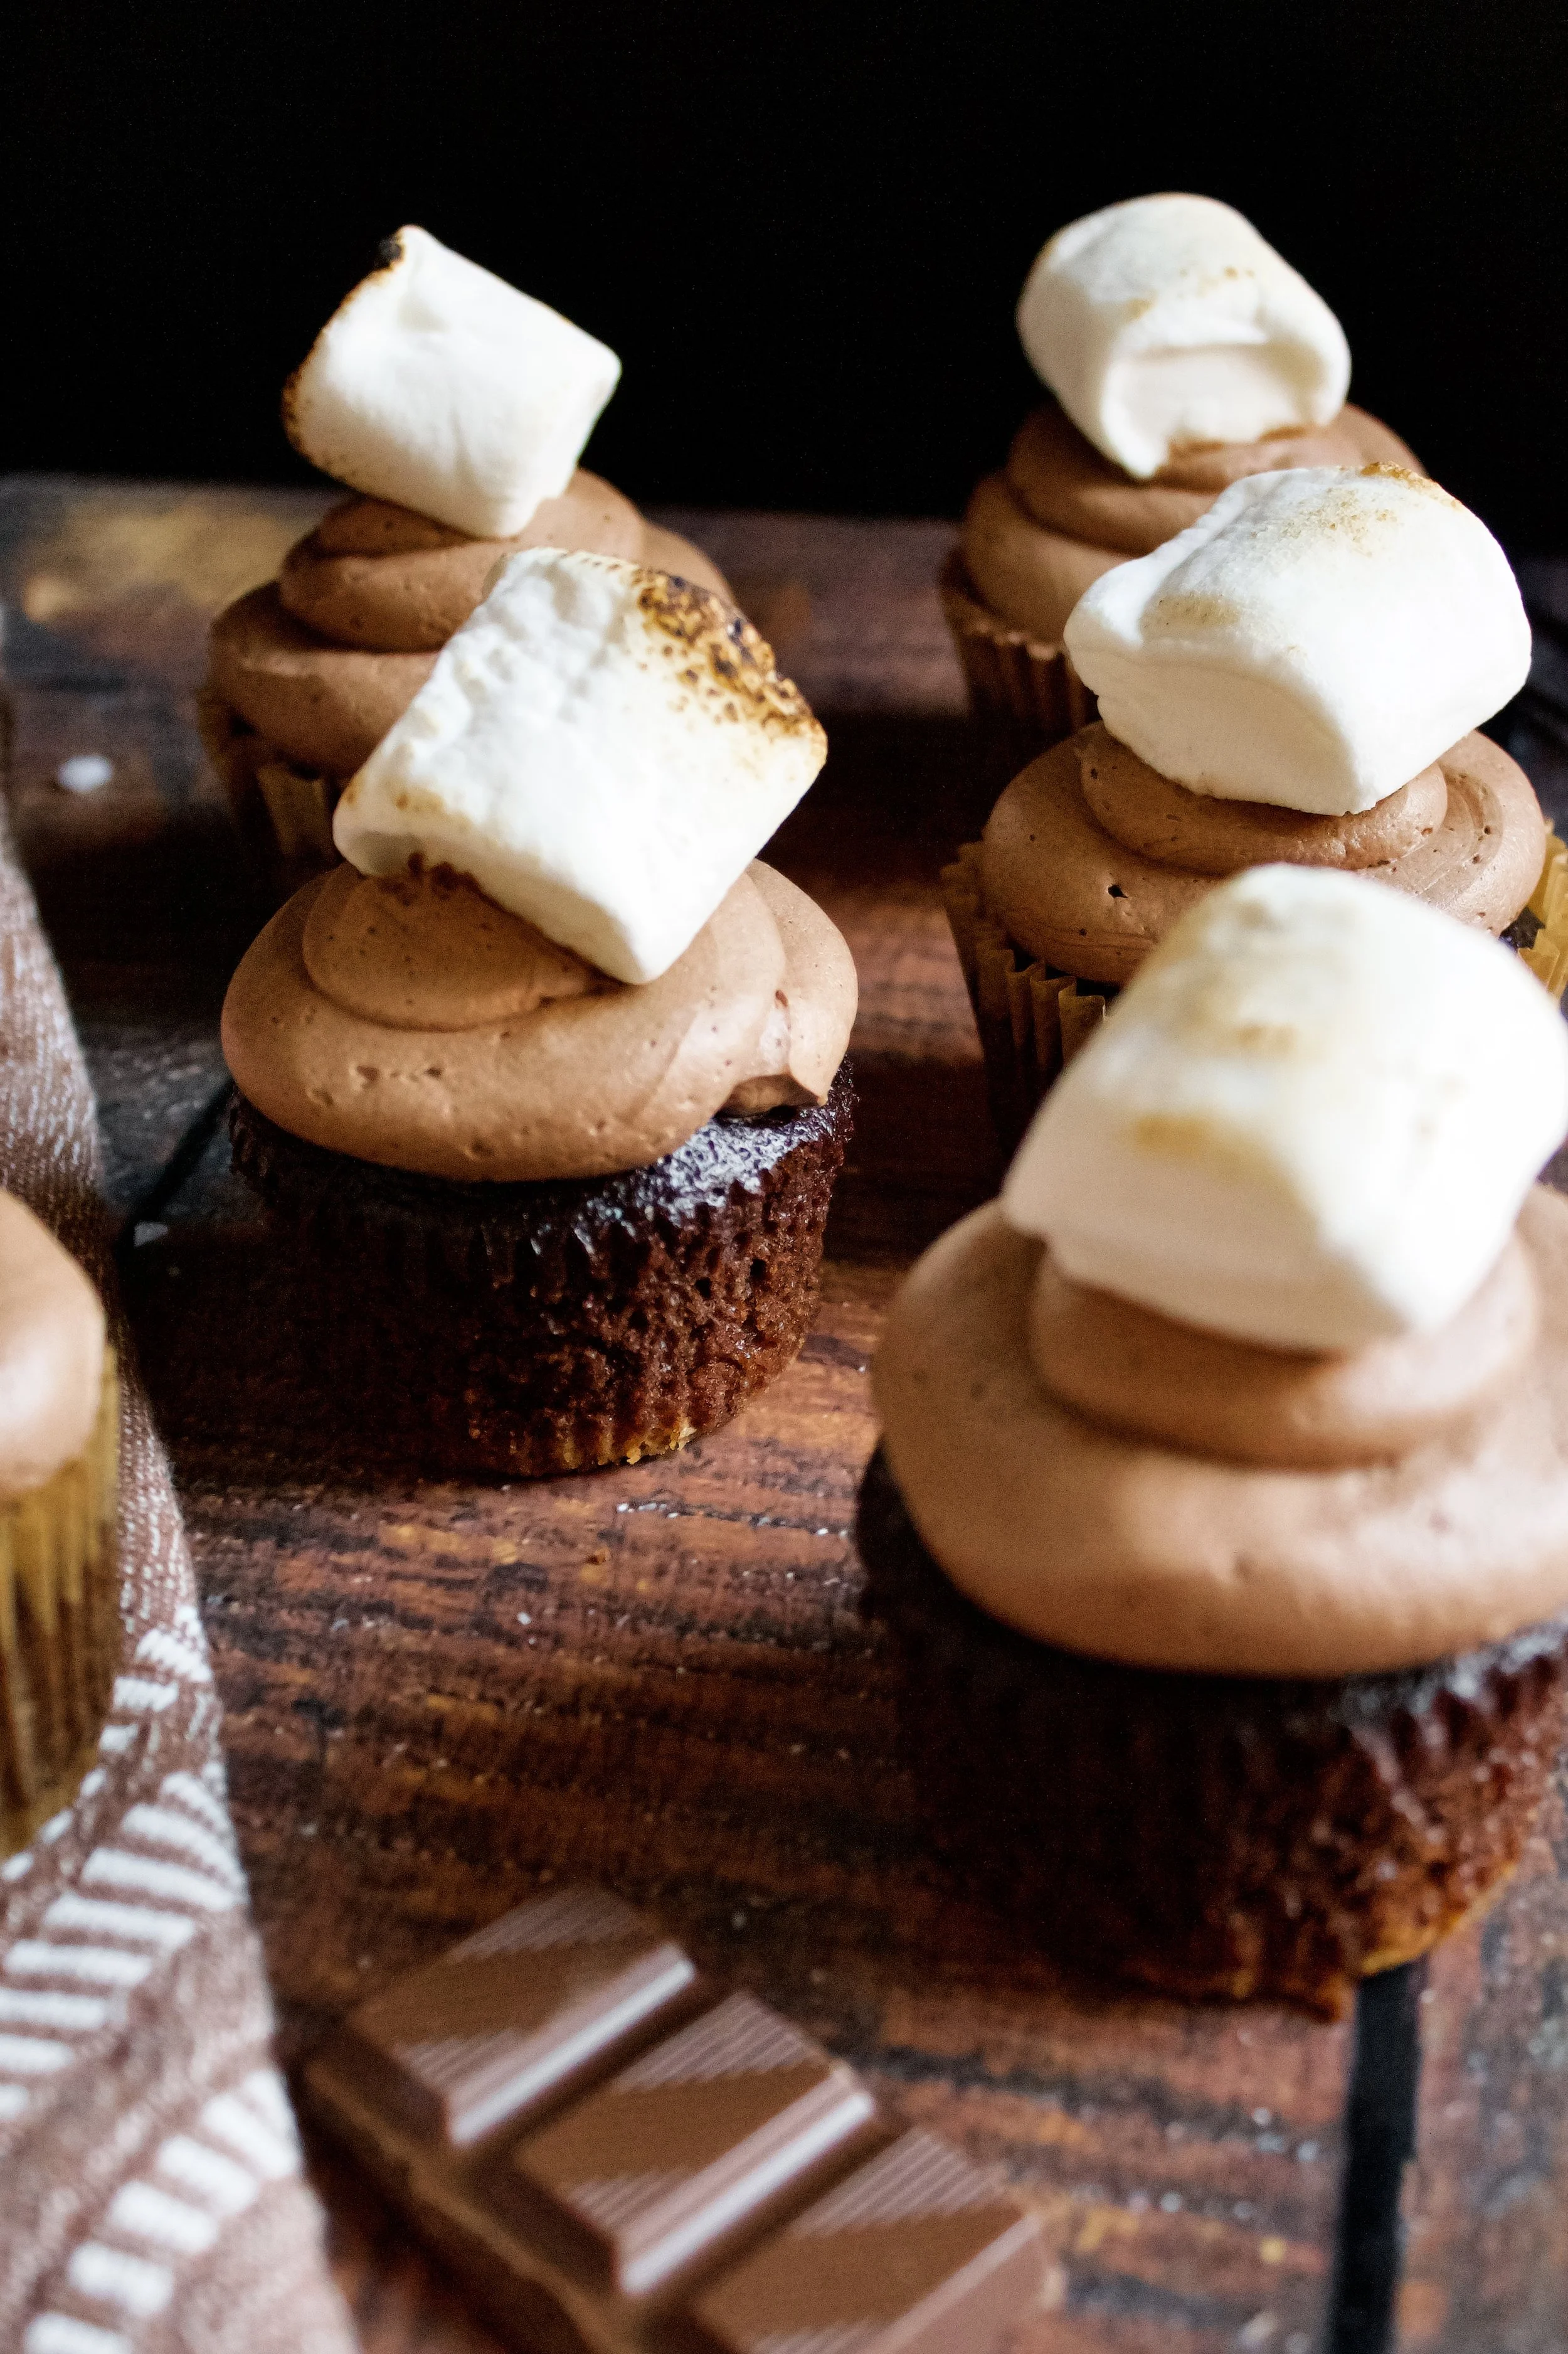
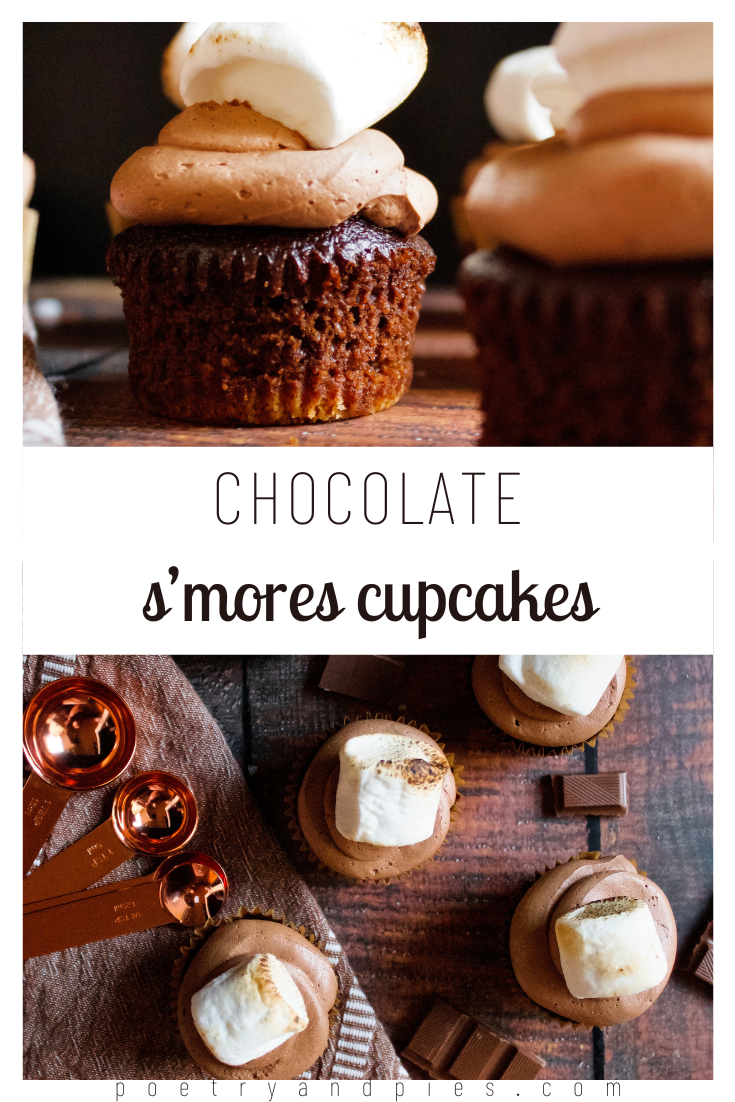
Chocolate S'more's Cupcakes
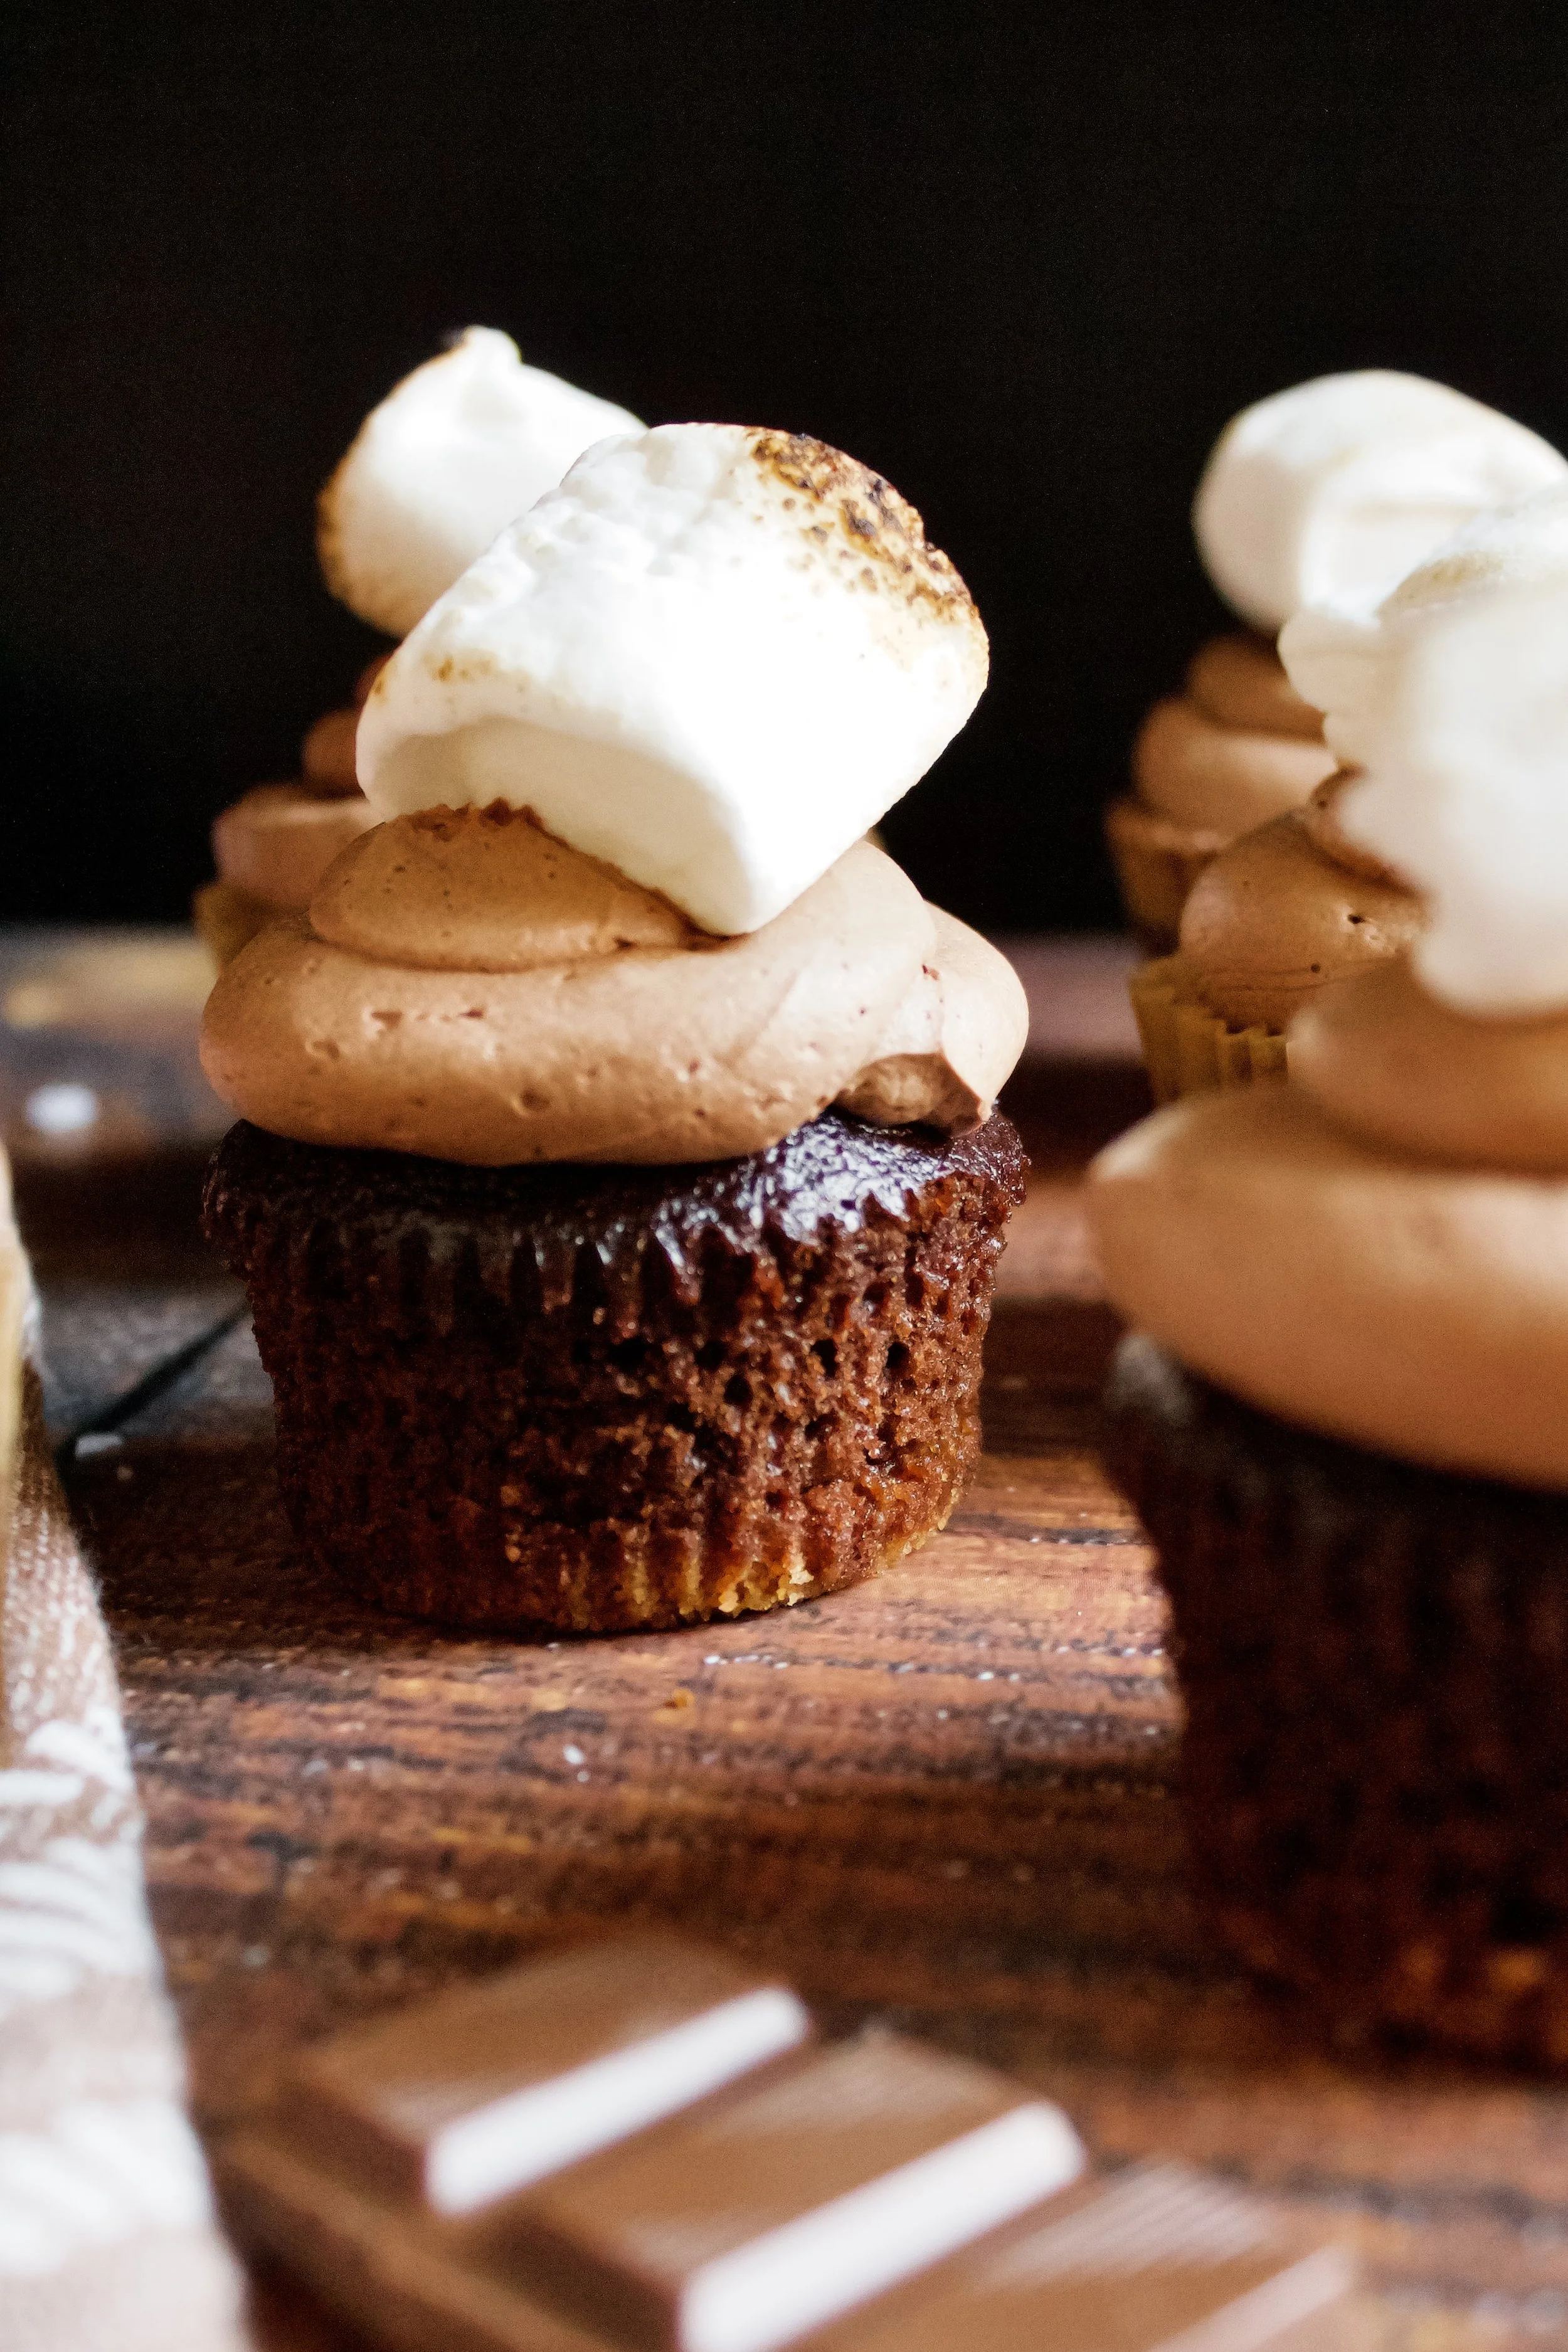
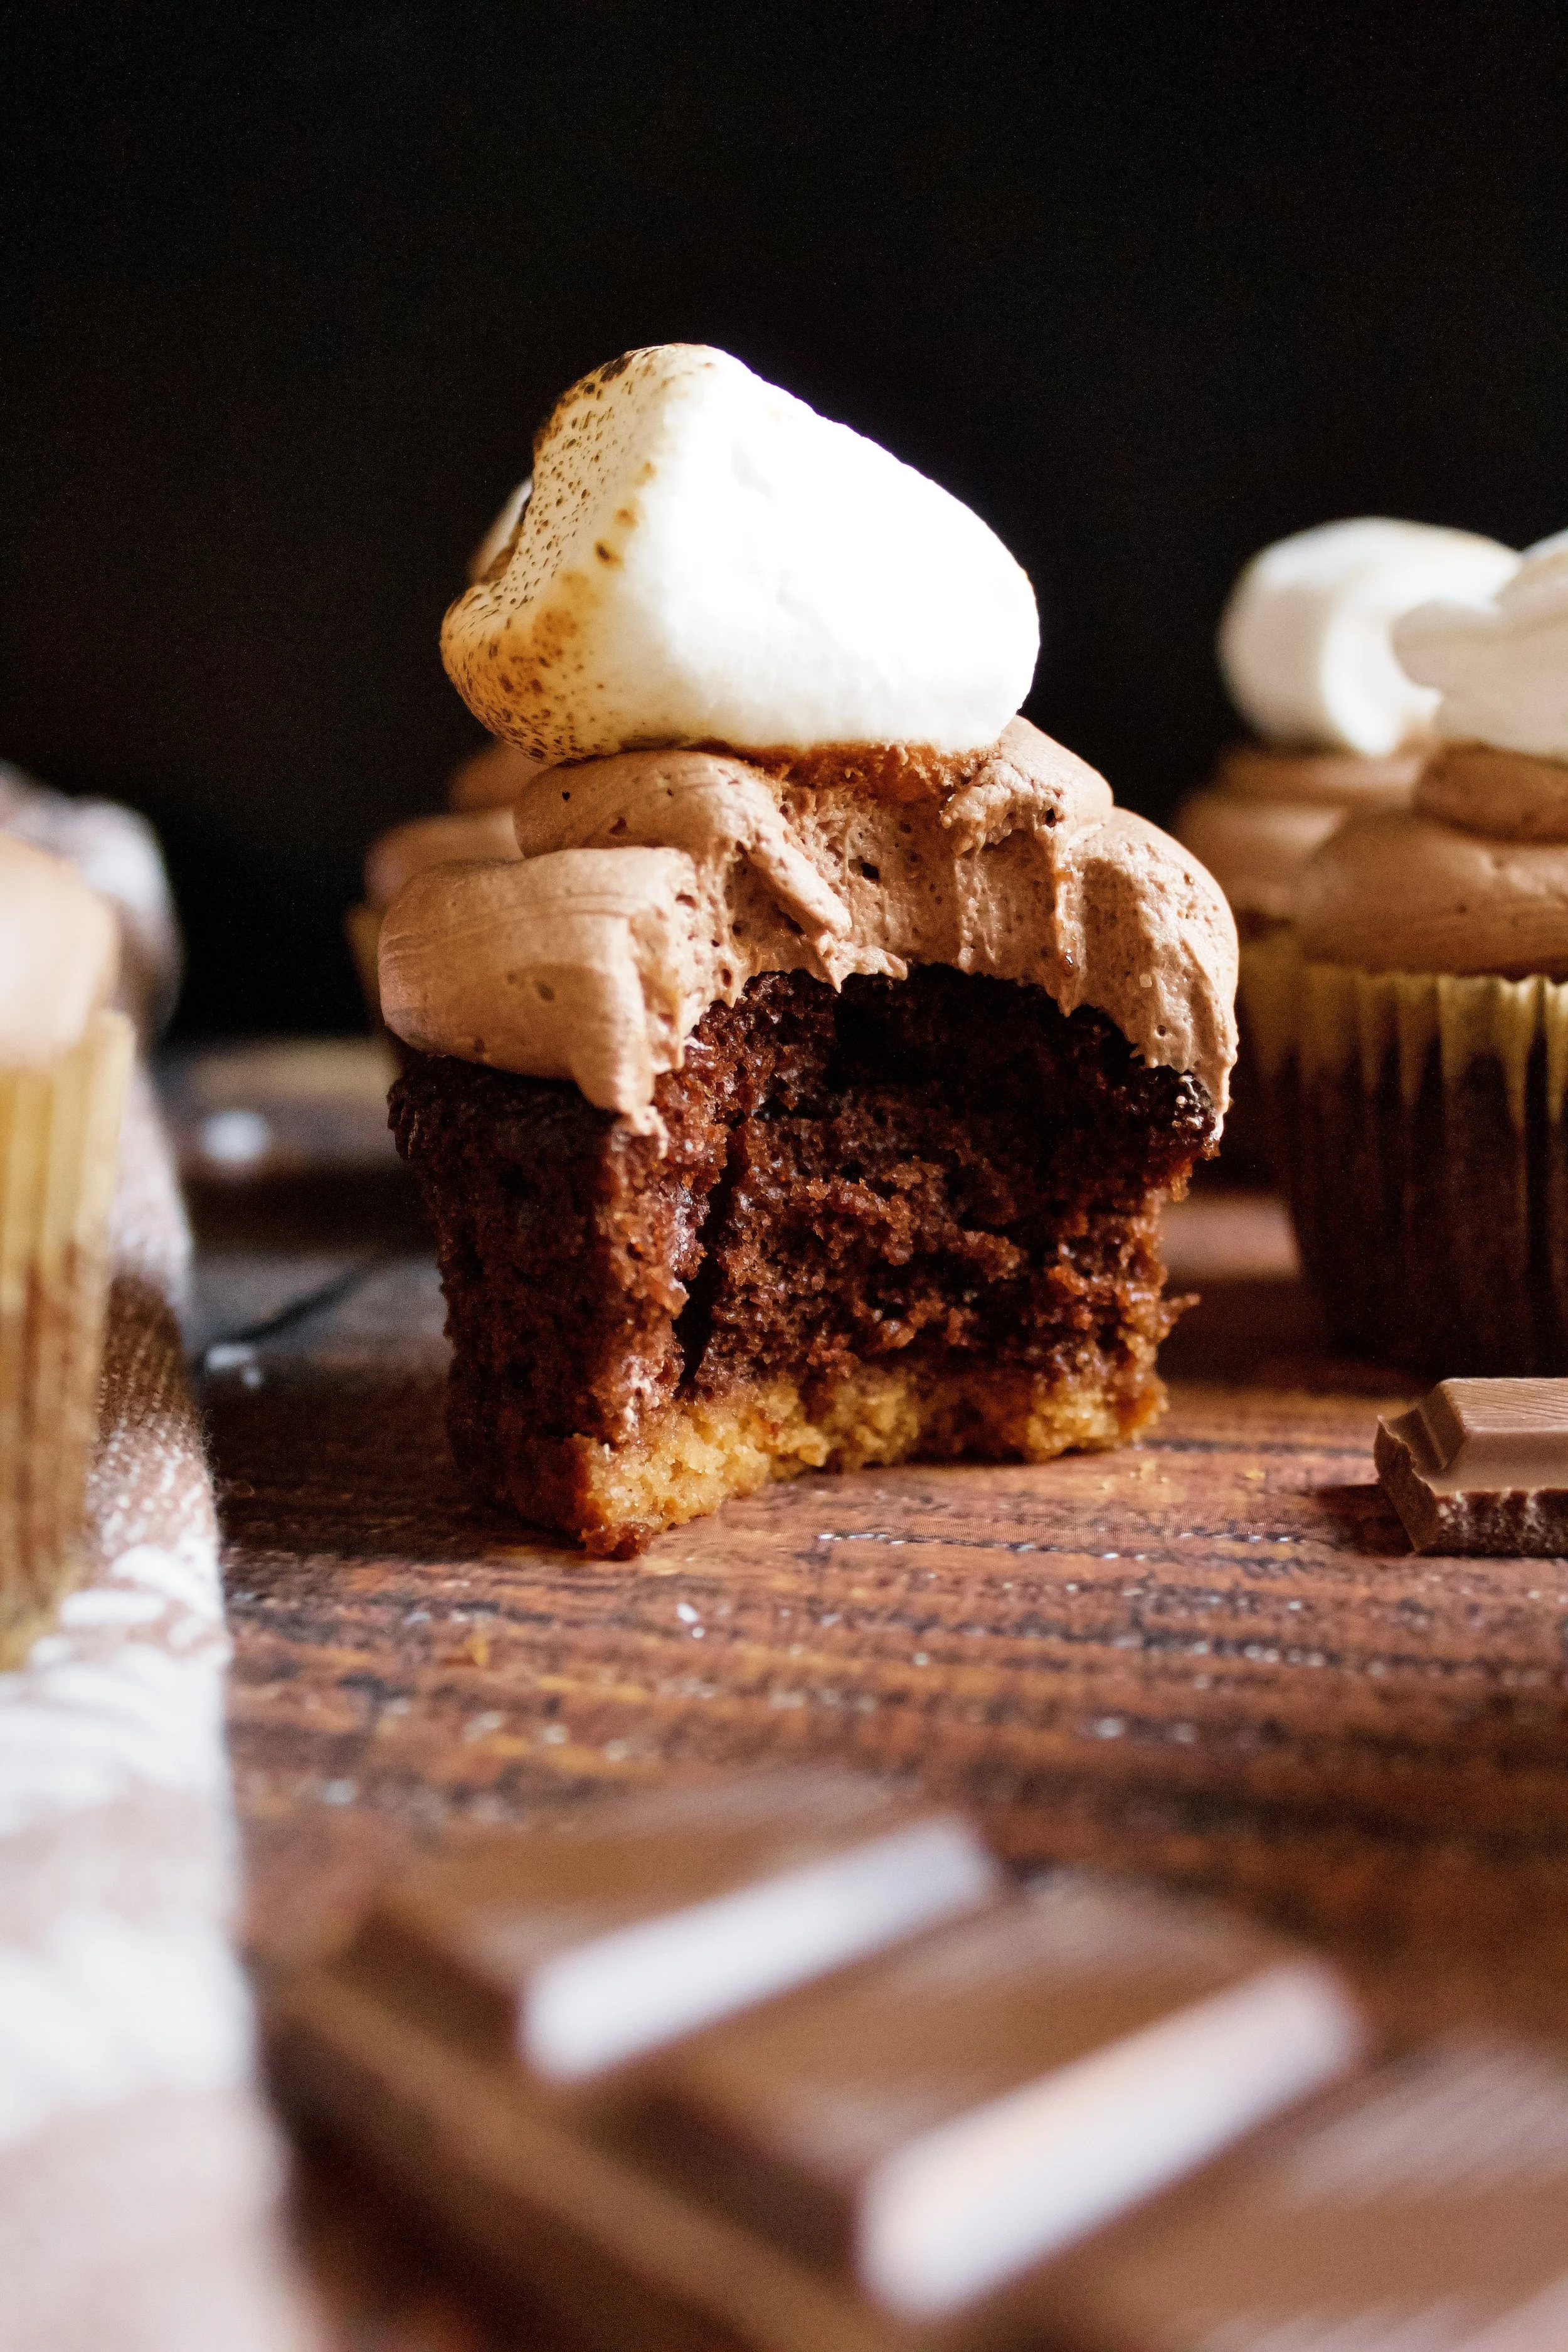
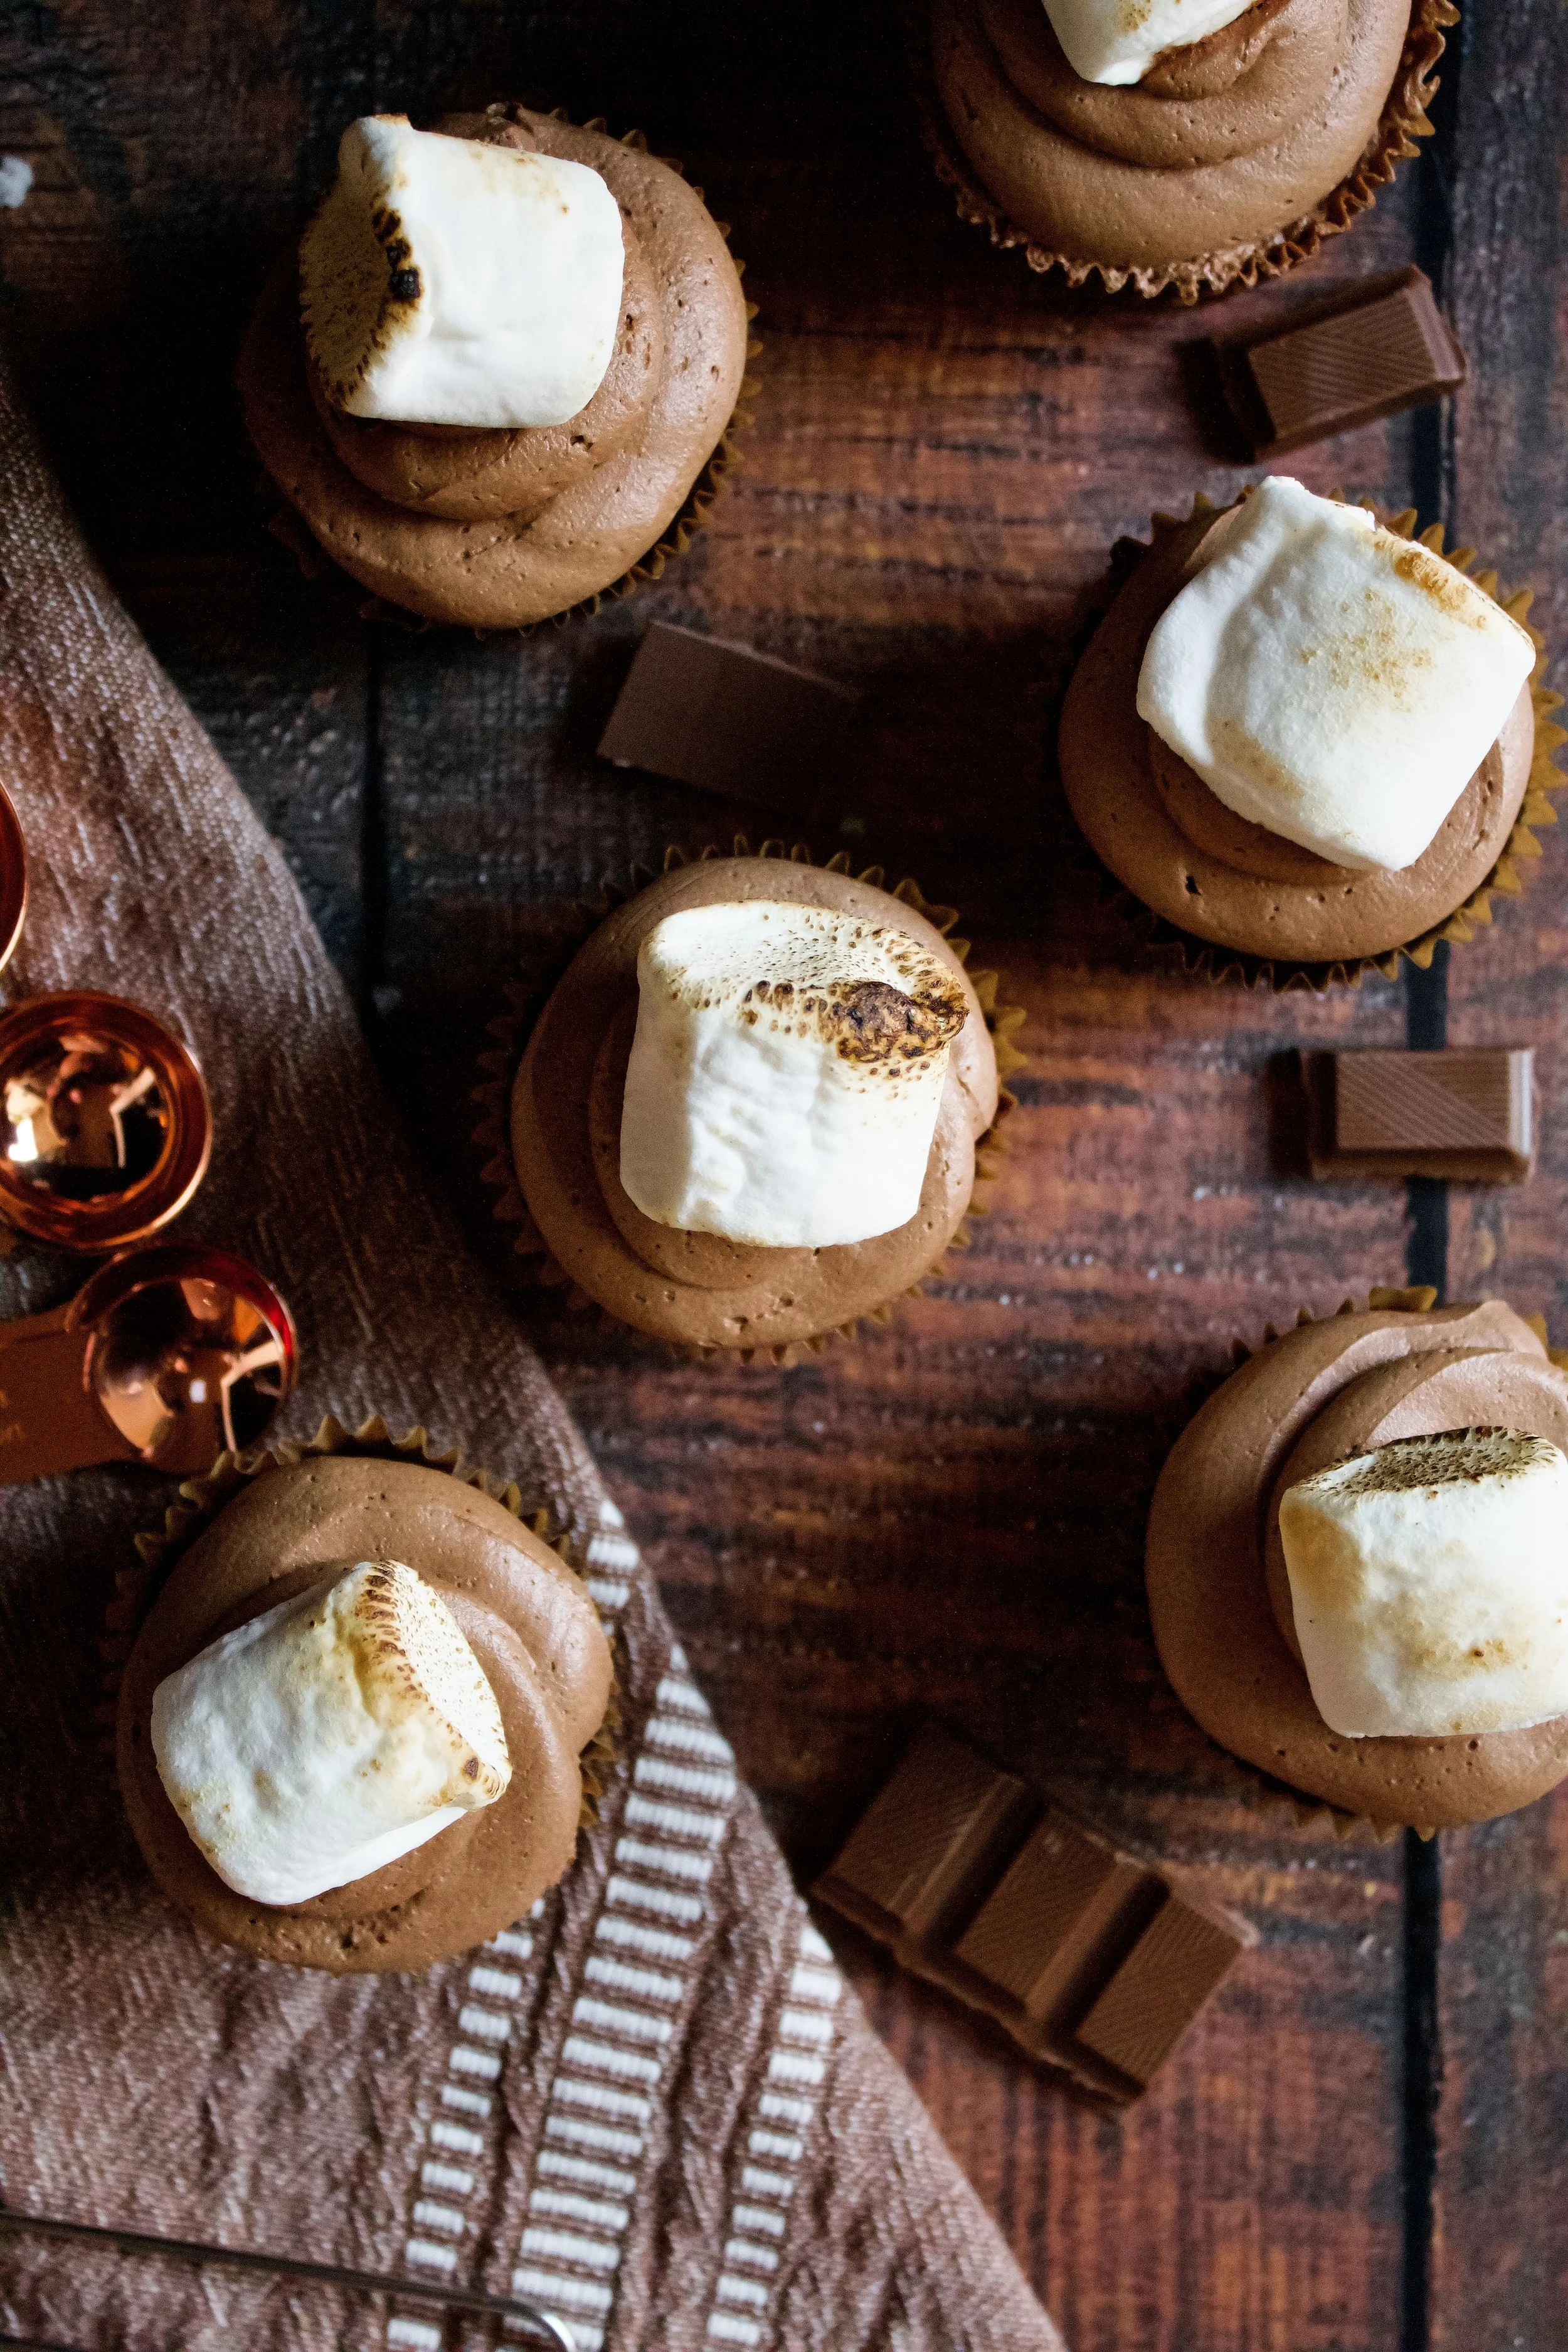
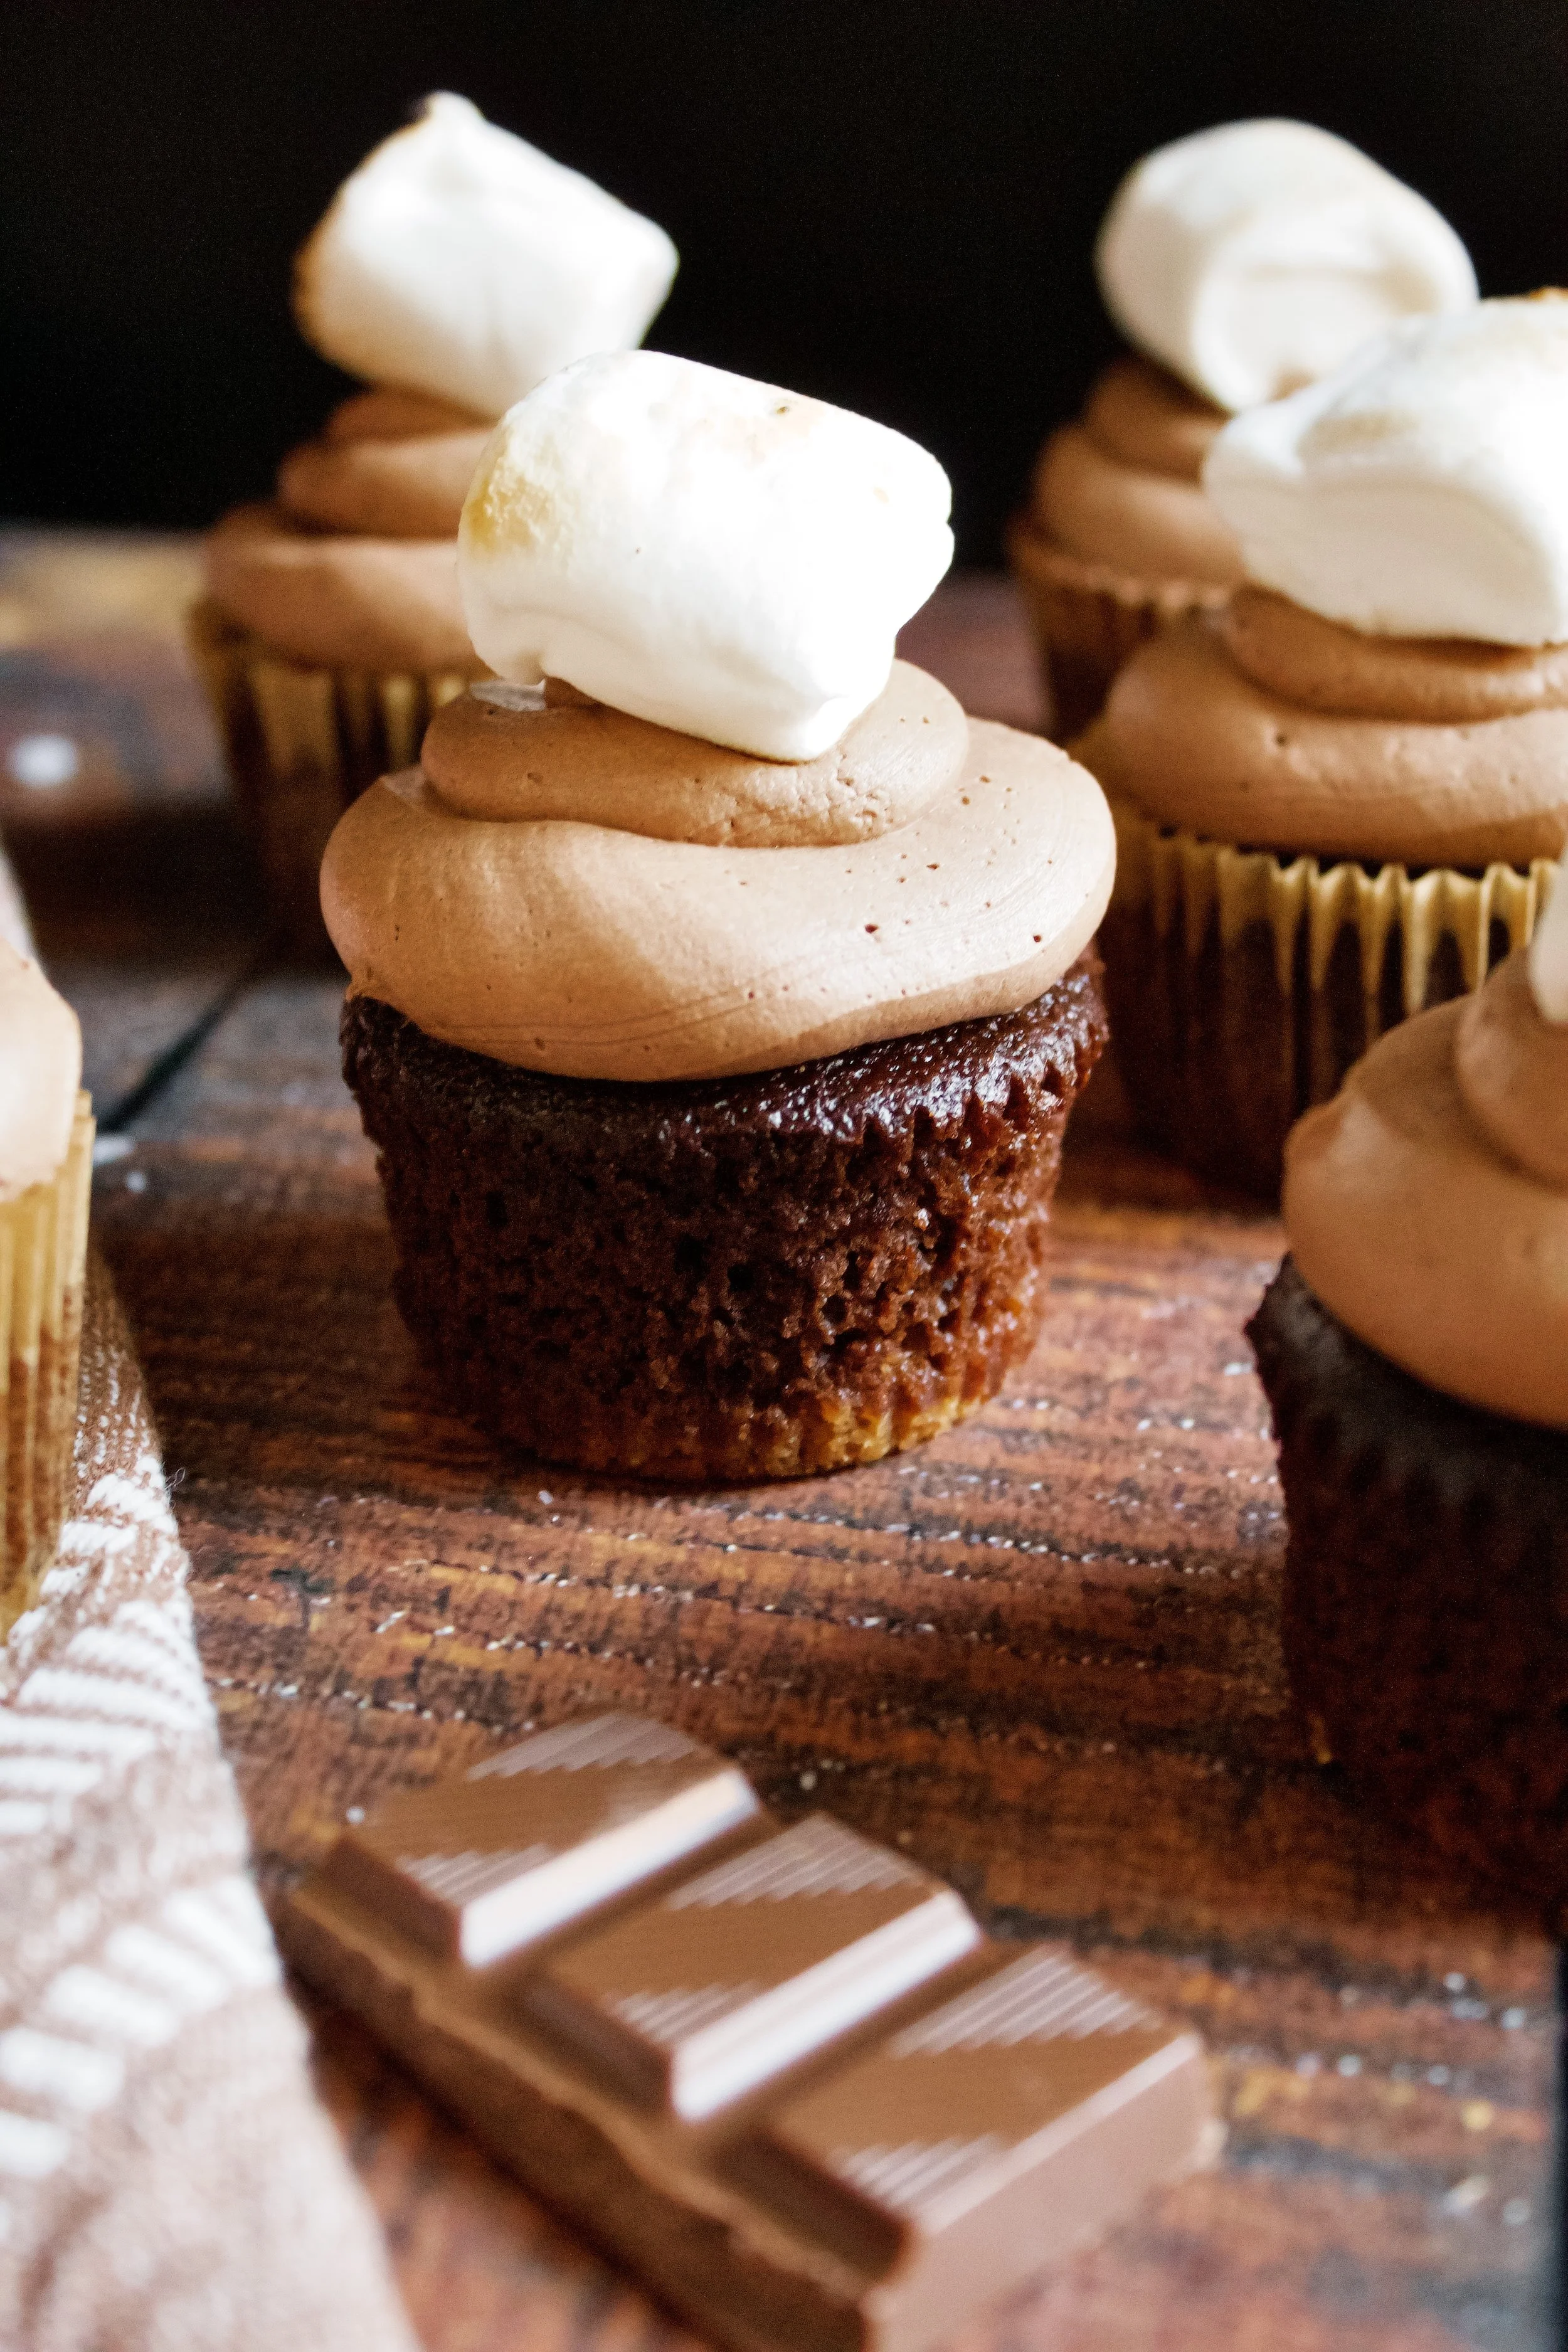
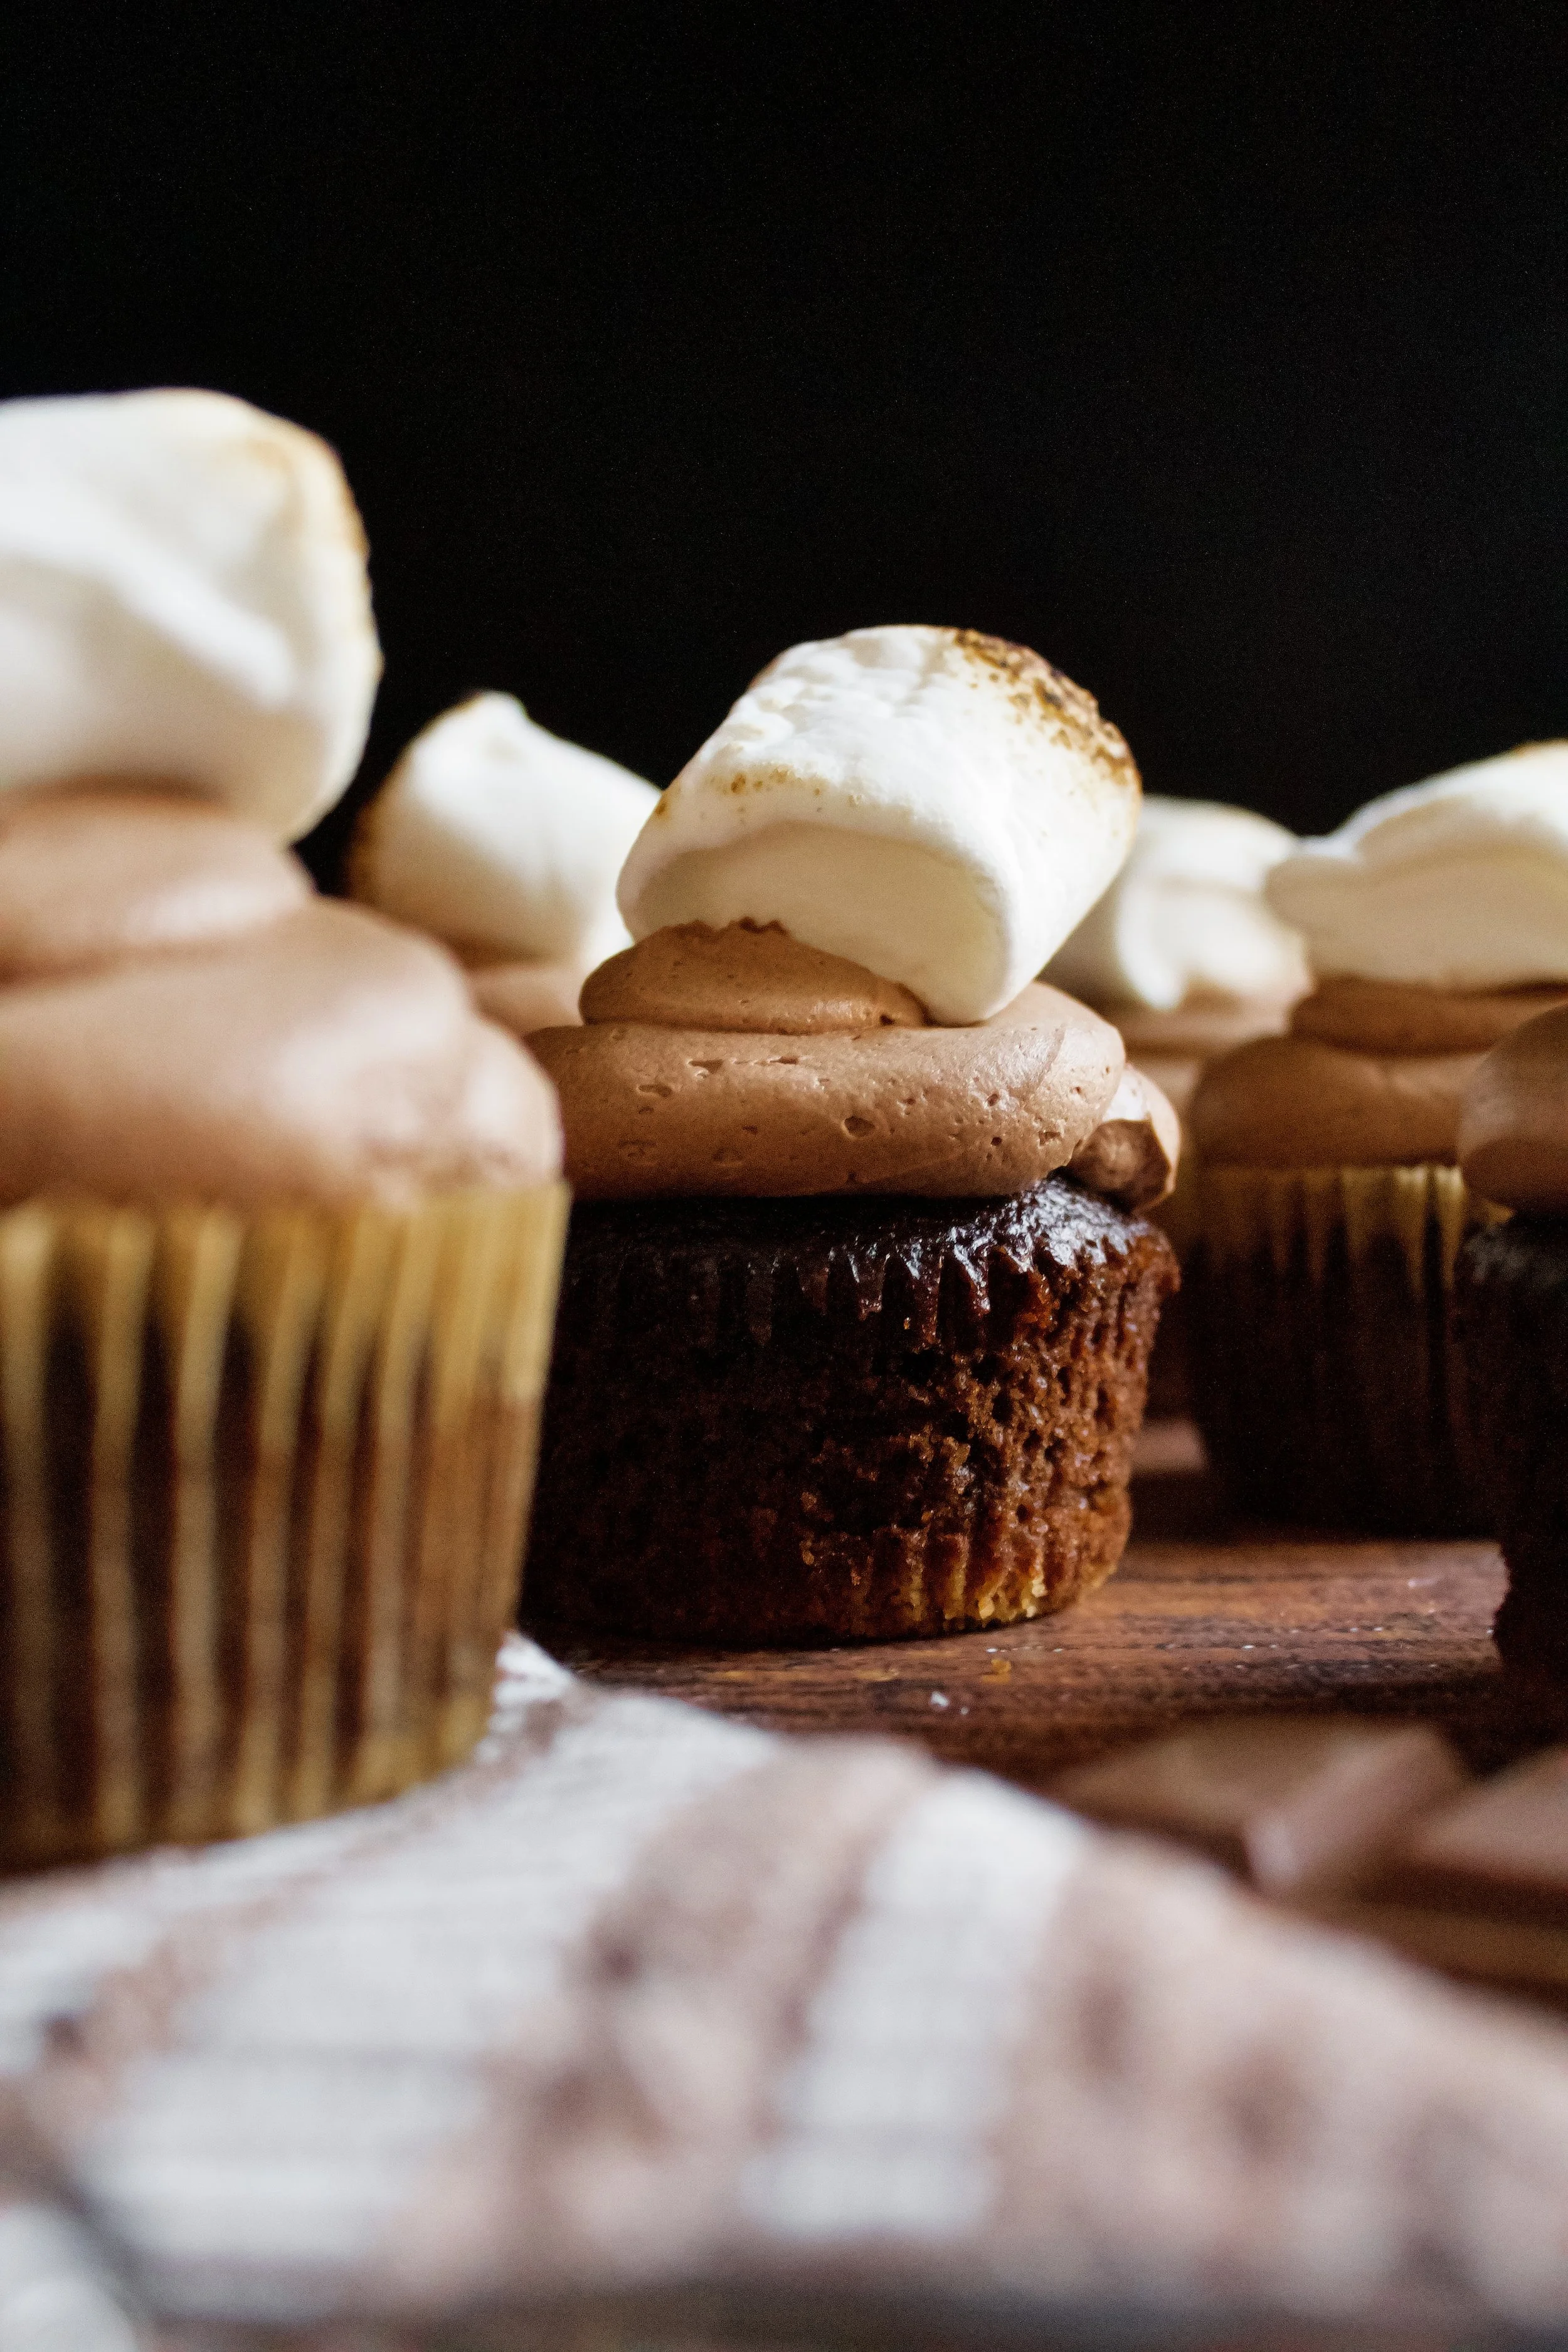
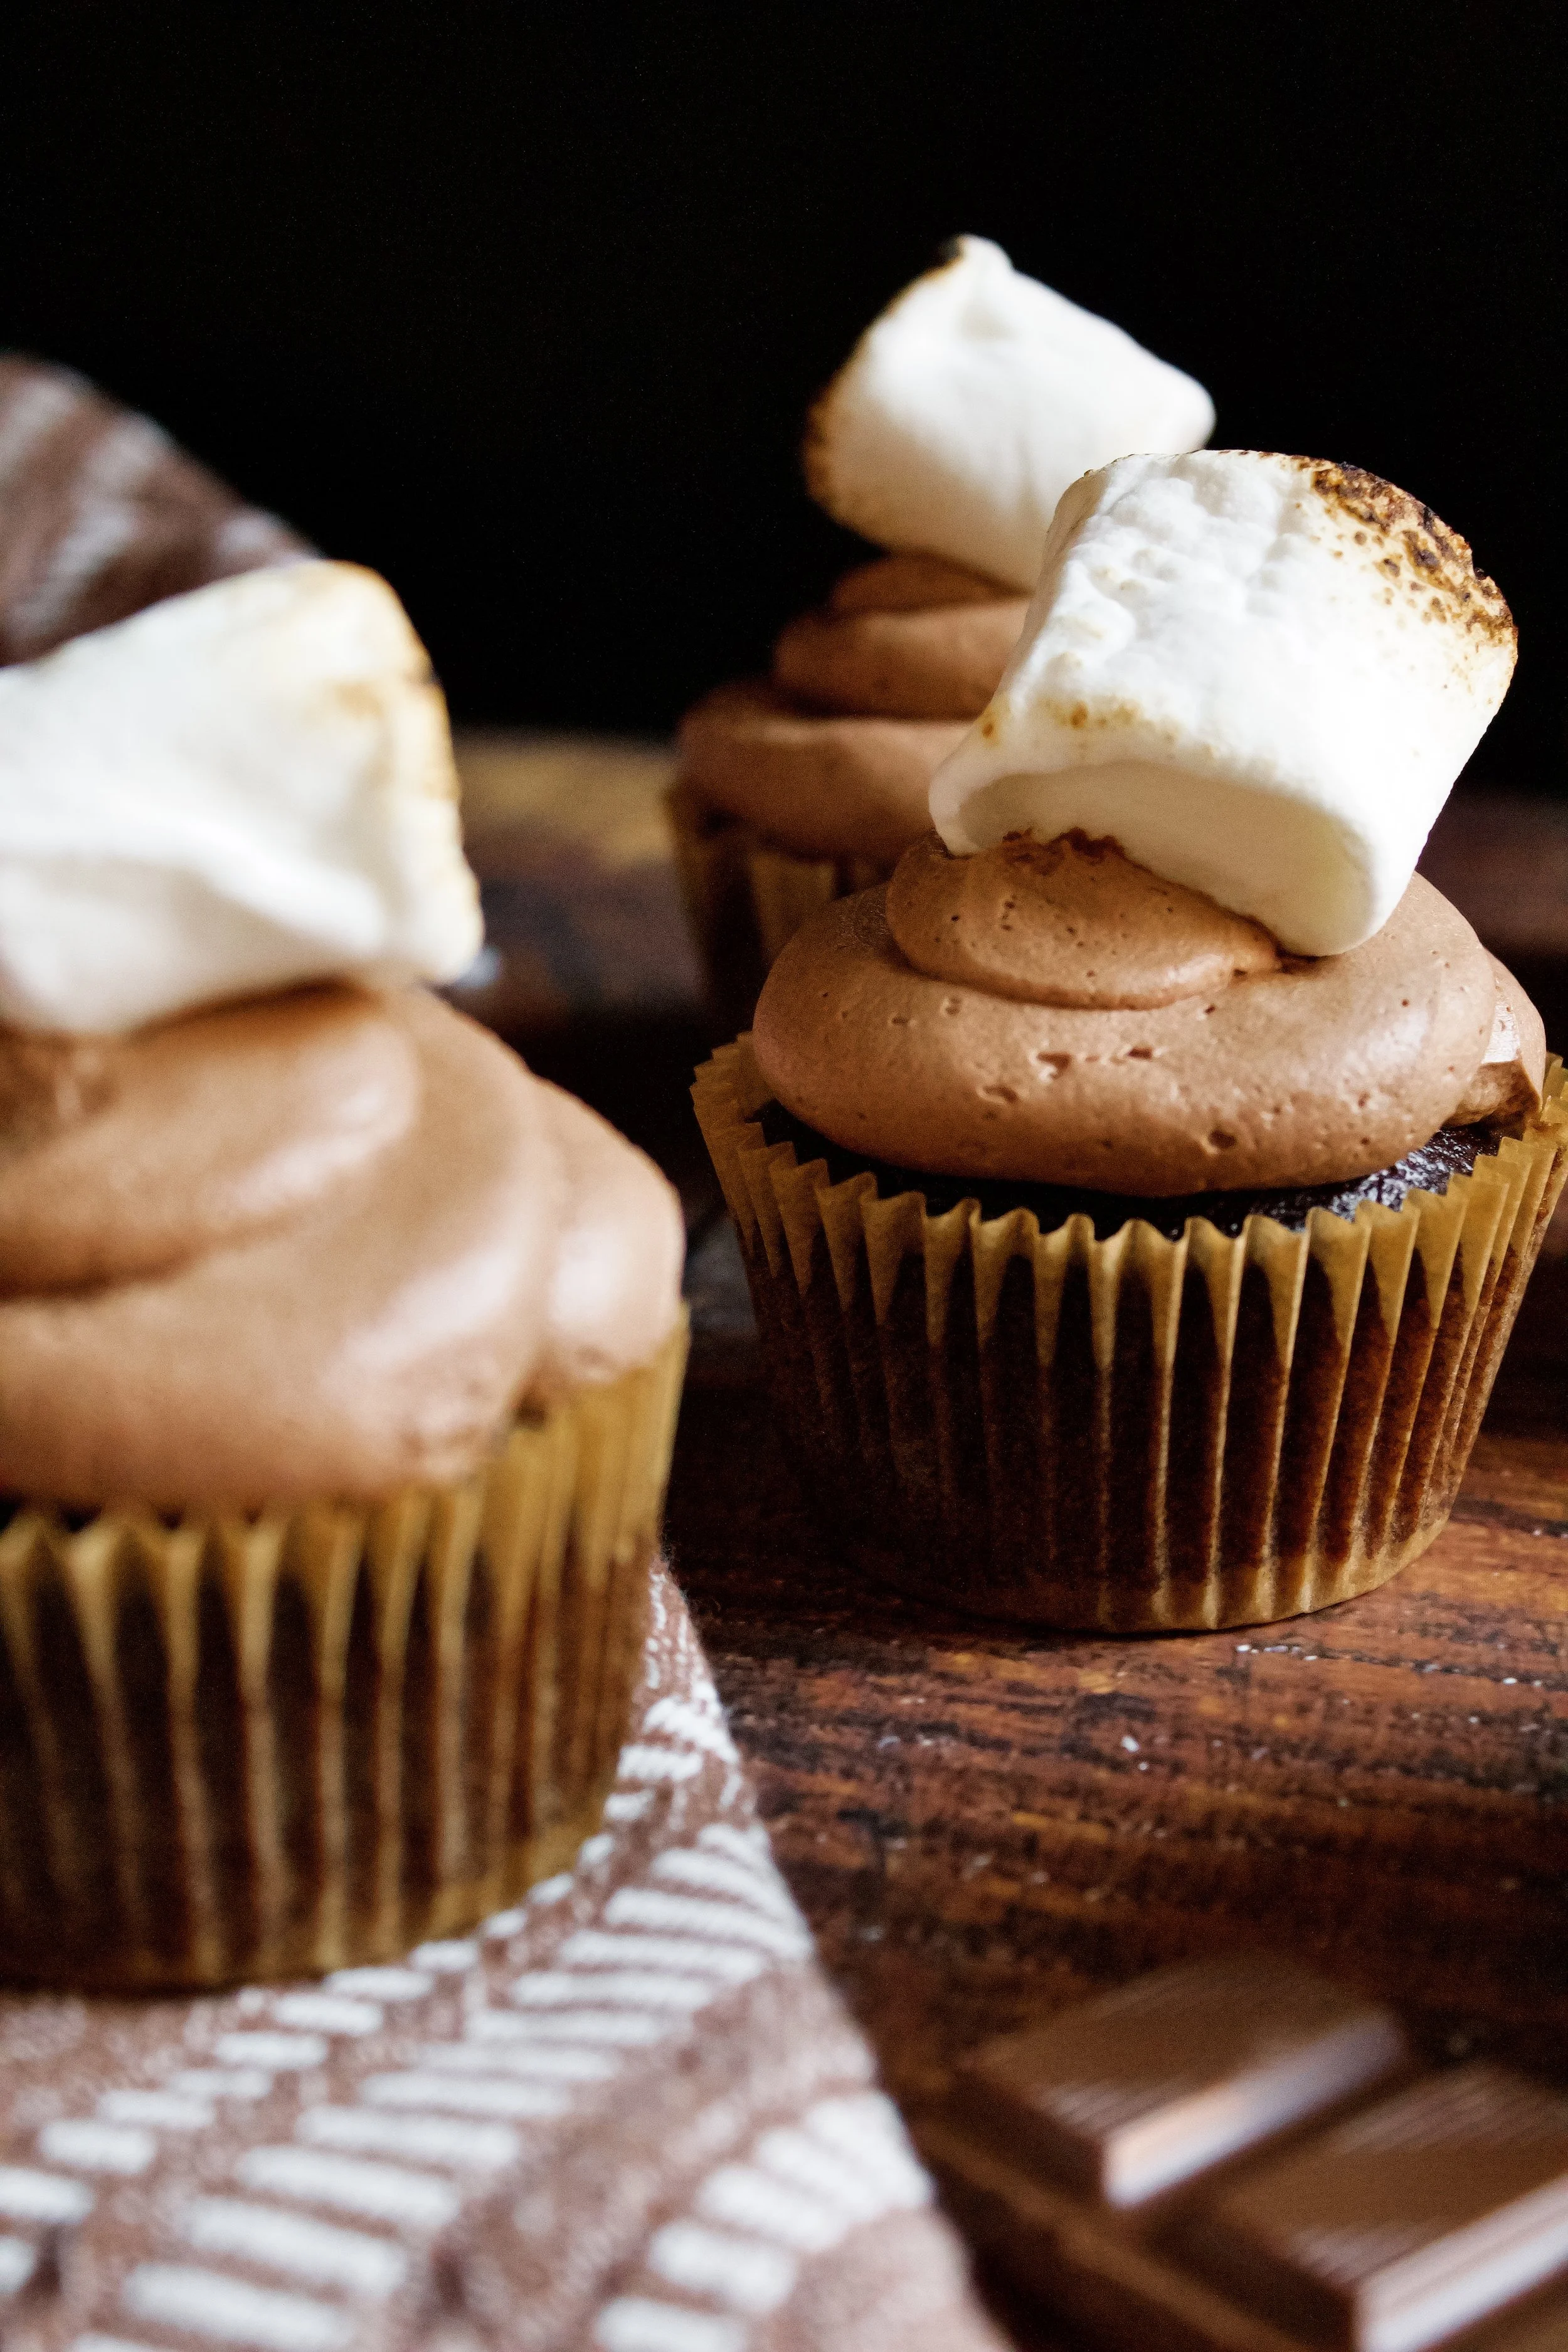
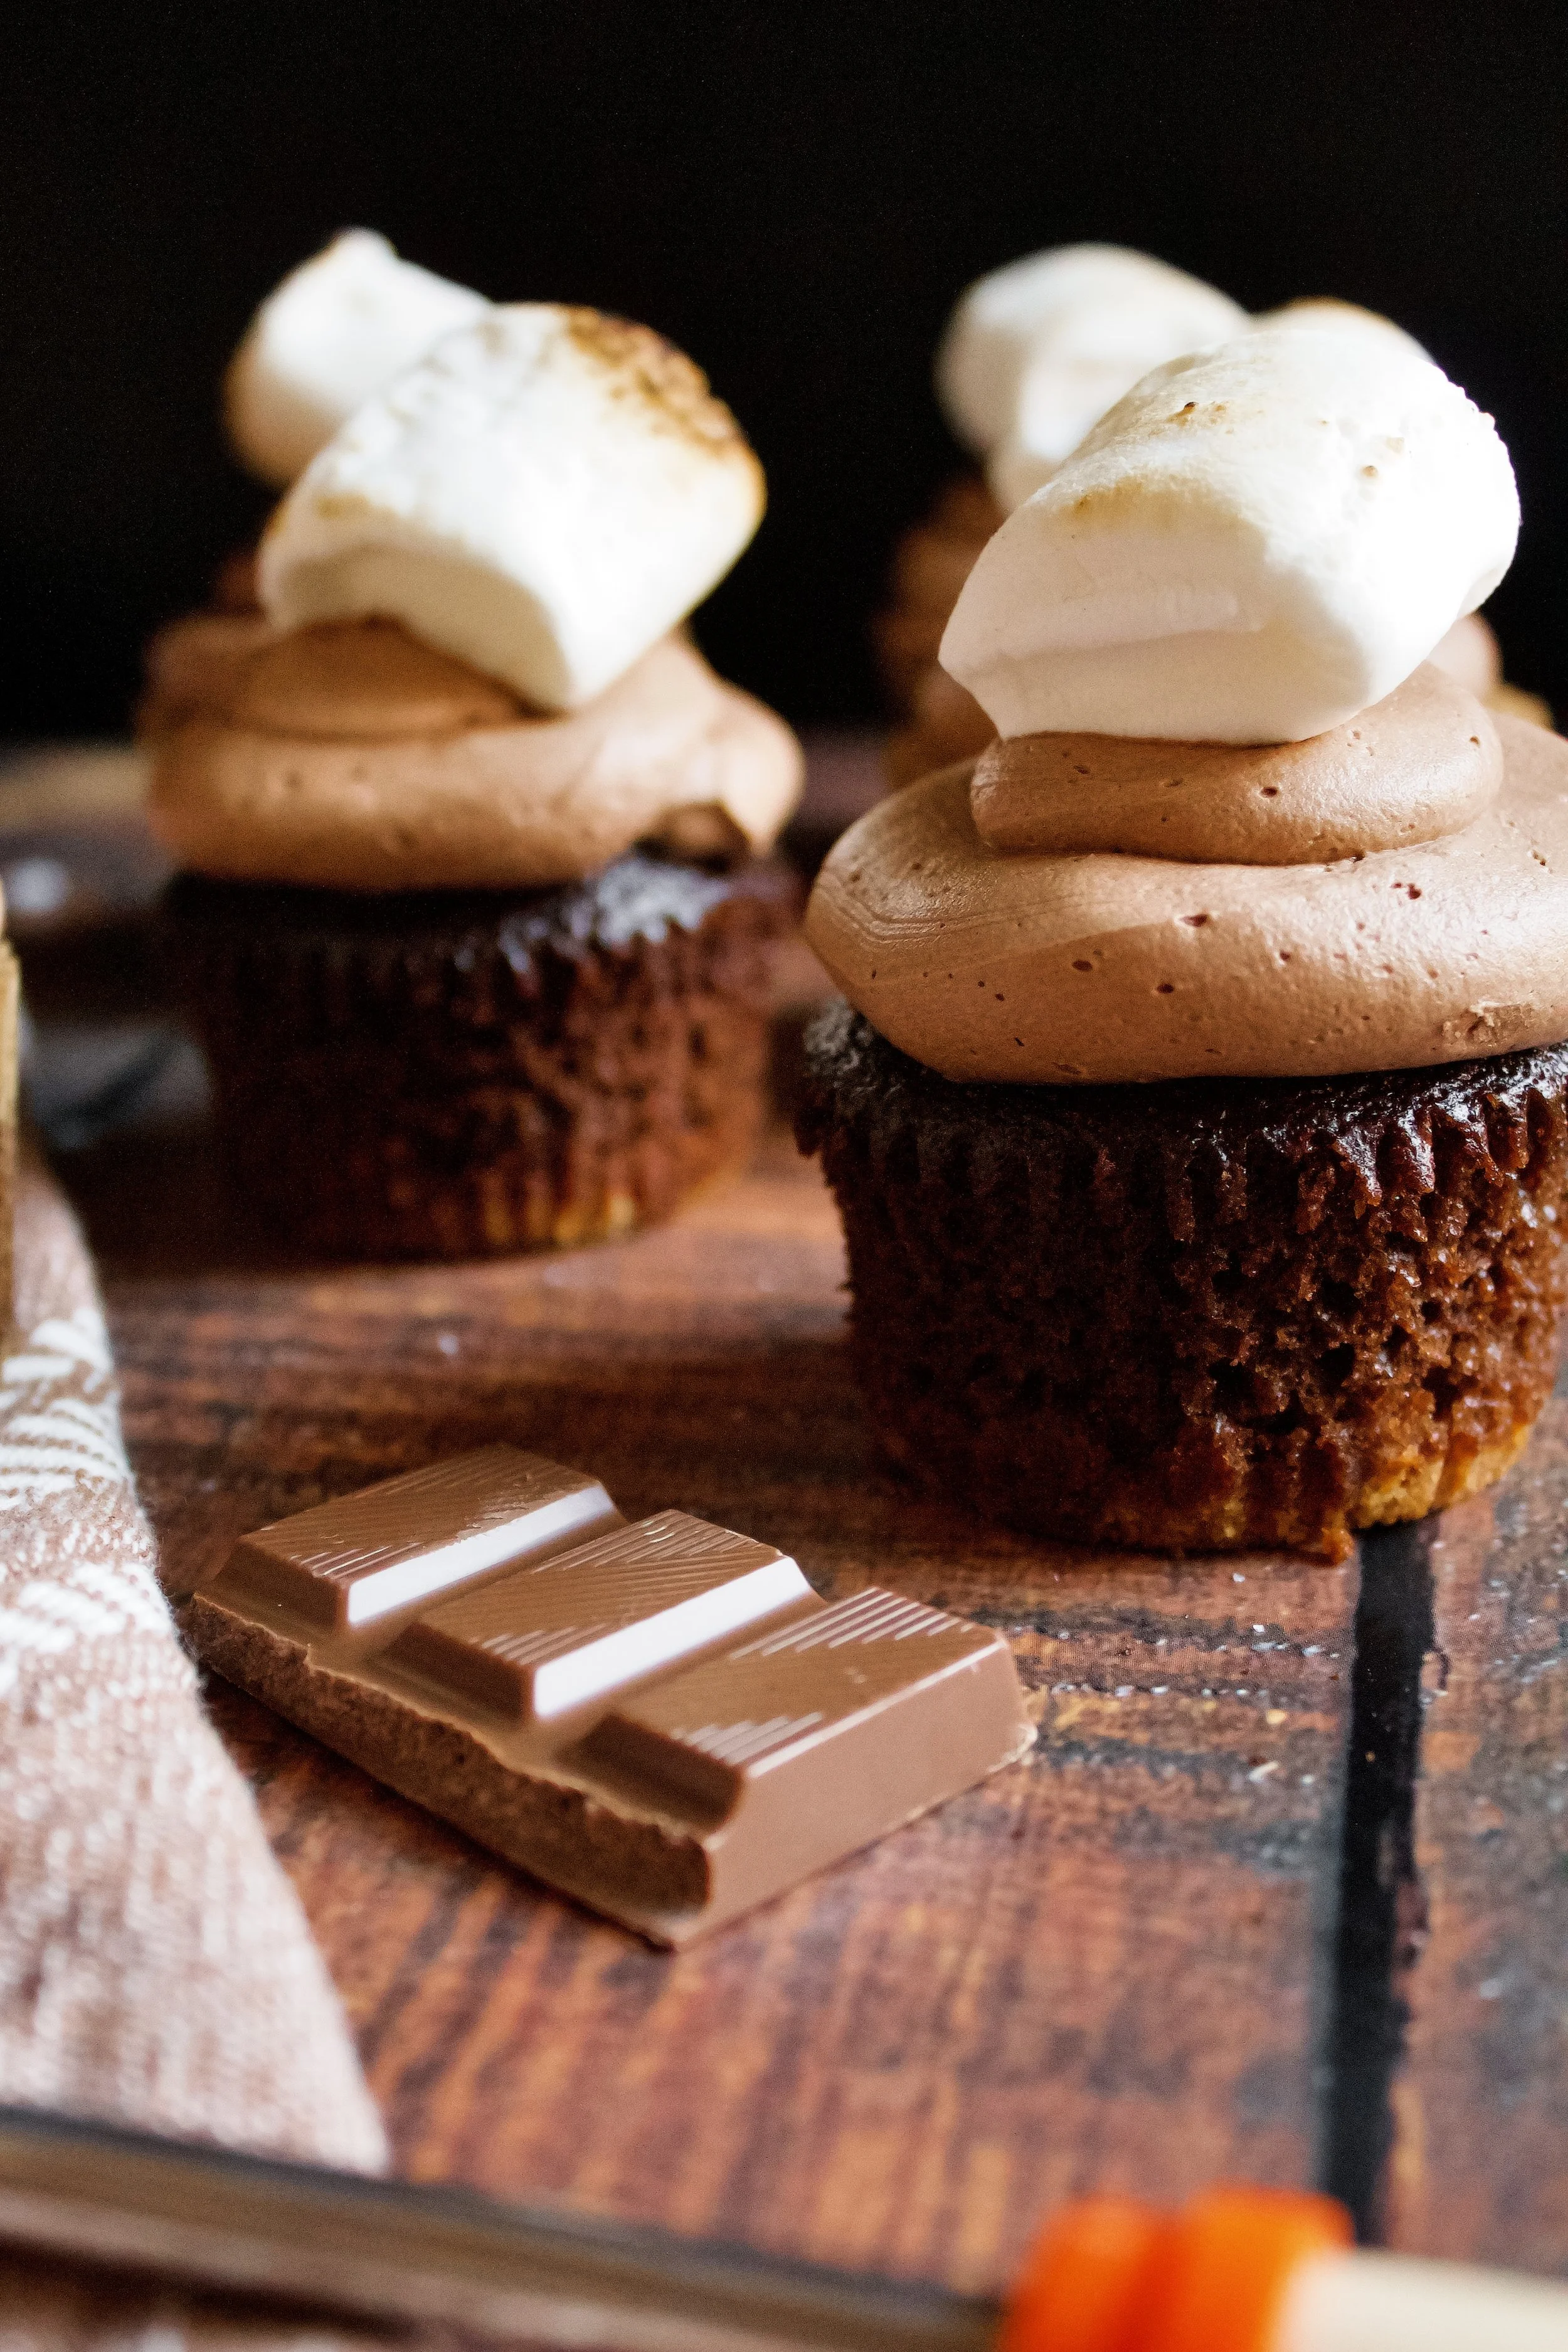
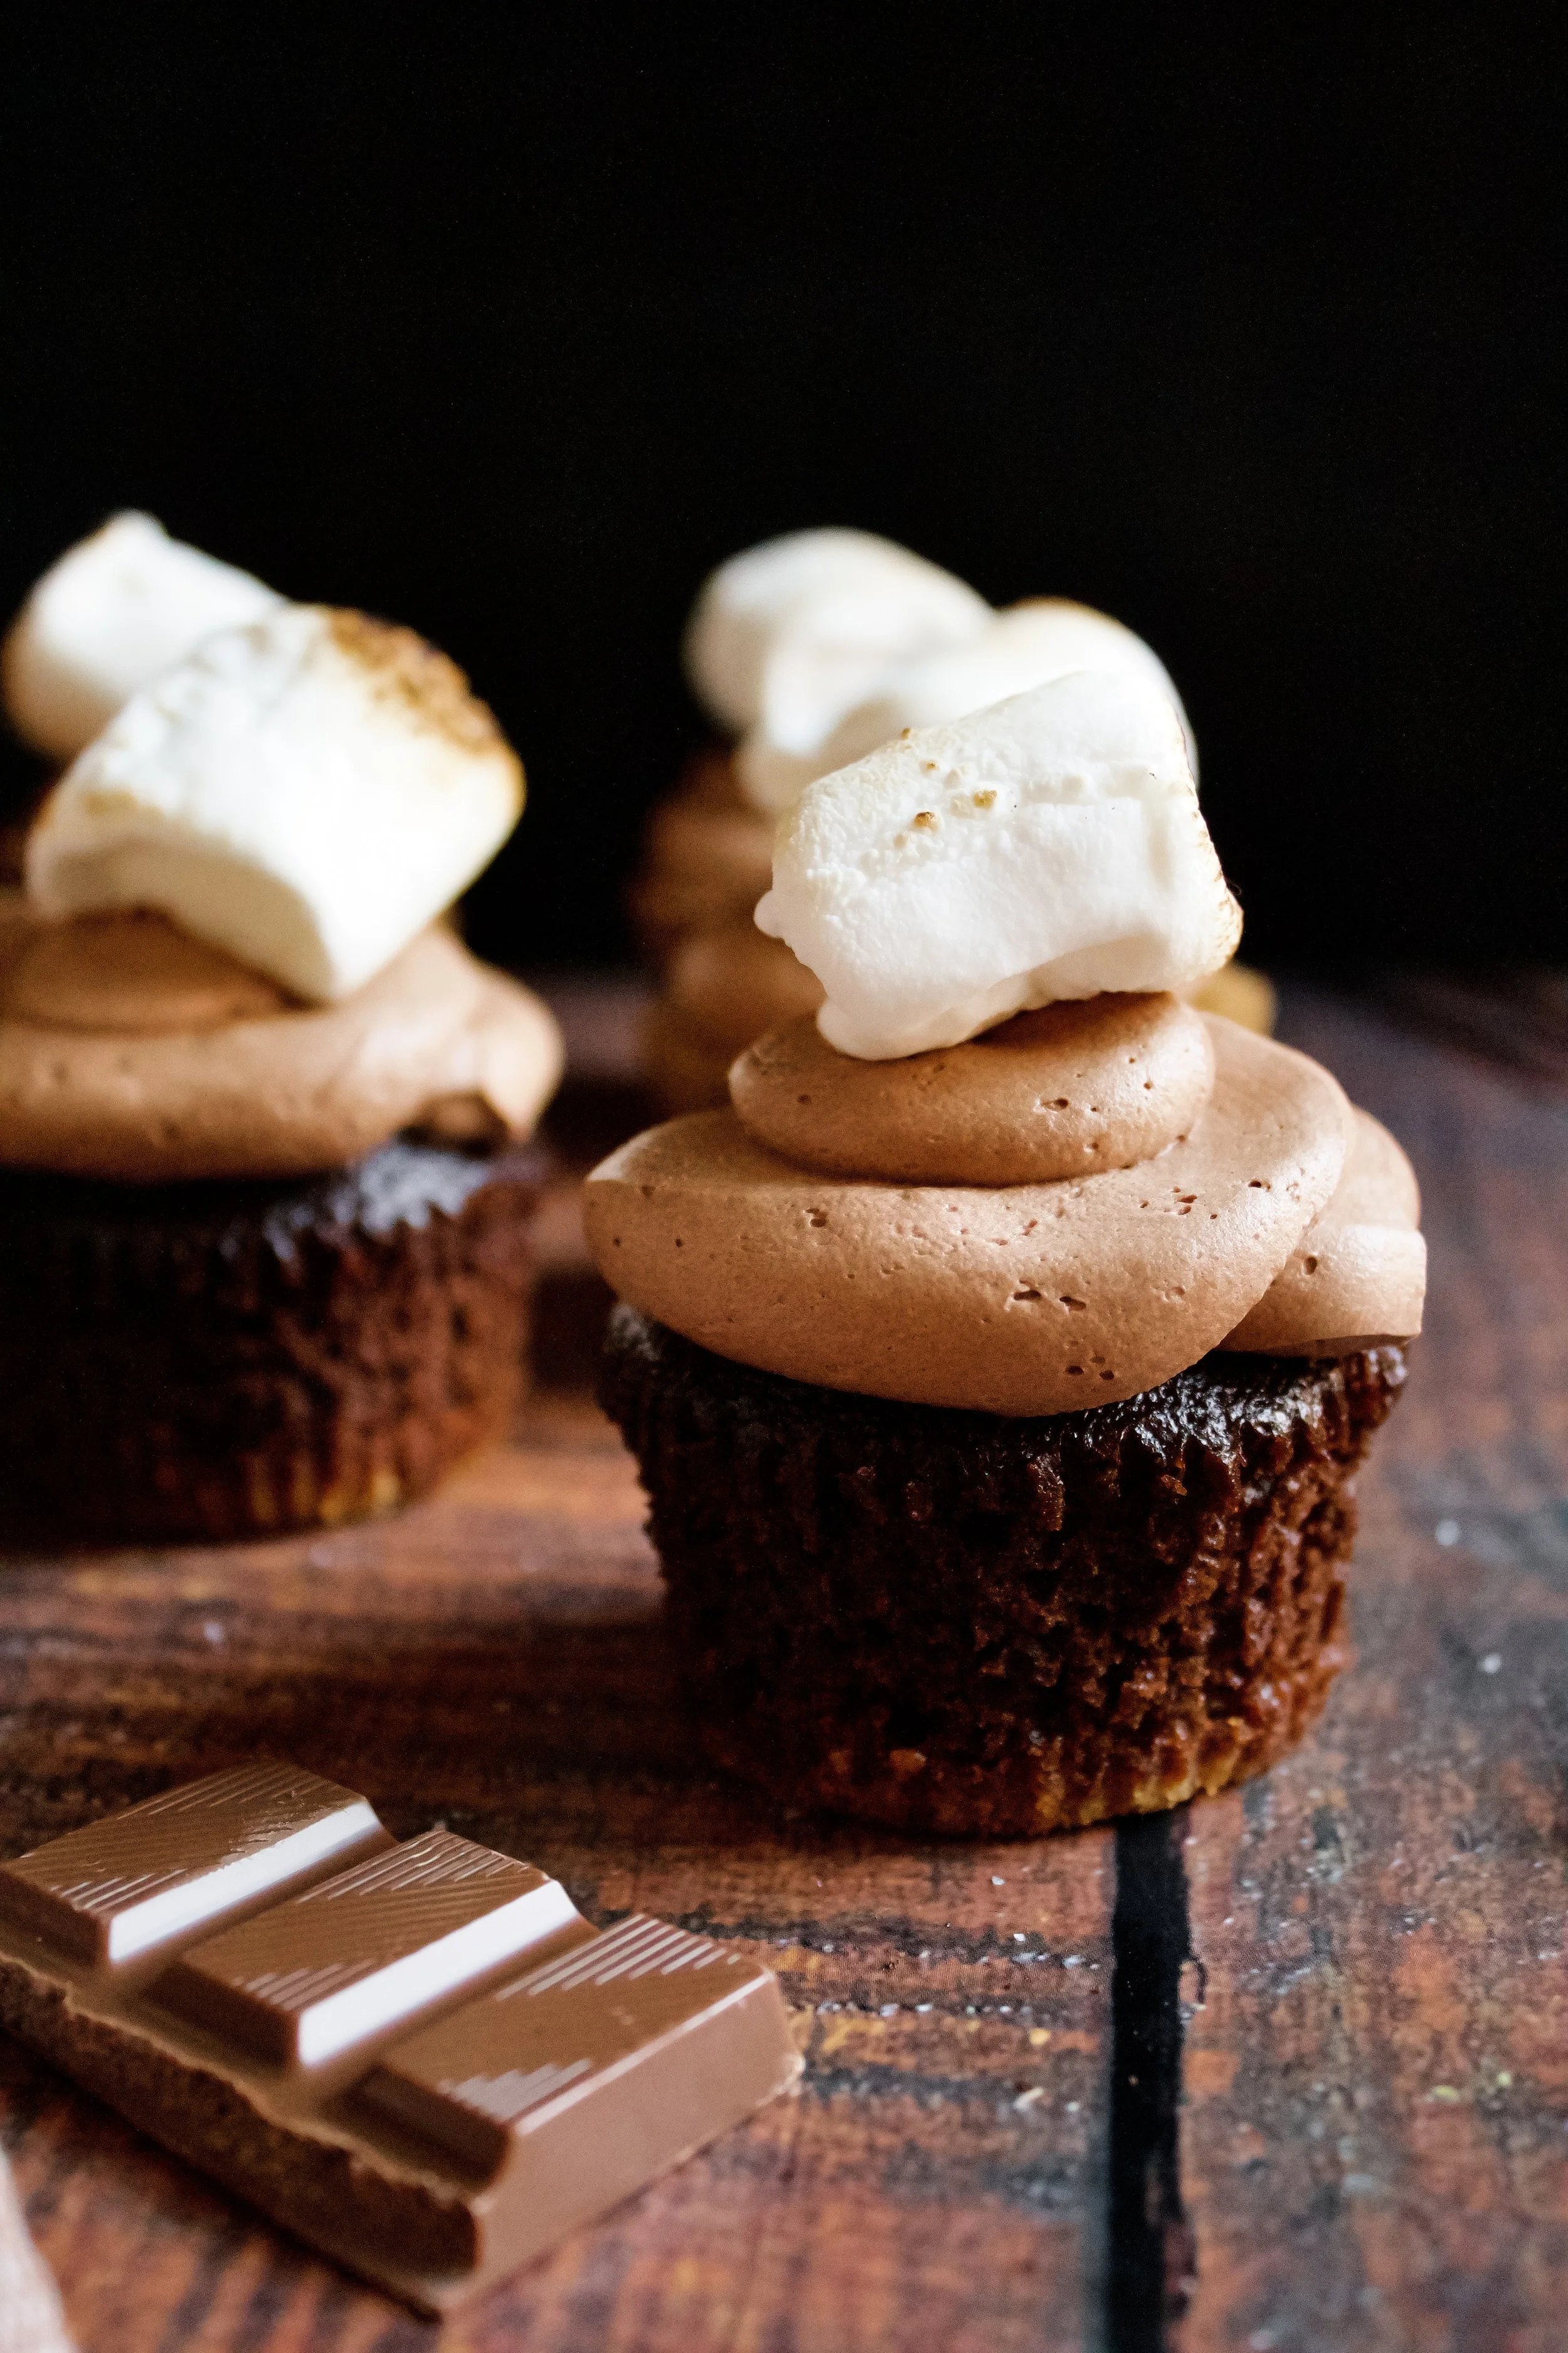
Fluffy chocolate cupcakes with a crunchy graham cracker bottom, topped with chocolate marshmallow buttercream and a toasted marshmallow. Chocolate lovers and s’mores lovers alike will adore these whimsical, summery cupcakes!
This post may contain affiliate links from which, at no additional cost to you, I may earn a small commission to keep this site running. Only products I myself would or do use are recommended.
Happy summer! Well, not technically summer. But I’ve been on break for almost three weeks now and checked out (yes, teachers have to check out, signatures and completed tasks and all) for over two weeks now.

And we’re now on trip #2 of our summer break! My husband was able to reserve some paternity leave for summertime so we could travel as a family. We spent a few days in Paso Robles with his parents then saw some friends in SLO before heading home to basically do laundry, pet our cats, go to B’s 6 month checkup (girl’s now past the 100th percentile for height!), then repack for: Maui!
It feels so good to be back. We usually vacation hard, getting up and out the door pretty early, experiencing everything we can and only taking small breaks for meals or quick naps.
But in Maui, we rest. We stroll along the water or meander the stores. We play at the beach or pool, and I often have time to get a little tan.
So, in honor of our summer kickoff, I share with you my annual summer flavor profile: s’mores.
What’s to love about this recipe
I just love a good, crunchy graham cracker crust. I used slightly less butter here, to ensure it was crunchy and didn’t separate from the cupcake. The chocolate cake is my signature recipe, known among our friends as “Charity cake” (because my name’s Charity). It’s soft and fluffy and suuuper moist. It’s perfectly sweet but still flavorful—with plenty of chocolate flavor.
The chocolate marshmallow buttercream was my most popular recipe for a long time. I went back to the best version of it for these cupcakes, using melted chocolate since there was no need for a super sturdy frosting to hold together a large cake. It’s soooo creamy and flavorful, but it’s soft and delicate.
Finally, I topped it with a toasted marshmallow. I chose to toast them with my Jo Chef kitchen torch (not an affiliate link—I just really like how easy it is to use their torch). I wanted that “slightly burnt in the campfire” taste, but if you want the impossibly perfectly toasted marshmallow, you can toast them briefly in the oven.
Key ingredients
Graham crackers. For s’mores, I prefer plain, but you can use cinnamon if you’d like. Gluten free work well, too!
Flour. Be sure to spoon then level your flour so you don’t pack it in, and always sift with a fine mesh sieve!
Cocoa powder. Sifting this is a must, as it tends to clump. Be sure you use unsweetened cocoa. Regular is preferred, but Dutched will work as well.
Sugar. Obviously! You’ll need this in the cake as well as the caramel sauce.
Baking powder/soda. Both are needed to help the cake rise properly. Be sure they haven’t been open longer than a few months or they do start to lose their umph, regardless of the indicated expiration date. And be sure they’ve been well-sealed! Any moisture getting in will stop them from working properly.
Salt. Again, needed in all elements of this cake. I highly recommend sea salt, as it helps complement the sweetness better.
Buttermilk. I always make my own by adding 1 tablespoon white vinegar to a 1 cup measuring cup. I then fill it the rest of the way with room-temperature whole milk.
Oil. I prefer avocado or grape seed oil, as they are light and tasteless but still heart-healthy. Vegetable or canola oil work, too.
Eggs. Use fresh, large eggs and make sure they have reached room temperature.
Vanilla. Always use pure extract in baking, not imitation.
Hot coffee. Be sure your coffee is piping hot when you use it. You can make it as strong or light as you’d like. I prefer blond coffee in most cakes, but you really can’t taste it if you use a dark roast. It just serves to bring out a more intensely dark chocolate flavor.
Chocolate marshmallow buttercream. You can also use my marshmallow buttercream or homemade marshmallow fluff (not recommended if cupcakes will be outside in warm weather). But I really wanted a chocolatey chocolate cupcake, so I went with my favorite! I do suggest using the melted chocolate and not the cocoa powder option in the recipe, as you need it to be silky smooth to pipe smoothly.
24 regular sized marshmallows. Can’t have s’mores cupcakes without toasted marshmallows!
How to make chocolate s’mores cupcakes
Make the graham crust
1. Make graham cracker crust. Blend grahams and sugar in a food processor or blender. Add melted butter and pulse briefly until blended (or stir in a bowl with a spatula).
2. Press into cupcake liners and bake. Divide evenly between 24 cupcake liners (about 1 tablespoon per cupcake). Press into the bottom with a small cup or your fingers. Bake at 350F/175C for 5 minutes. Remove and turn down the oven to 325F/165C.


Make the cupcakes
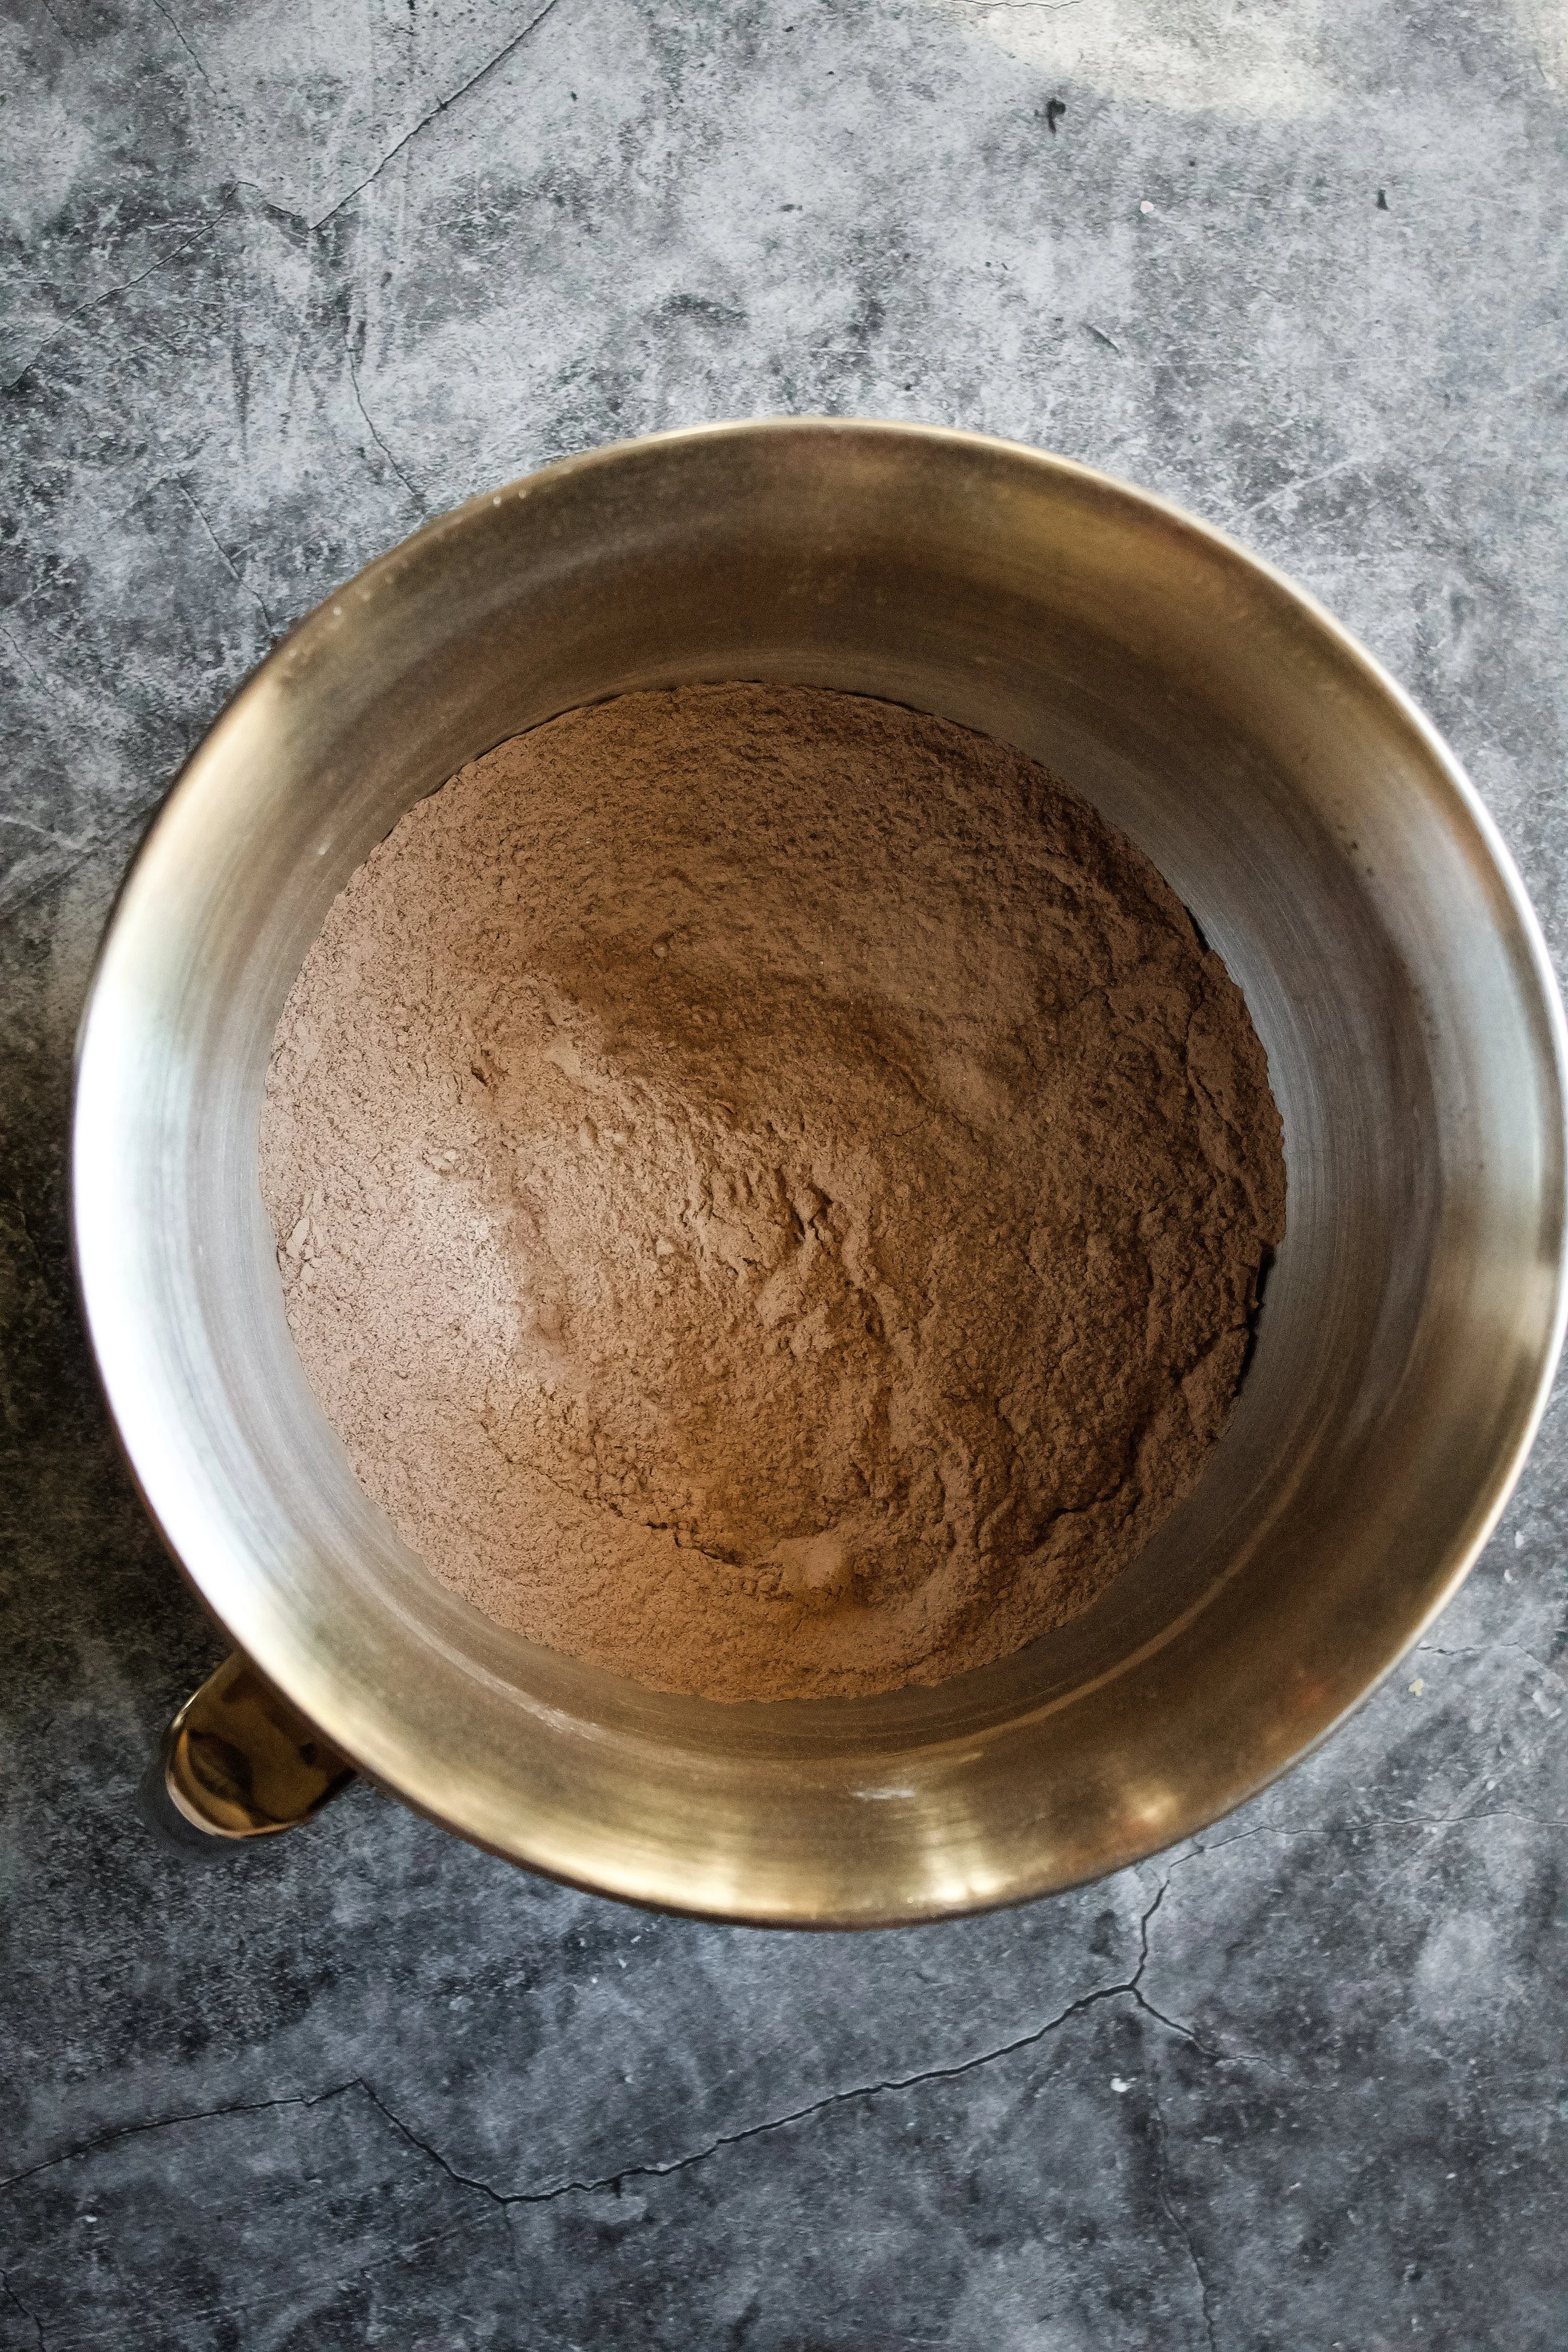
3. Sift and whisk dry ingredients. Don’t skip the sifting! It’s key to making this cake nice and fluffy.
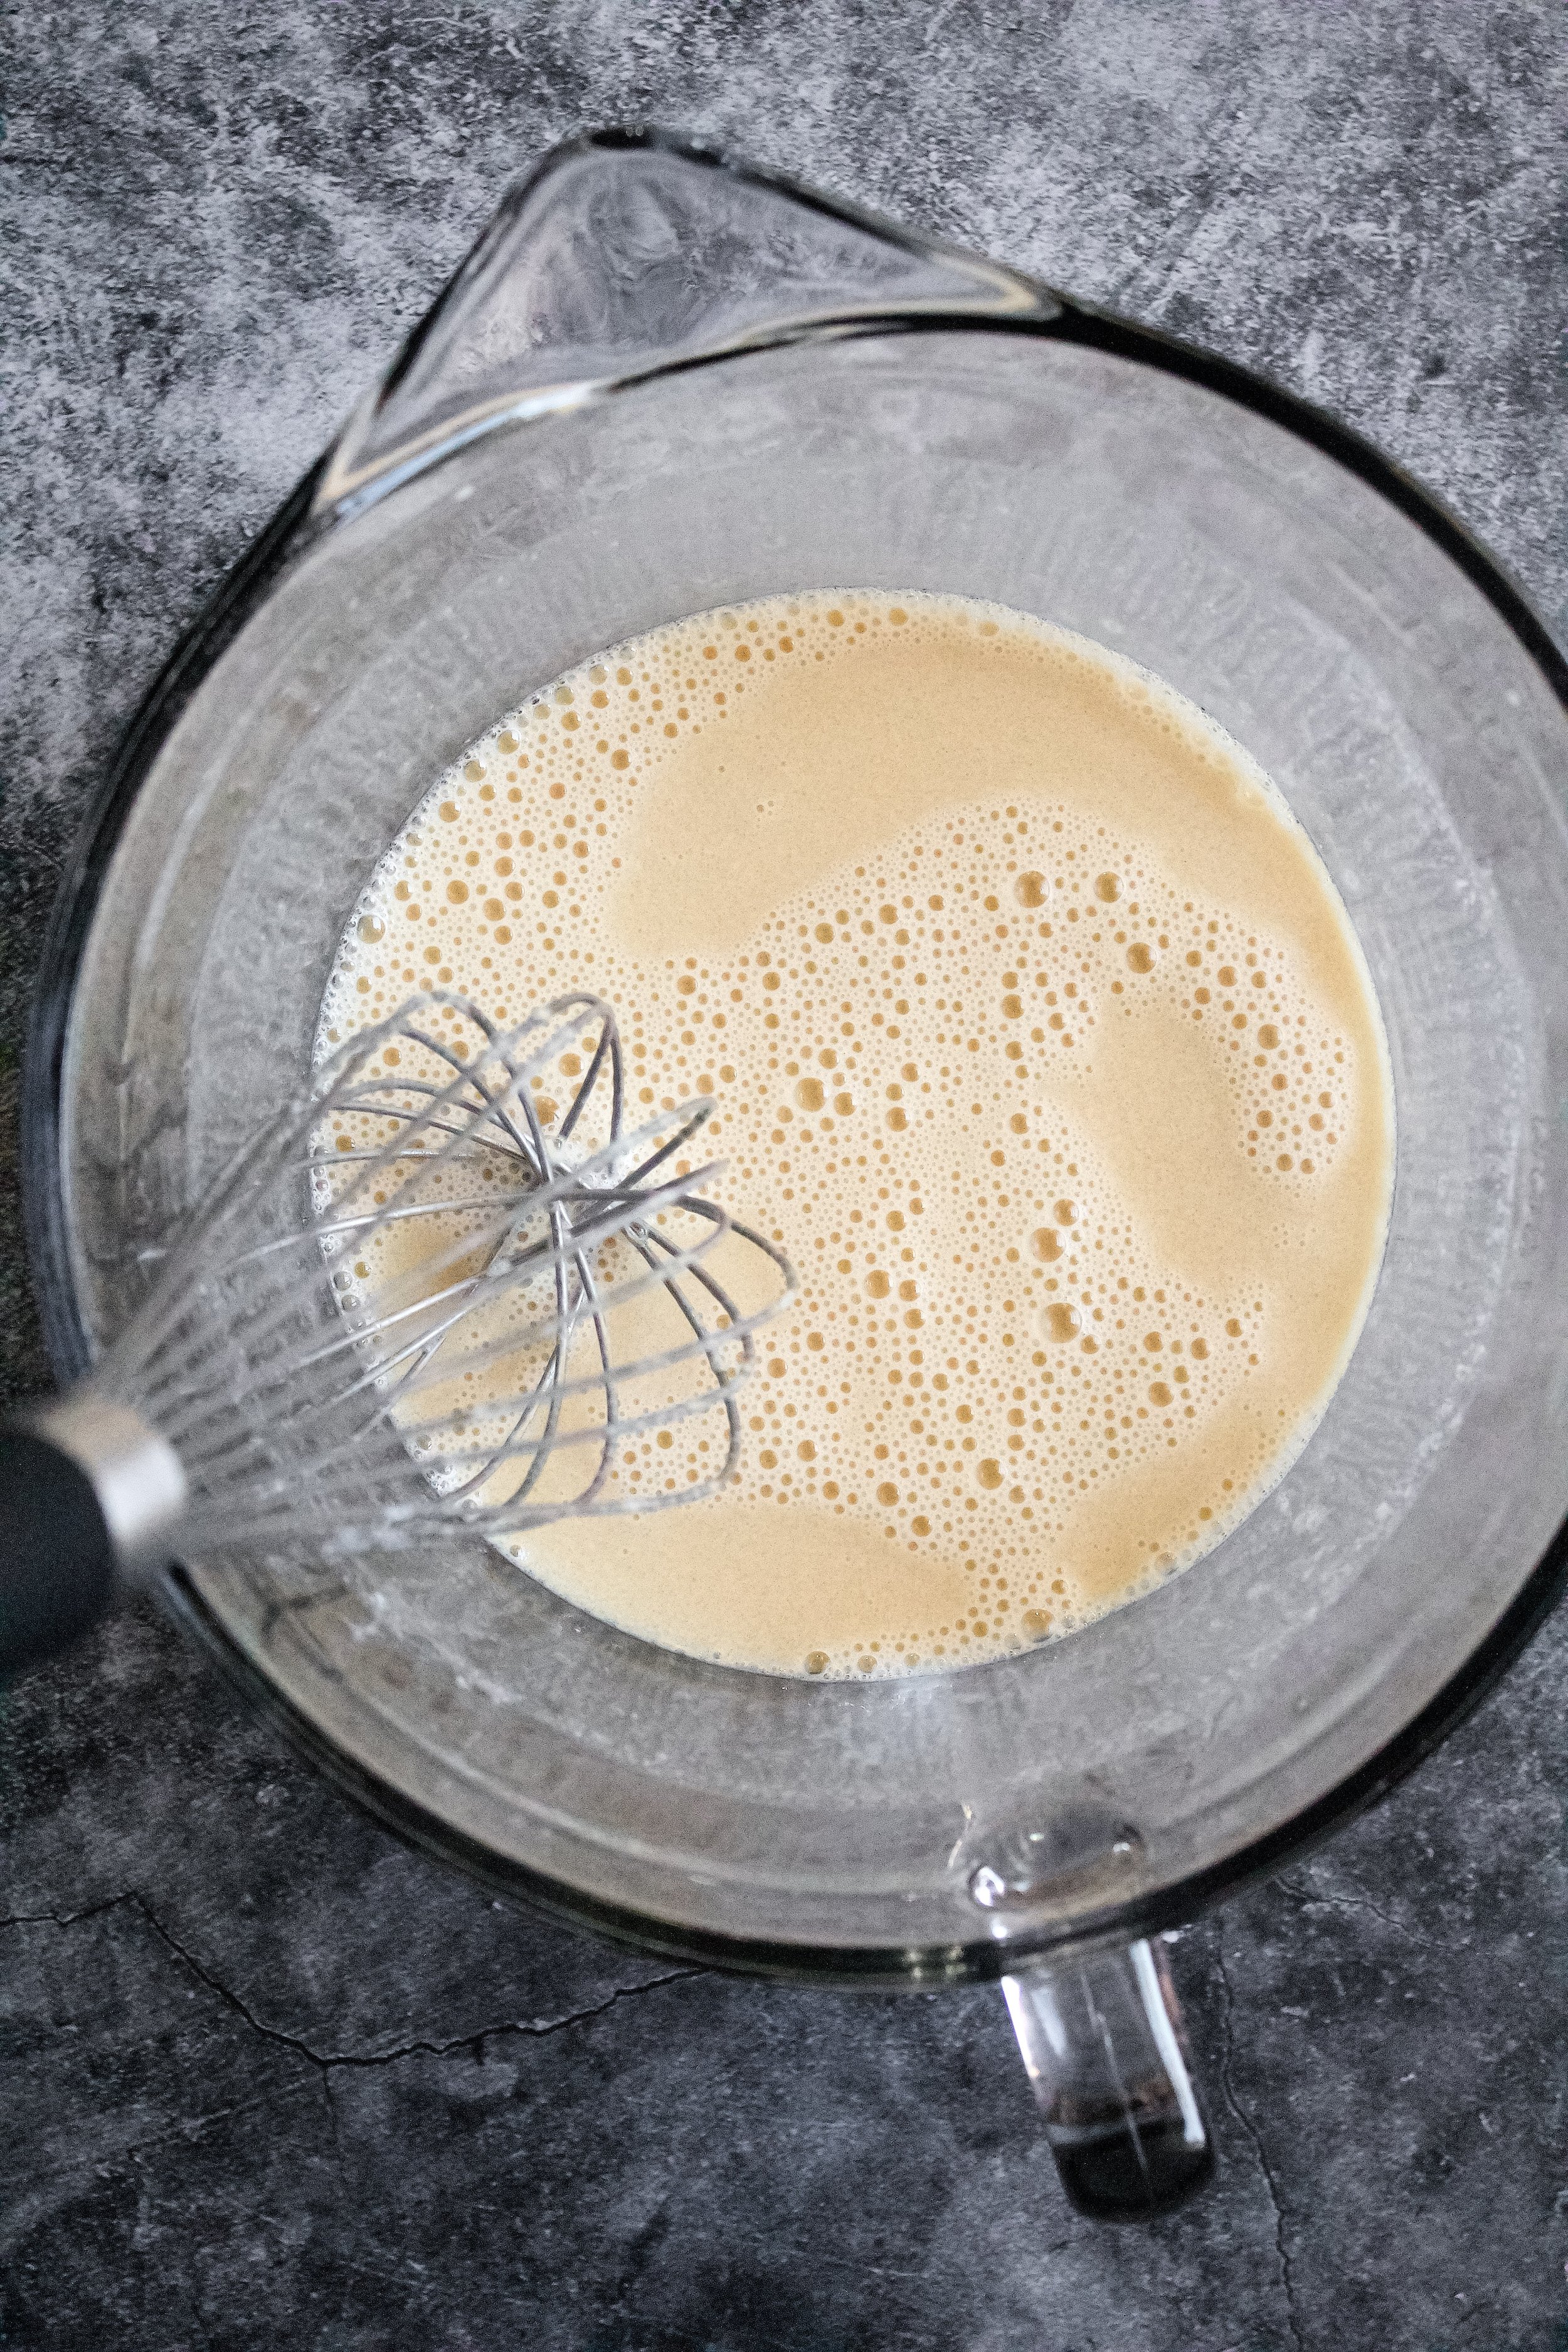
4. Whisk eggs, buttermilk, oil, and vanilla. Whisk very well to fully emulsify (blend) it all, especially the eggs and oil.
5. Slowly whisk hot coffee into wet ingredients. Whisk very quickly and pour slowly to avoid scrambling the eggs. If you do think you scrambled some, you can run it through your fine mesh sieve.
6. Slowly stir wet ingredients into the dry. Do this on low and immediately stop and scrape the bowl once everything is combined.
7. Beat on medium for exactly 2 minutes. Set a timer so you don’t under or over mix.
8. Bake. Bake until a toothpick or cake tester comes out with just some moist crumbs—not fully clean, as this can mean it’s over baked. Remember that it continues to bake a little when you take it out of the oven.


Decorate
9. Make the frosting. This can be done ahead, but I’ve found it is easiest to work with when freshly made.
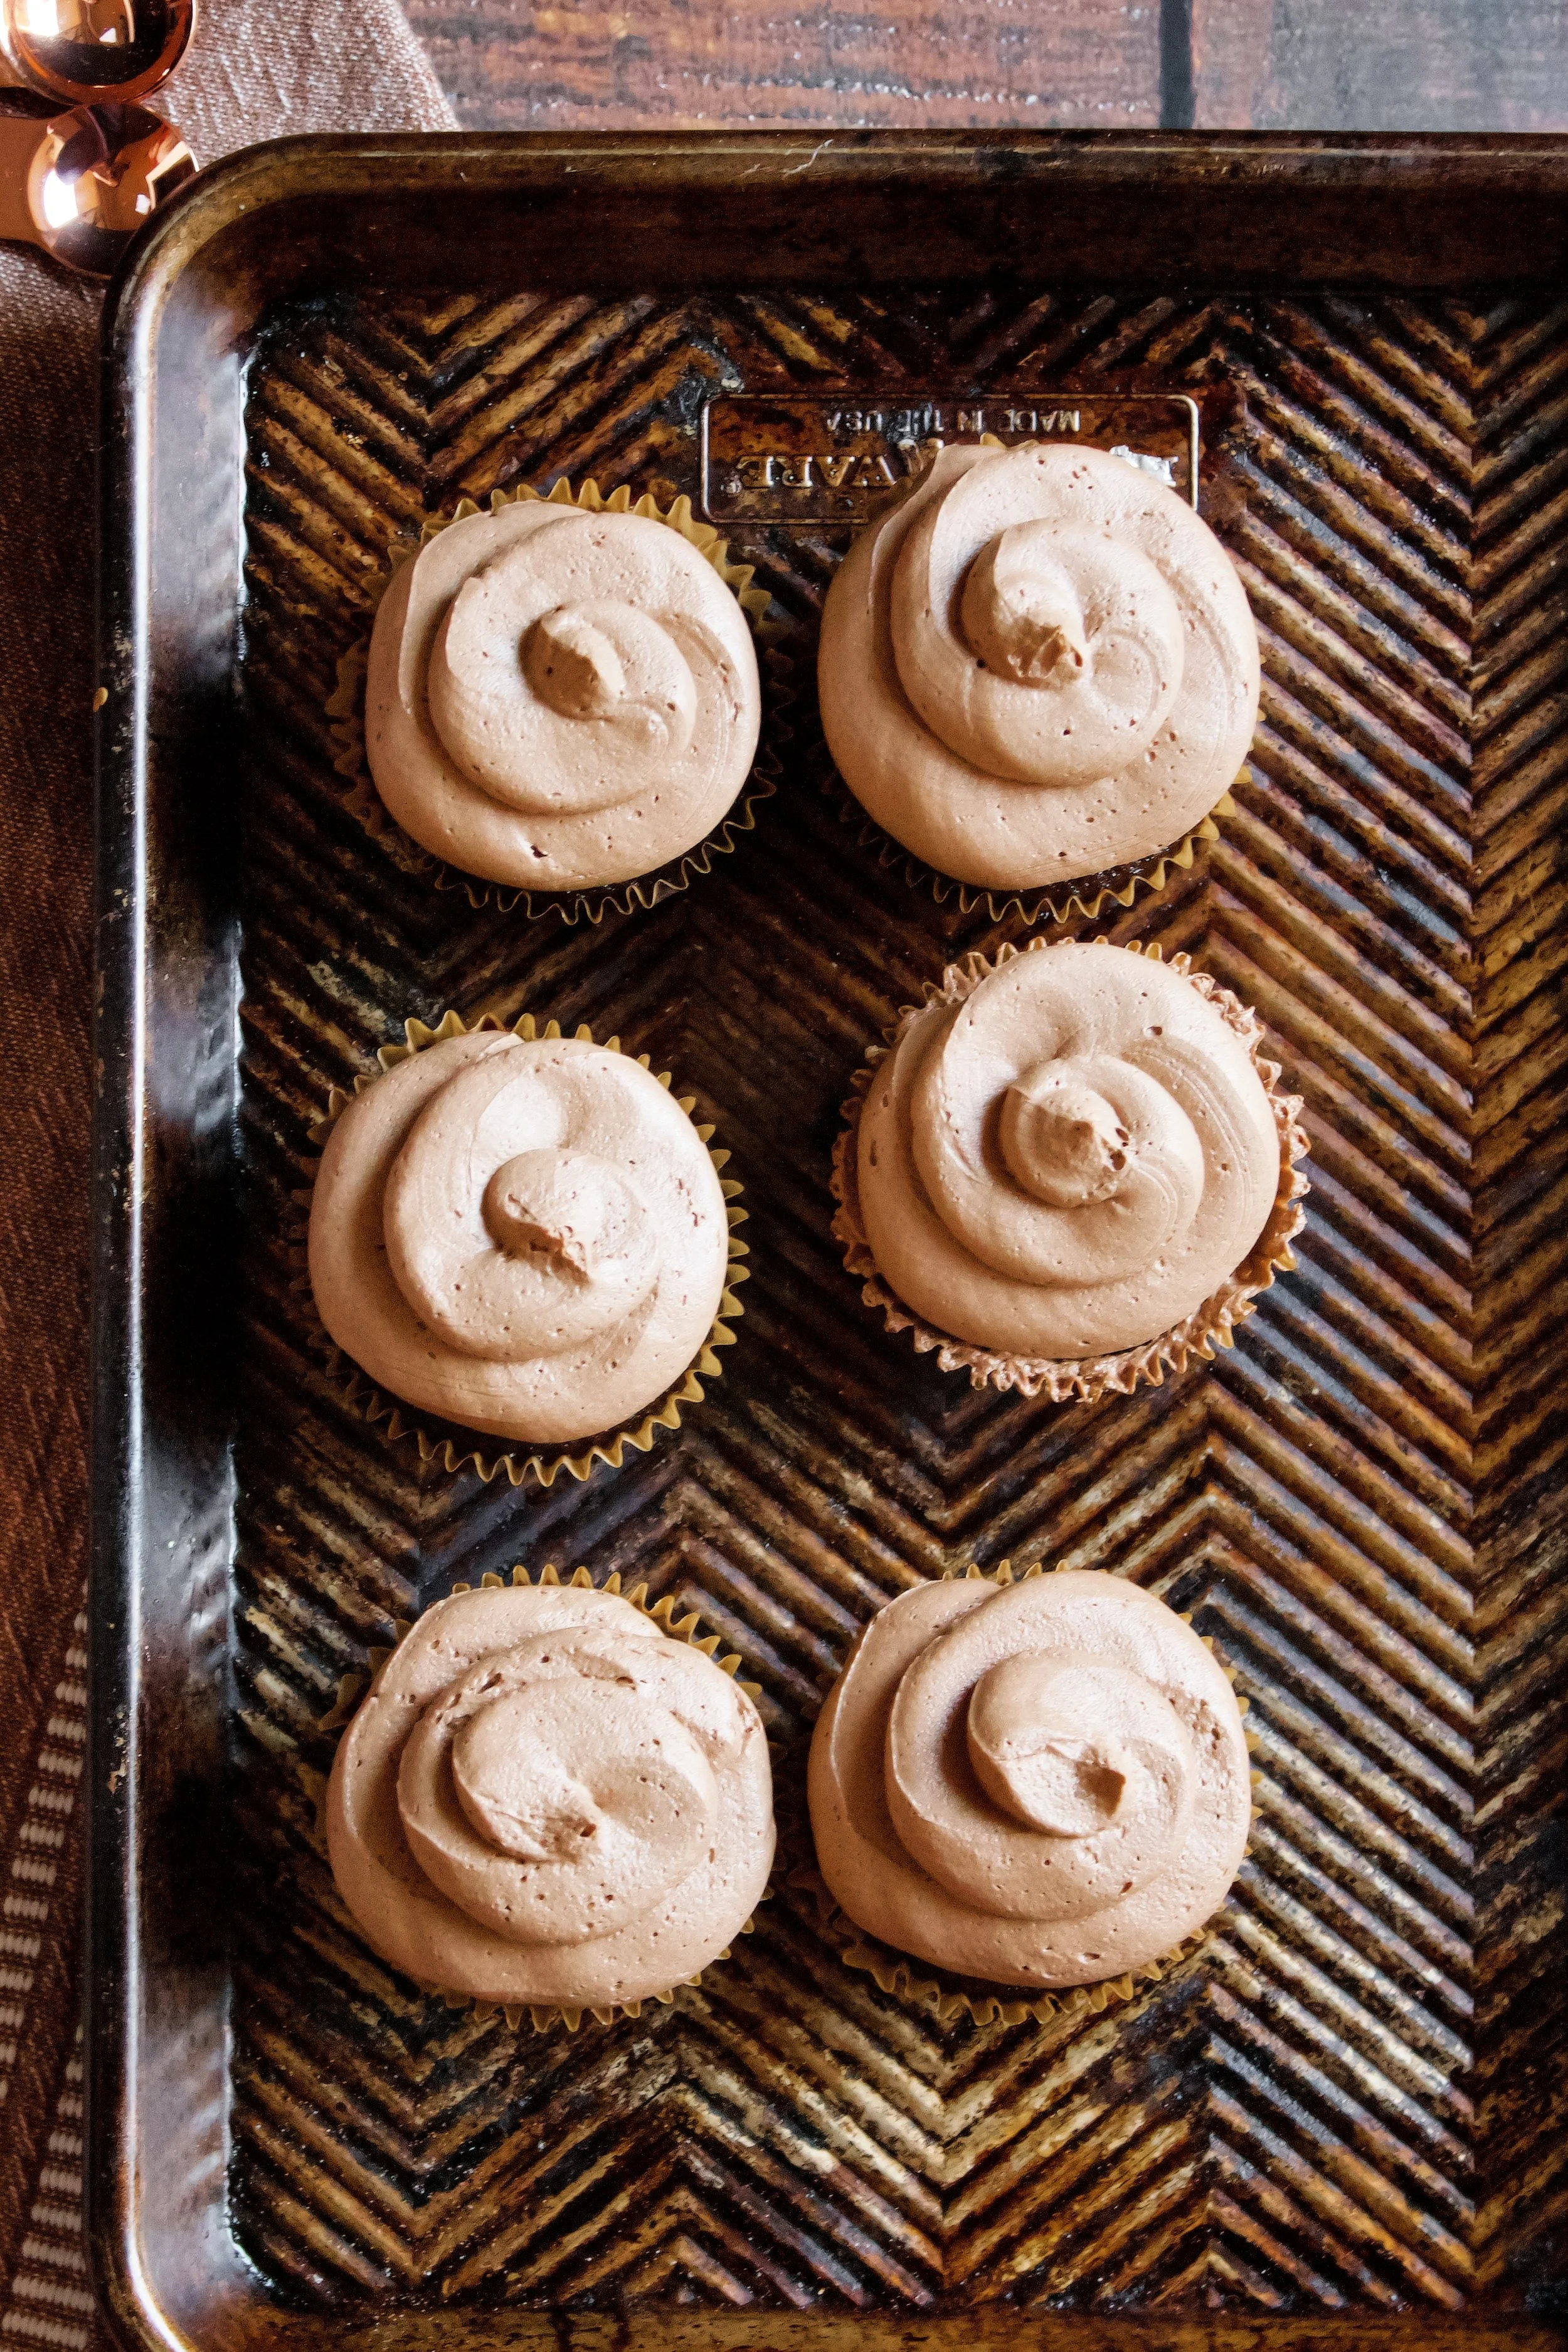
10. Frost the cupcakes. I chose to keep it simple—piping bag with the end snipped off for a simple swirl.
11. Toast the marshmallows. I used a kitchen torch, but you can also use the oven broiler to toast them.
12. Top each cupcake. I let the marshmallows cool slightly then just pressed them gently into the frosting.
Enjoy!


Tips and FAQ’s for this recipe
Can I use a different frosting?
Yes! I just really love my chocolate marshmallow buttercream, but you can use something different. Plain marshmallow buttercream is flavorful and sturdy, with a bit less work. Or homemade marshmallow fluff works well, but isn’t quite as sturdy, so only use if the cupcakes will be somewhere cool-ish. I’d caution against store bought fluff, as it isn’t very sturdy. You can also use plain chocolate frosting, but you won’t get as strong a marshmallow flavor. However, it’s one of my easiest frostings to make, so it’s a great go-to!

Can I make this into a cake?
Yes! You’d follow a similar recipe, pressing the crust into three or four greased and parchment-lined 8” or 9” pans. Pre-bake that for about 7 minutes. Bake with the cake for 20-25 minutes (or 25-30 if you only have two pans to use). Then use the same frosting and top with toasted marshmallows. An alternative, similar cake is this chocolate s’mores cake.
Do I have to use coffee in the cake?
Probably. You could technically use just hot water, but I have never been a fan of how this cake tastes without coffee. Trust me, you will not taste the coffee if you use light roast. If you’re worried, you can make it half strength, which should be enough to bring out the chocolate flavor.
Measure dry ingredients carefully
Always spoon flour and cocoa into your measuring cup then level with the back of a knife or other straight edge. And be sure to sift with a fine mesh sieve so your cake is nice and fluffy.
Sift your dry ingredients
Sifting dry ingredients is KEY in baking, especially for baking cakes and extra important with chocolate cakes. You always want to ensure the cocoa is sifted because it can create little pockets of cocoa that never get mixed in and thus don’t bake. The one time I made this cake without sifting the dry ingredients, it turned out dense and chewy and just not good. So trust me—sift!
Use room temperature ingredients
This is another baking must. Room temperature ingredients (when called for) are non-negotiable. I have seen the difference in cakes that are tough and don’t rise. Plan ahead and make sure your ingredients have had time to sit out.
Use quality cocoa
Since cocoa is the main flavor here, you want a good brand. Opt for something organic and fair trade, if possible, because this usually means it was produced in smaller batches and thus higher quality and is often fresher, too. Plus, the flavor of the high quality cocoa is always noticeable in the brownies. My go-to is Volupta, from Costco, but some other good options are Ghirardelli, Guittard, Scharffen Berger, Anthony’s, or even Hershey’s Special Dark in a pinch.
My tools
Here are my must-have tools I use for making these cupcakes. Affiliate links provided.
Mesh sieve (because sifting is KEY for a fluffy cake)
All-rubber spatula (this makes scraping the bowl easier so the batter and frosting doesn’t get all over a wooden handle!)
Cupcake pans (I’ve used many over the years and these are the most consistently successful.)
Chocolate S’mores Cupcakes
- prep time: 40-45 minutes
- bake time: 19-22 minutes
- total time: 1 hour, 7 minutes (plus cooling time)
servings: 24
Ingredients:
for the graham cracker crust
- 12 graham crackers (about 1.5 cups or 150g when ground)
- 6 tablespoons (84g) salted butter, melted
- 4 tablespoons (50g) granulated sugar
for the cupcakes
- 1 ⅔ cups (333g) granulated sugar
- 1 ⅔ cups (227g) flour, sifted
- ¾ cup (75g) unsweetened cocoa powder, sifted
- 2 teaspoons (8g) baking powder, sifted
- 1 teaspoon (5g) baking soda, sifted
- ½ teaspoon (3g) fine ground Himalayan sea salt (or 1 teaspoon table salt, but sea salt gives a better flavor)
- 2 large eggs, room temperature
- 1 cup (240g) buttermilk*, room temperature
- ½ cup (120g) avocado or olive oil
- 1 tablespoon (13g) pure vanilla extract
- 1 cup (240g) very hot coffee (light or dark roast is fine)
to decorate
- one batch chocolate marshmallow buttercream (can sub marshmallow buttercream or homemade marshmallow fluff)
- 24 regular marshmallows
Instructions:
- Make the graham cracker crust. Preheat your oven to 350F/175C. Line two regular cupcake pans with cupcake liners (color–foil liners are also a great option, as the chocolate cake will not show through).
- Place graham crackers and sugar in a food processor or blender. Pulse until fine crumbs. Add melted butter and pulse a few times to blend (or stir with a spatula).
- Place about 1 tablespoon of crust mixture into each cupcake liner. Press down with either a small, flat bottomed cup or your hands.
- Bake for 5 minutes then remove to cool while you make the cupcake batter. Turn the oven down to 325F/165C.
- Next, make the cupcakes. Set your coffee to brew while you mix the other ingredients.
- In the bowl of stand mixer (or large bowl), use a large fine mesh sieve to sift and whisk together sugar, flour, cocoa, baking powder, baking soda, and salt, being sure to sift as instructed. I prefer using a hand whisk for this step as the whisk attachment doesn't always get the very bottom mixed in. Fit this to your stand mixer with the paddle attachment. You can also use a large mixing bowl with a hand mixer.
- In a separate bowl, whisk together eggs, buttermilk, oil, and vanilla.
- VERY slowly, pour coffee mixture into the egg mixture, whisking the eggs quickly and constantly to avoid scrambling them. Feel free to do it in increments if this is your first time.
- Turn mixer to low. Slowly pour wet ingredients into dry. It will clump up halfway through then settle into a liquid-y consistency. Immediately turn off mixer once all ingredients are combined then scrape down sides with a rubber spatula, making sure to get to the very bottom. Beat on medium for exactly 2 minutes. Do not overmix!
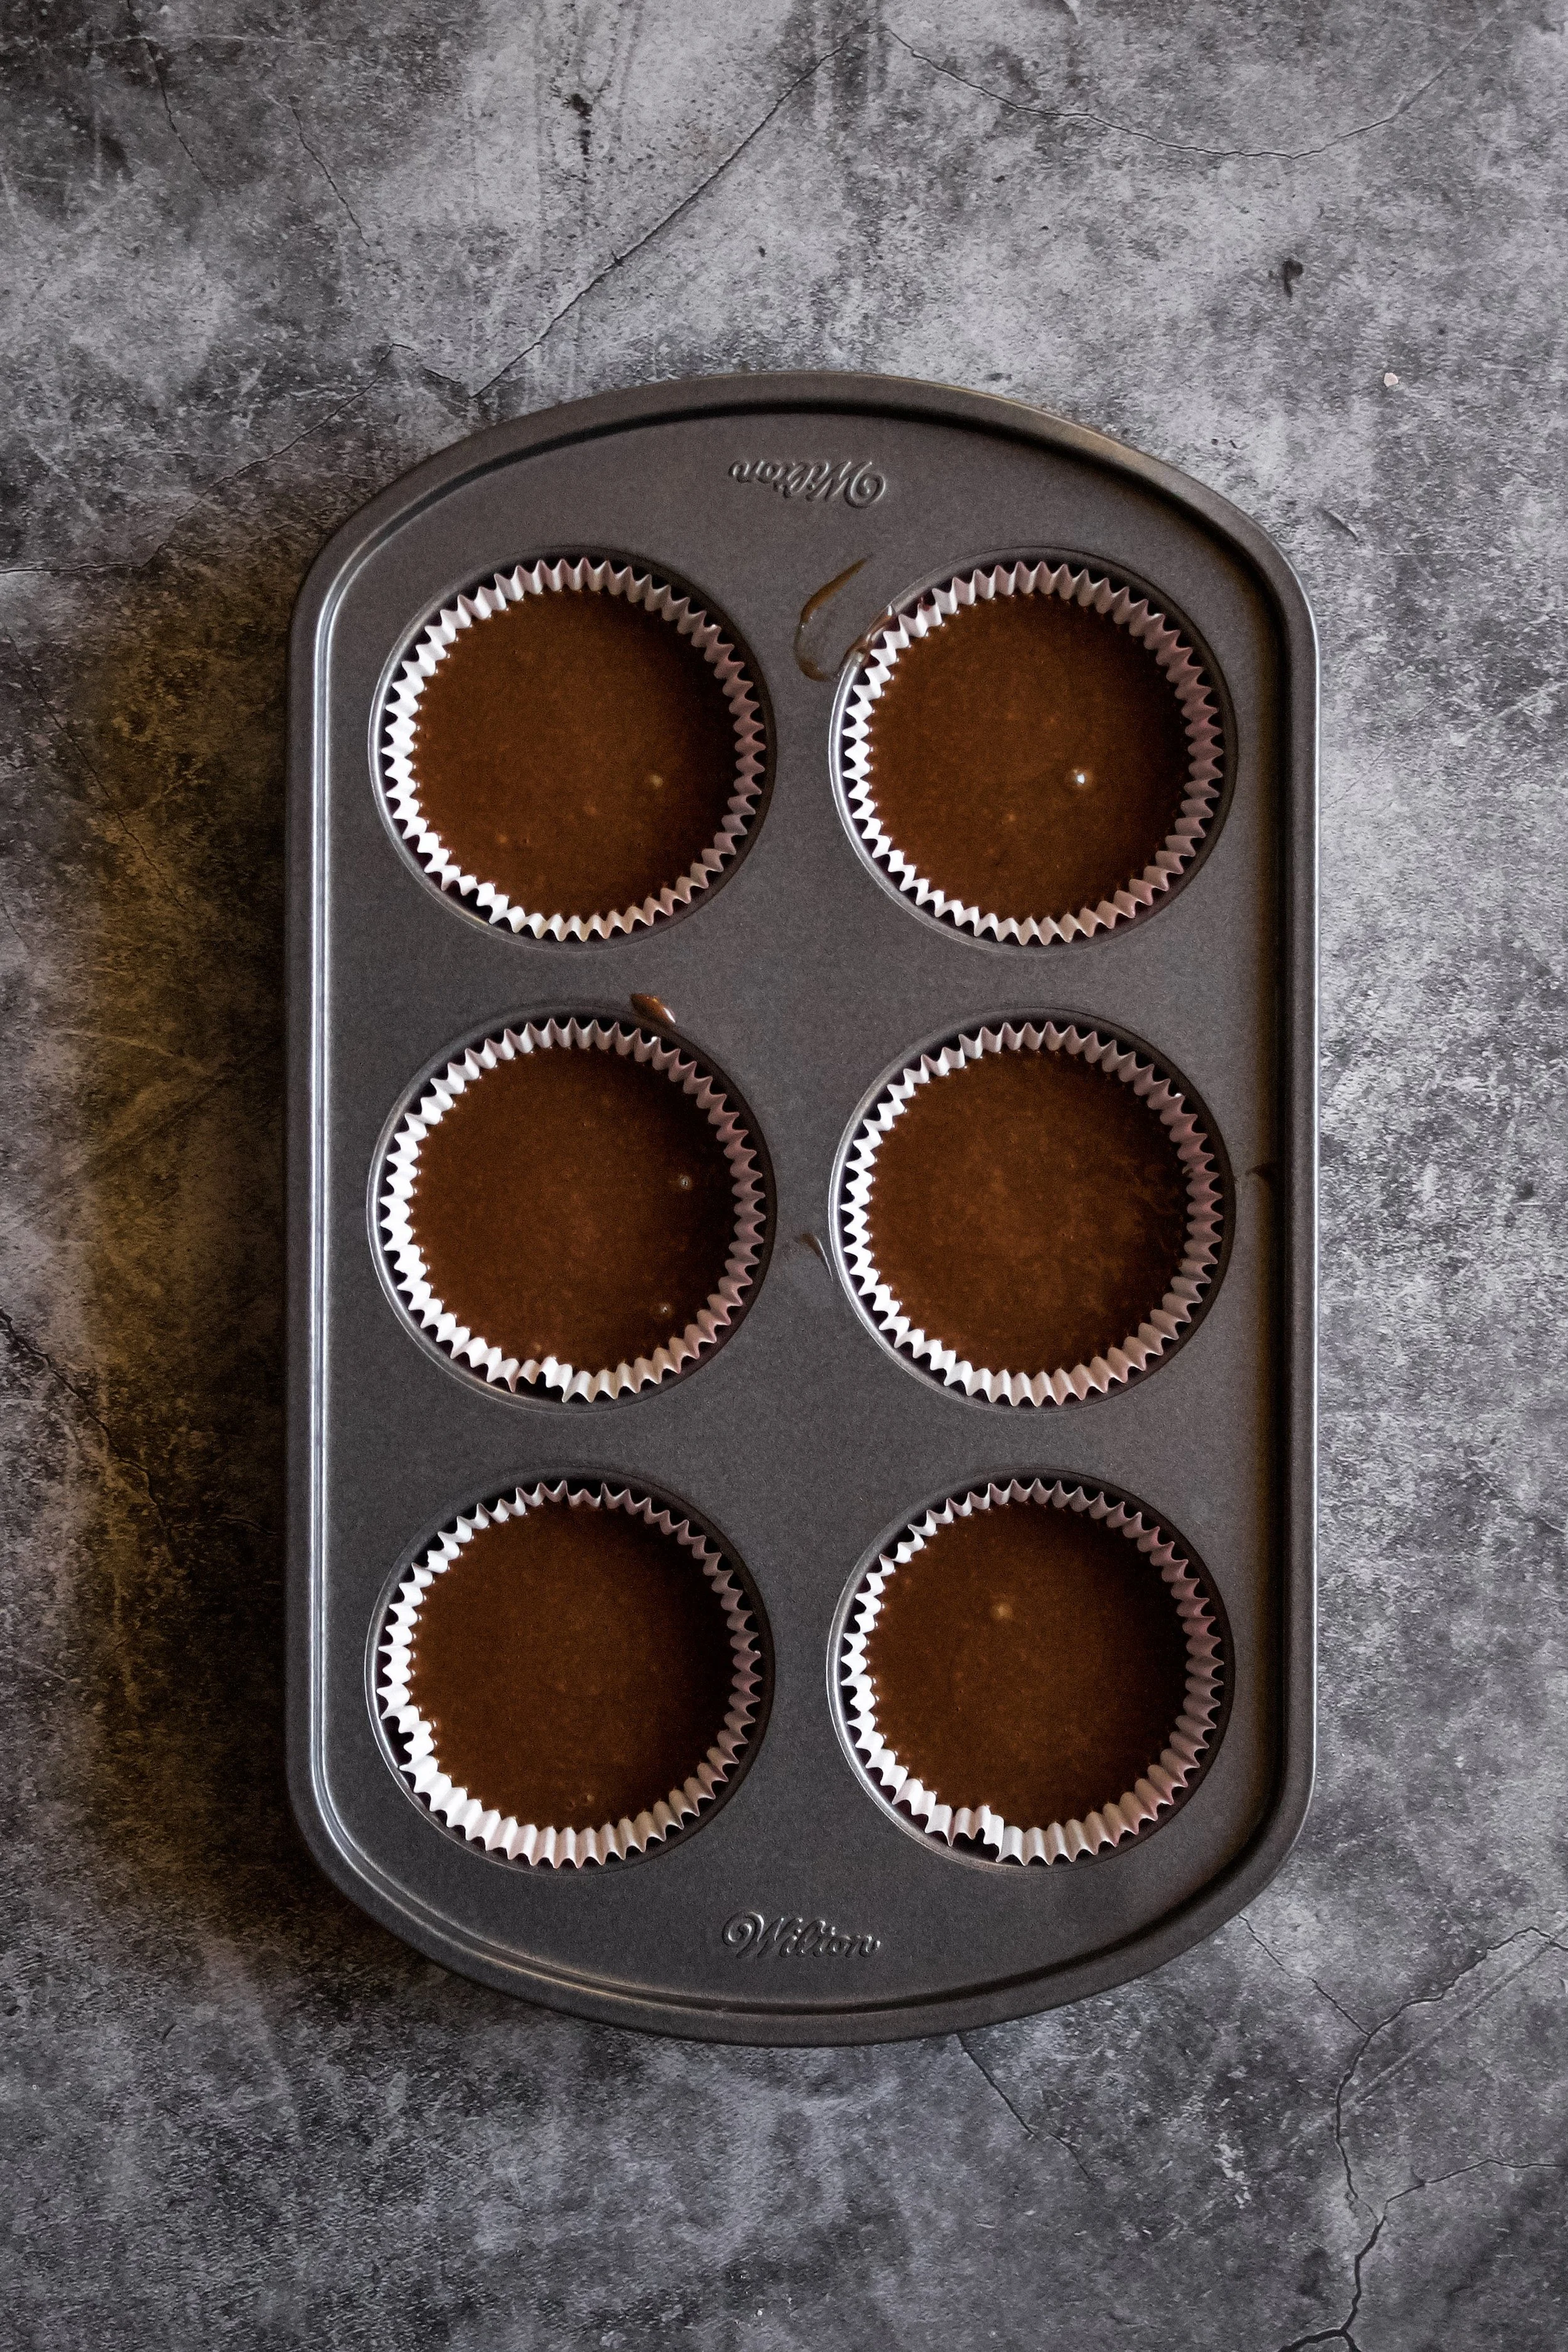
- Pour batter evenly into prepared pans, filling at least ¾ full (the crust will cause them not to rise as much). Gently tap pans on the counter a couple times to get some of the bubbles out.
- Bake for 14-17 minutes, until a toothpick inserted in the middle comes out with some moist crumbs but no raw batter. Always check cupcakes a little early, as oven time can vary. If not using a convection oven, rotate cupcakes halfway through.
- Cool in pans 5-10 minutes then remove to a cooling rack until completely cooled.
- While cupcakes bake and/or cool, make the frosting. This can also be made ahead of time and kept in the refrigerator for up to 2 weeks, but be sure to bring to room temperature it on the counter and stir well before using.
- Frost in desired way. I used a piping bag with the tip cut off to make a simple swirl.
- Take 24 regular sized marshmallows. Place on a baking sheet and toast with either a kitchen torch or place under the broiler for about a minute until toasted then flip and toast the other side. Carefully place on top of each cupcake.
Enjoy!
If not serving right away, store in an airtight container until ready to eat. Cupcakes will last for 3-5 days. Avoid refrigeration for more than an hour, as this can cause them to dry out.
*You can make your own buttermilk by adding 1 tablespoon of white vinegar to a 1 cup measuring cup then filling the rest of the way with room temperature whole milk. Stir and let sit 5-10 minutes.