No-Churn Fresh Mint Chip Ice Cream
Creamy, minty ice cream with abundant flakes of dark chocolate. This ice cream is so simple to make, with traditional and no-churn options, and packs in tons of mint flavor using fresh mint leaves! It’s the perfect spring or summer treat.
This post may contain affiliate links from which, at no additional cost to you, I may earn a small commission to keep this site running. Only products I myself would or do use are recommended.
Okay, I have a thing about green ice cream. I don’t like it. I LOVE mint flavored desserts, but I cannot stand mint chip ice cream if it’s green. Which is like, all the time.
Yes, I know, it’s weird.
I swear green ice cream tastes different. Maybe it’s the food coloring. Breyers makes a mint chip ice cream that’s white and it’s delicious. So, I knew it could be done. I set out to make a non-green mint chip ice cream using the wildly overgrown mint plant in my yard to make it minty.
Best idea ever. The flavor from the fresh mint leaves was bright and minty without tasting like toothpaste.
And it can be whatever color you want! Mine had a hint of green from the mint leaves—no food coloring here. Unless you want that, in which case, color away.
Why this recipe works
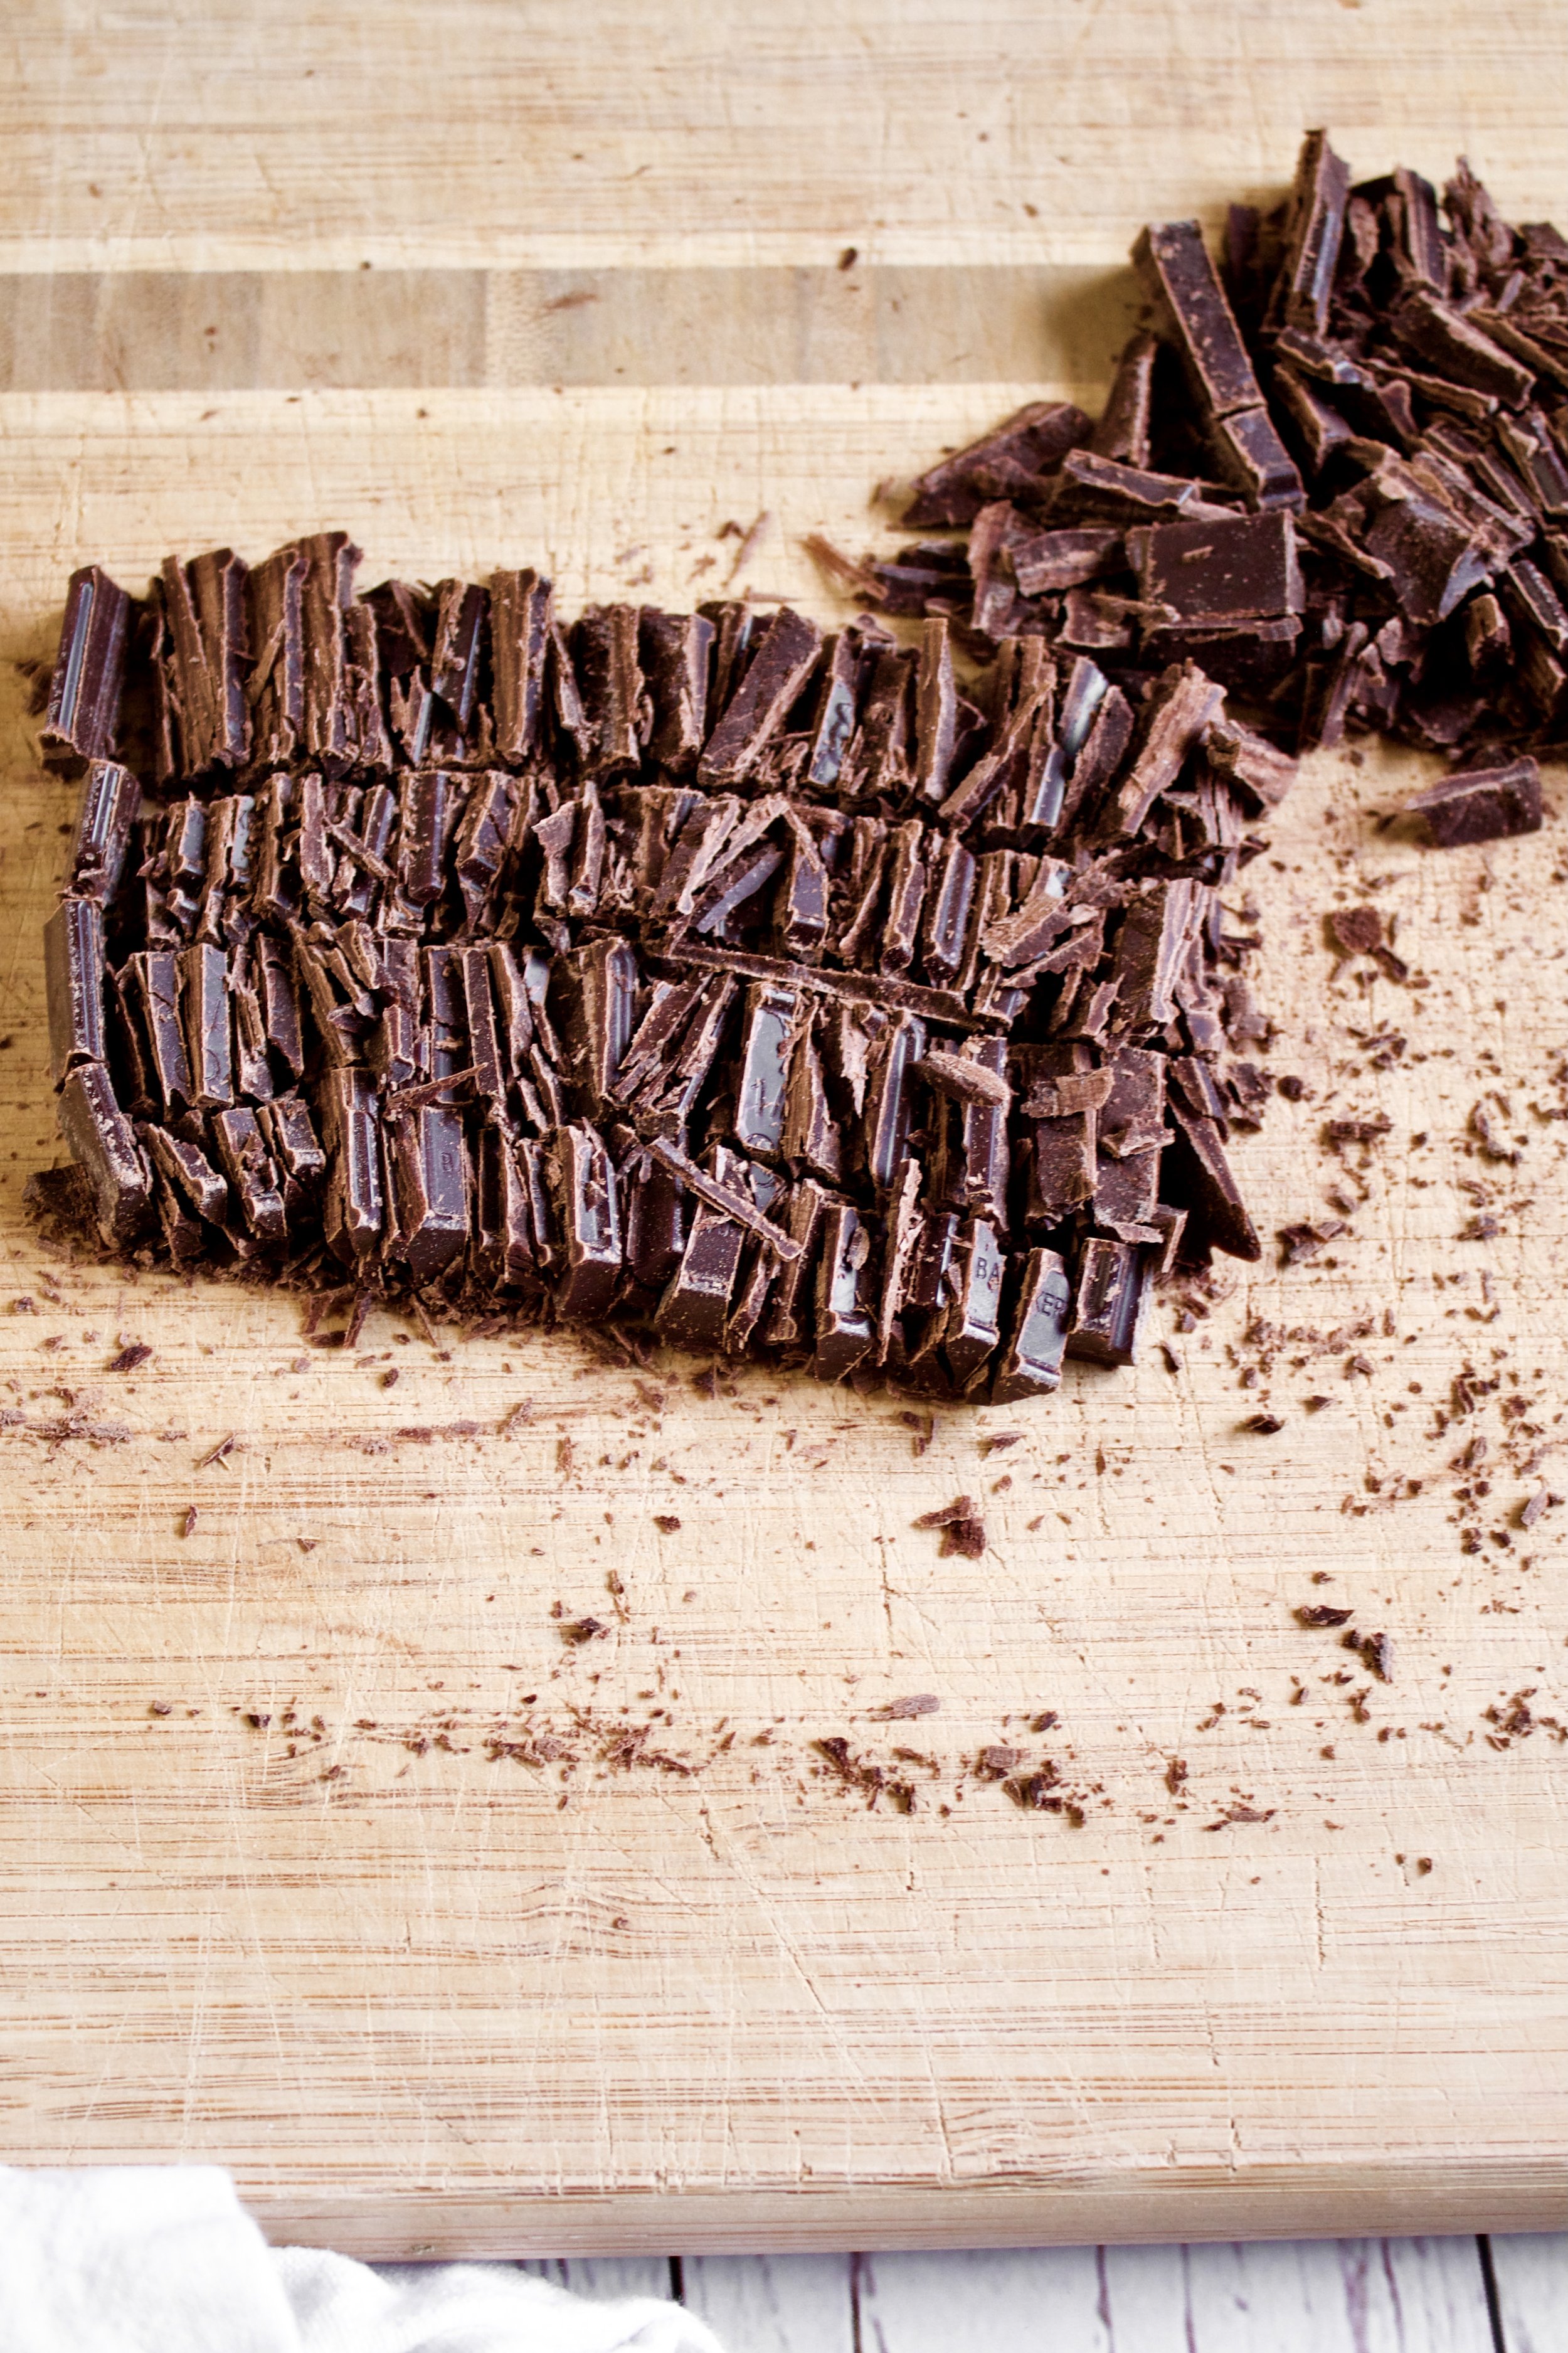
Fresh mint leaves are steeped in heavy cream to draw out all of the oils and their delicious flavor. It also helps tint the ice cream slightly green, which for me is green enough. It also creates a fresher, more natural mint flavor, which many people prefer over using extracts. Then there’s the chopped dark chocolate. I may or may not have but definitely did eat way more chocolate than I should have. I love using chopped bars of chocolate, because you get chunks of varying sizes. Little teeny tiny flecks and big chunks you can chew on. It’s just so much better than chocolate chips.
While this is a no-churn ice cream recipe, you can also use an ice cream maker (see note below). Additionally, while many no-churn ice creams use sweetened condensed milk, I did write directions for how to replace that with custard. Personally, I like it so much more. It’s more work, but soooooo silky smooth and creamy. Either way you make it, this ice cream is minty and fresh and creamy and delicious!
Key ingredients
Mint leaves. You can replace these with 1 teaspoon peppermint or mint extract. But I just love how fresh the mint leaves makes this taste!
Heavy whipping cream. Make sure it’s heavy (or double) cream and make sure it’s very cold before you whip it.
Sweetened condensed milk.* It has a great consistency to make for a very quick and easy no-churn recipe. If you’d like to not use sweetened condensed milk, you can sub in custard, which is described below.
Vanilla extract. Always a good idea in desserts!
Dark chocolate. I prefer bars, so you can chop it and get a variety of sized pieces—flecks of chocolate and bigger pieces that add some texture.
Green food coloring. This is optional, and I always opt out. It’s a personal choice, and doesn’t affect the taste at all, but it can be fun and is definitely classic to have green mint ice cream.
How to make no-churn fresh mint chip ice cream
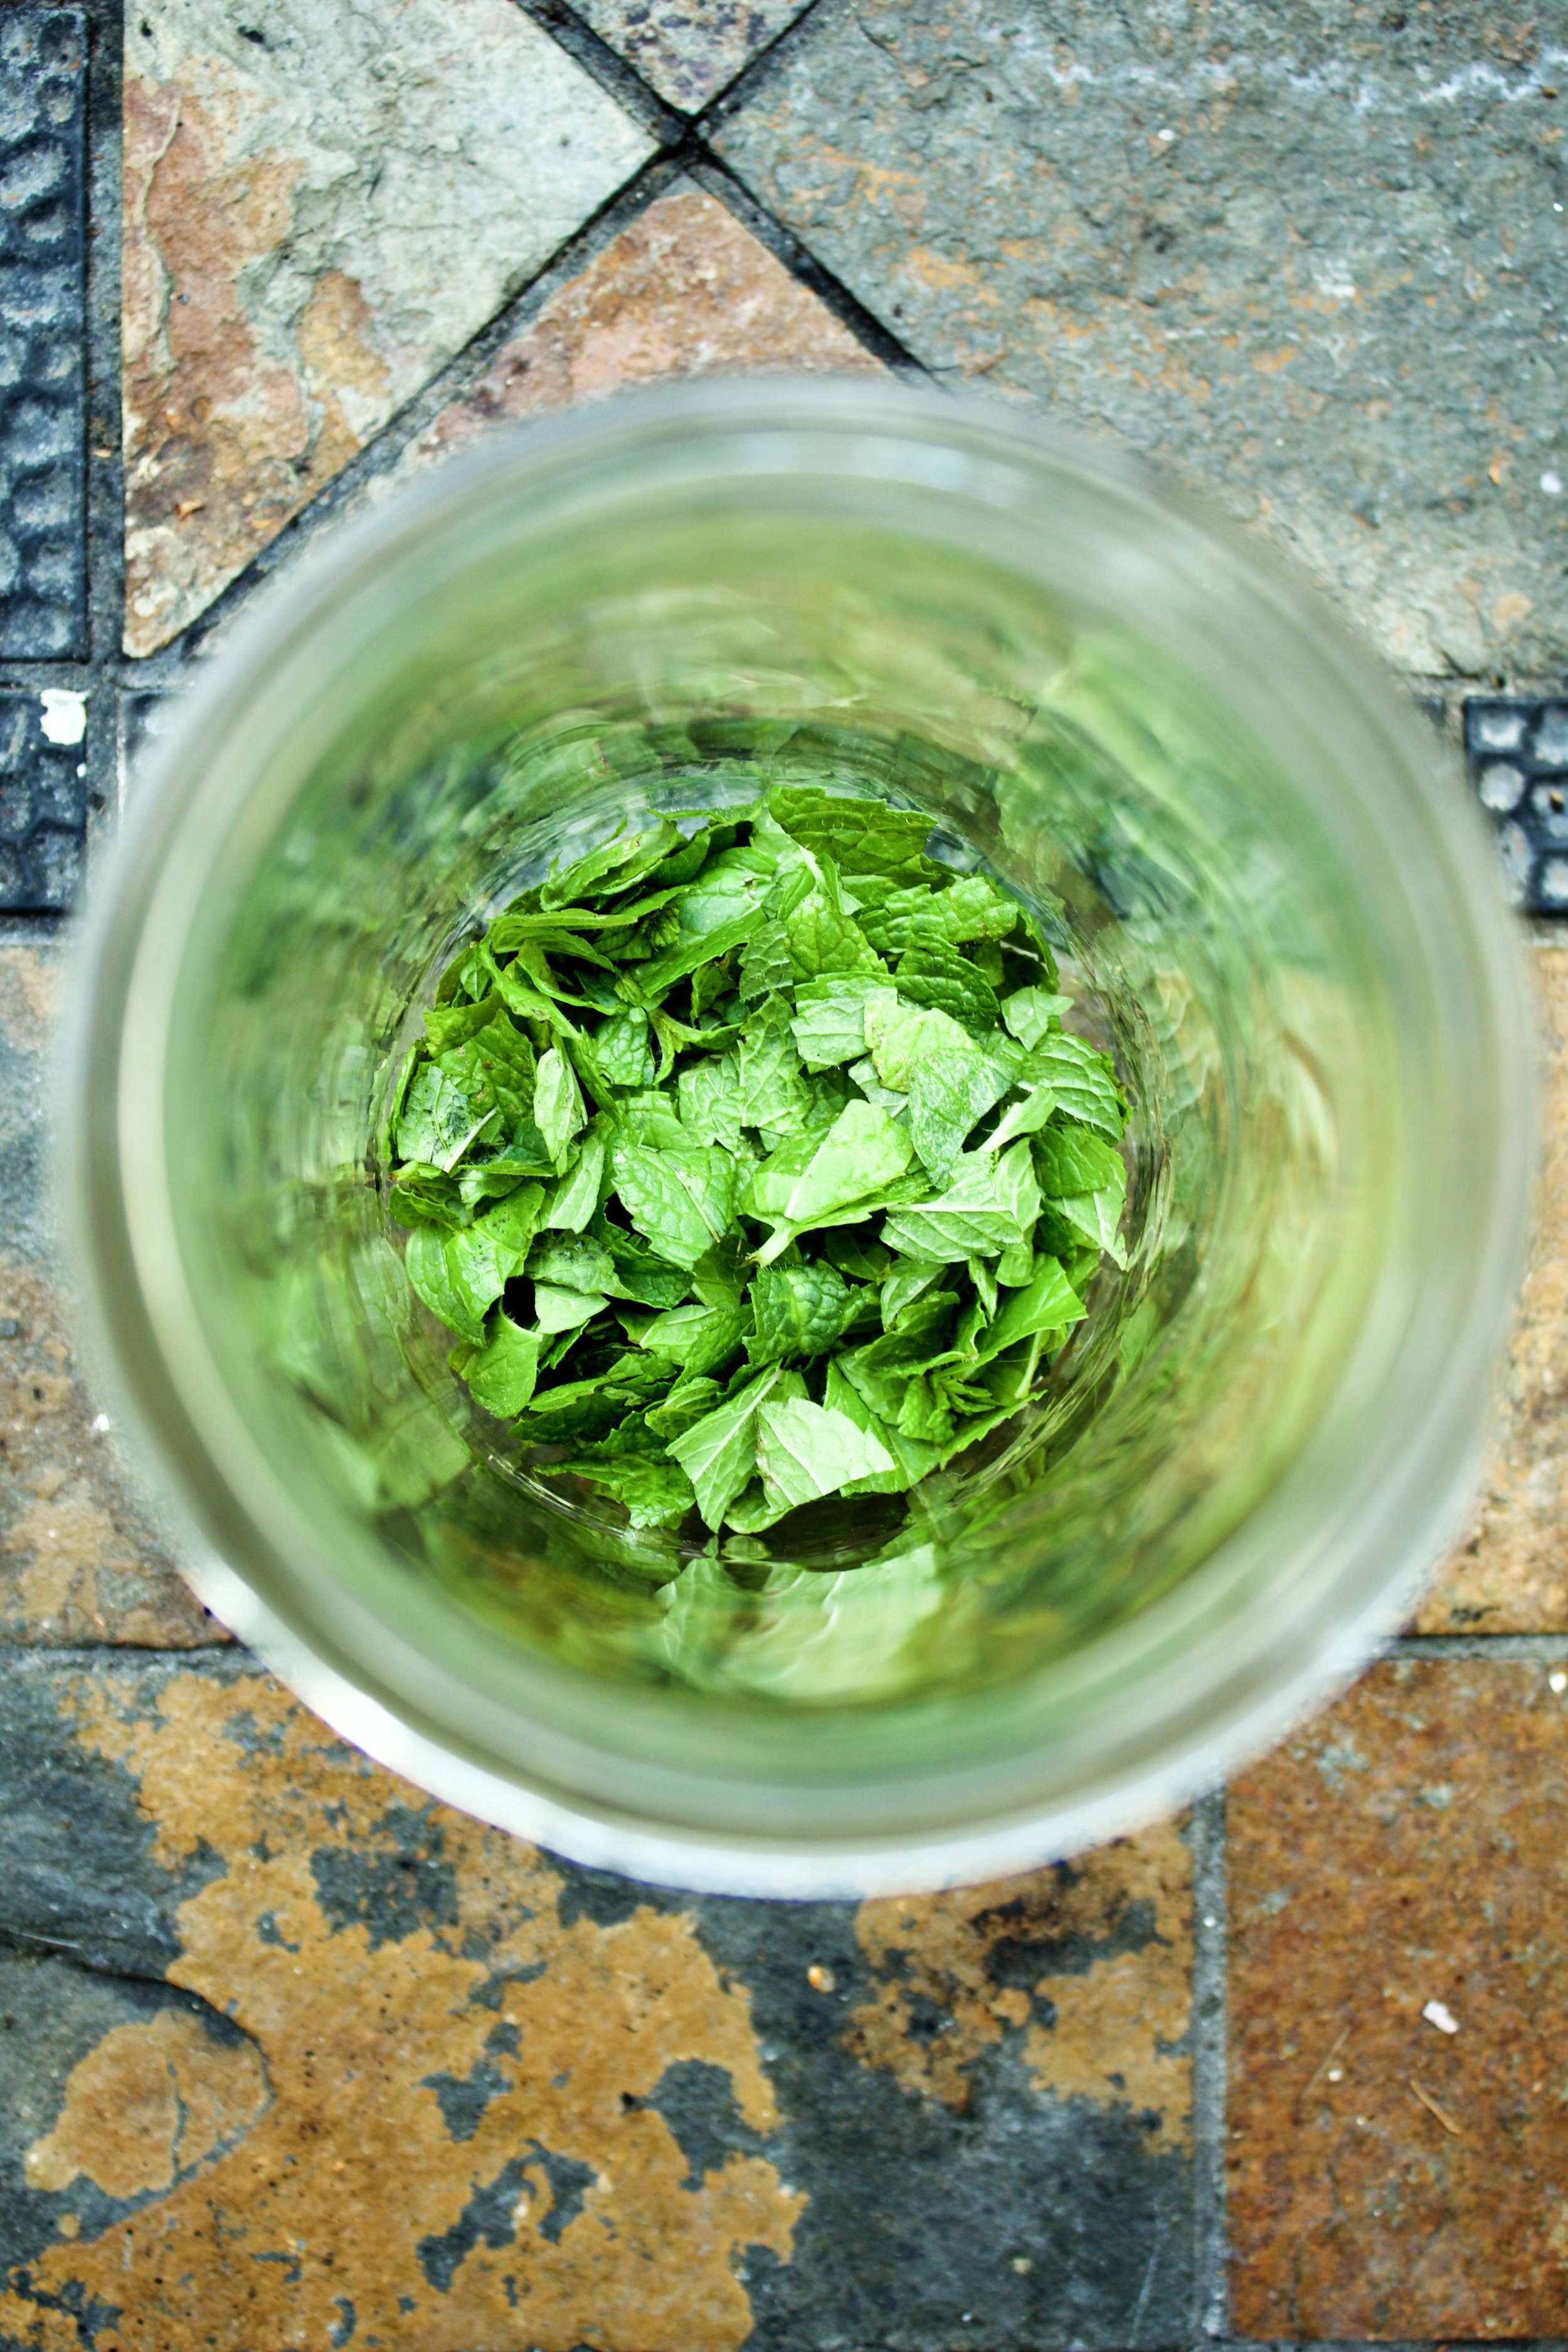
1. Steep the heavy cream and fresh mint. You can either heat it then let it cool to room temperature then chill it once the flavor is to your liking. Or, you can cold steep it overnight.
2. Mix sweetened condensed milk* and vanilla. You will also mix in the food coloring at this time, if using.
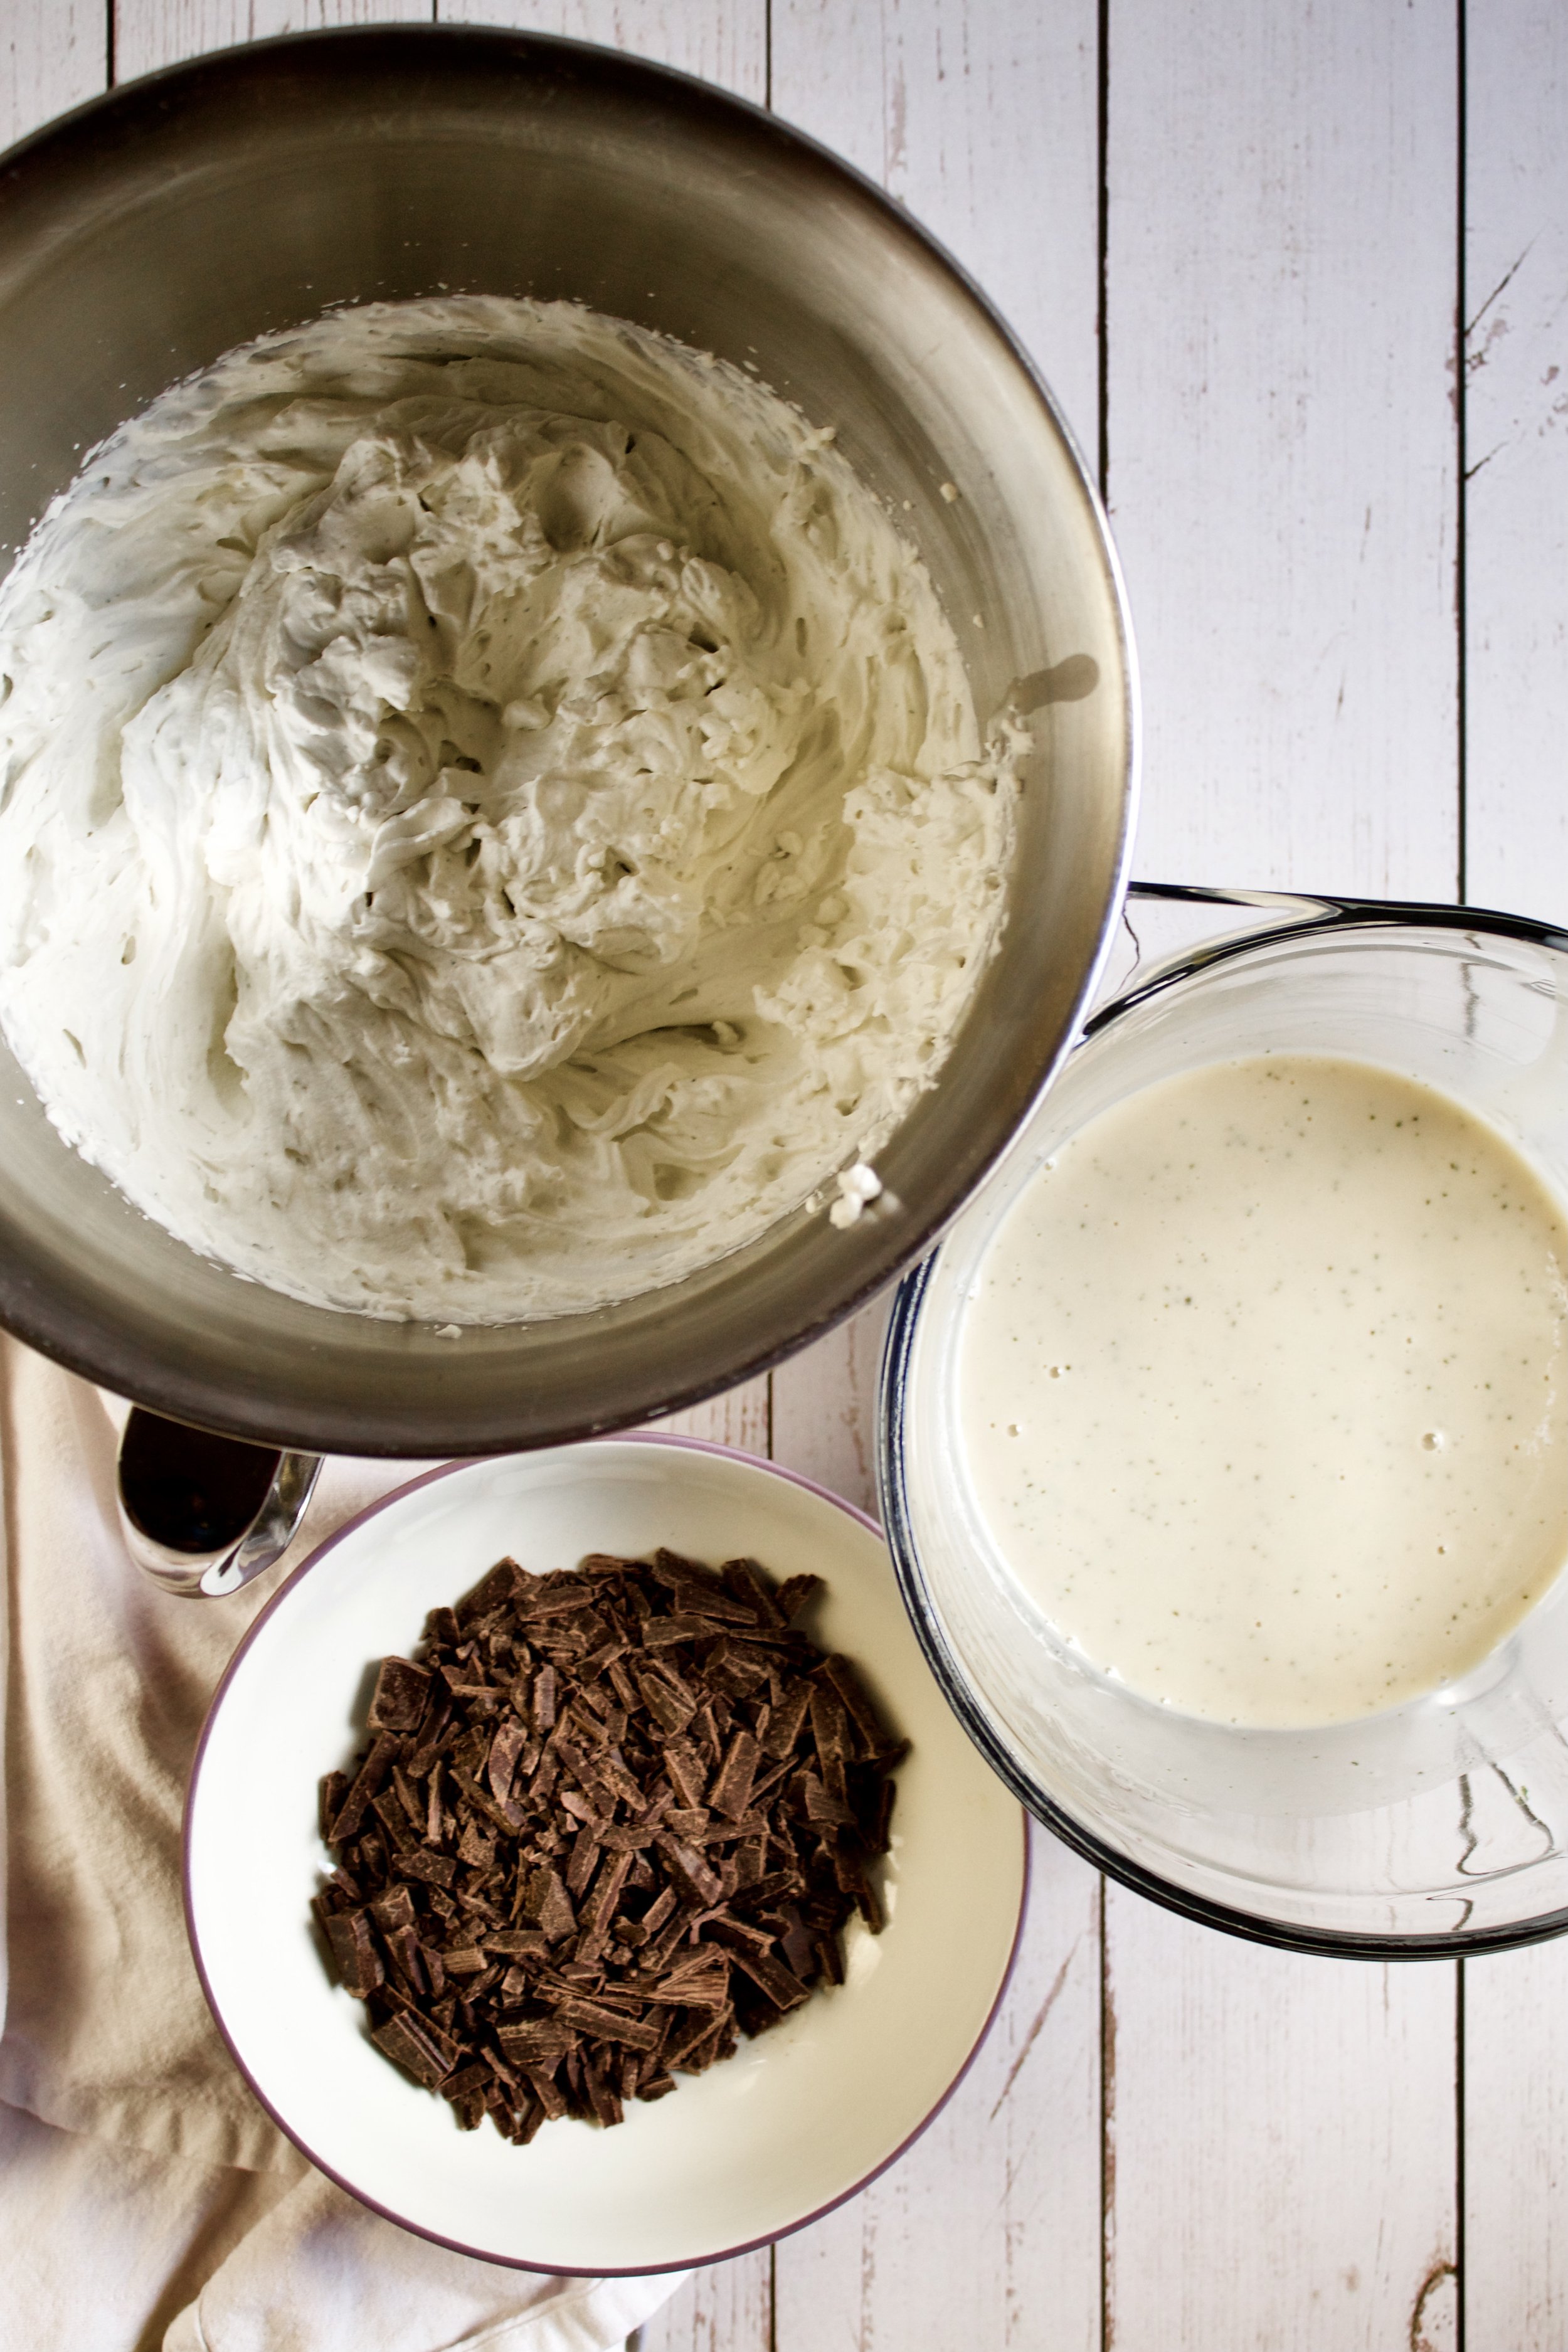
3. Beat chilled minty heavy cream to stiff peaks. You want to stop beating as soon as it’s no longer shiny.
4. Fold by thirds into the condensed milk. Fold until fully combined each time.
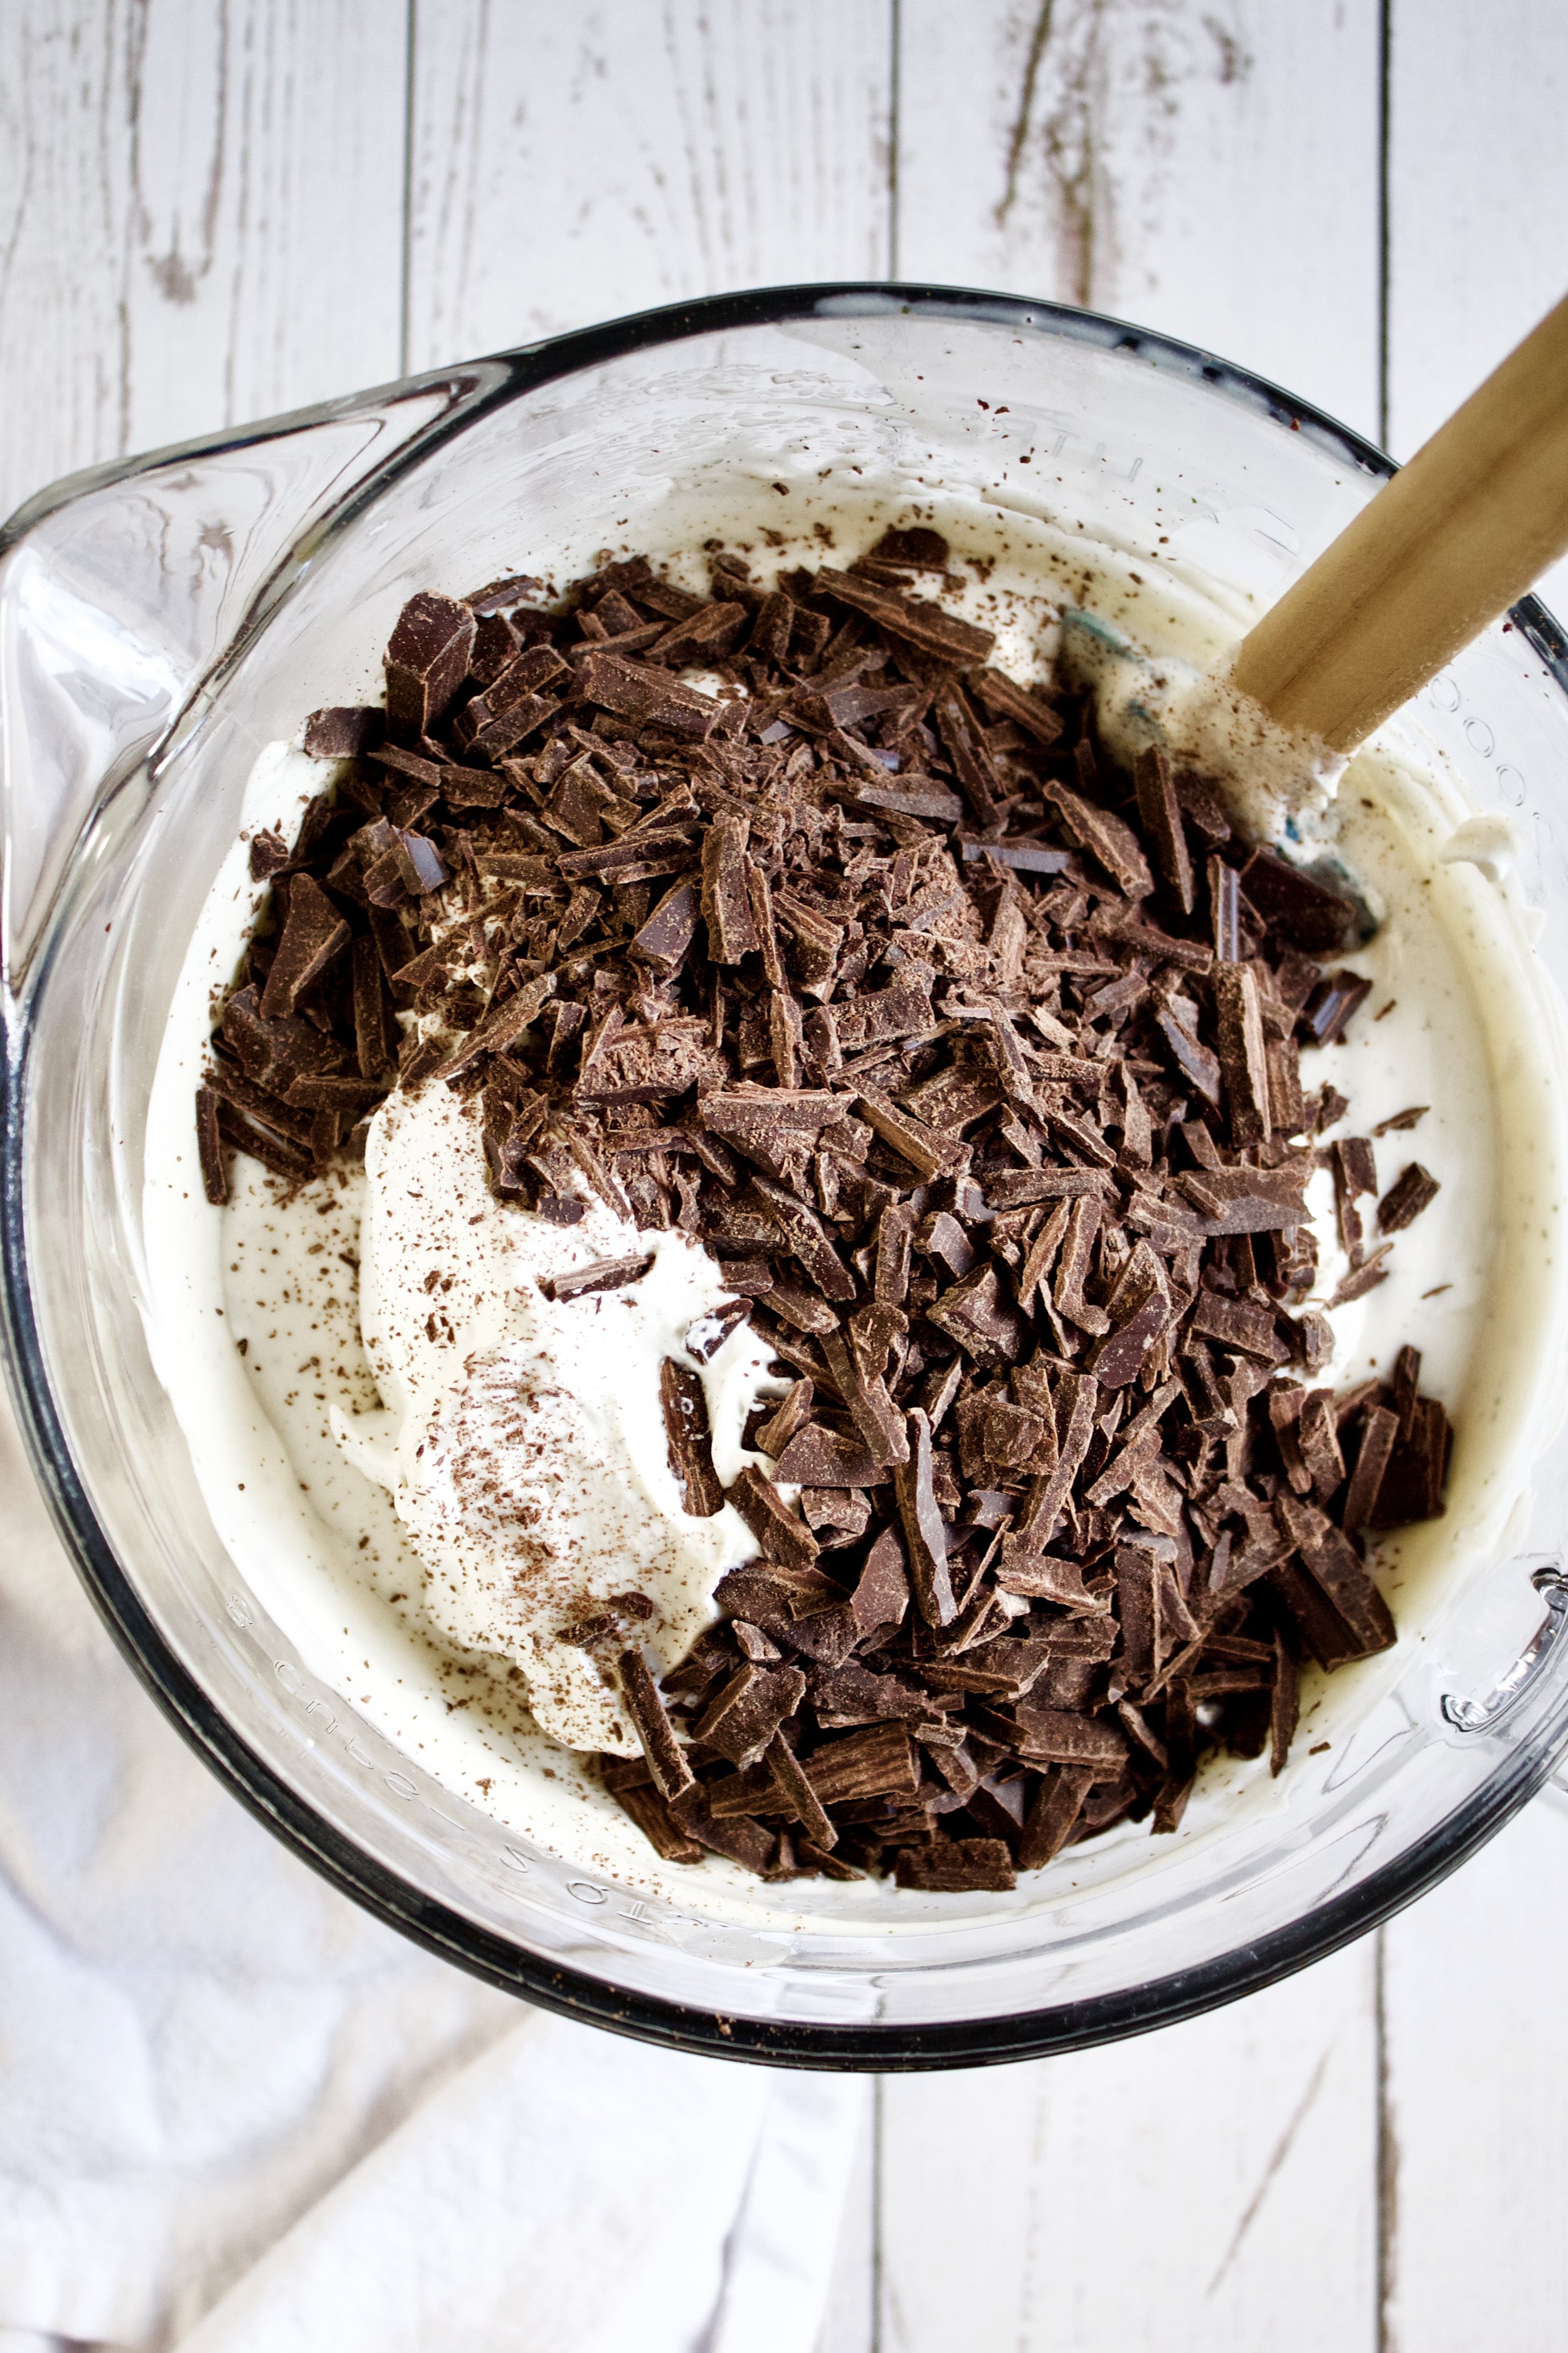
5. Fold in the chopped chocolate. You can do this with the last addition of whipped cream. Don’t worry if the chocolate is a variety of sizes—this makes it more yummy!
6. Freeze. 3-4 hours will give you a soft serve texture while 8+ hours will make it more of a traditional consistency.
Enjoy!
Tips and FAQ’s for this recipe
*Do I have to use sweetened condensed milk?
No! I’ve actually started using custard instead, which is unbelievably easy to make and gives a bit creamier texture. It does take more time, so it’s entirely up to you. If you want something different than sweetened condensed milk, simply whisk 3 egg yolks in a medium bowl with 1 cup sugar until frothy. Heat one cup whole milk in a medium saucepan over medium heat until steaming and bubbles begin to form along the edges, stirring frequently with a rubber spatula. Temper the hot milk into the eggs by very slowly pouring it in and whisking very, very quickly as you pour. Take breaks as needed so you don’t scramble the eggs. Once all the milk is added, pour it all back into the saucepan and cook over medium until thickened, stirring constantly and being sure to scrape the sides, bottom, and corners. Once the custard is thick enough to coat the back of a spoon, remove from heat, stir for a moment, then pour into the same bowl the eggs were in. Place a piece of plastic wrap directly on the top of the custard and refrigerate until cooled, about 30-60 minutes. (If you see some scrambled bits, strain it through a large, fine mesh sieve before cooling.) Once cooled, use in place of the sweetened condensed milk and proceed as directed.
Alternatively, you can sub one cup of sugar and one cup of whole milk (which is the base of sweetened condensed milk). This option is technically closer to gelato and does require an ice cream maker—the no-churn method will not work properly if you go this route.
Can I use my ice cream maker?
Yes! This works best with the custard method mentioned above, but either way will work. Instead of whipping the heavy cream, combine it with the other ingredients and proceed with the directions of your particular machine. Typically, you add the chopped chocolate toward the end of churning, so check the directions for that.
Try cold-steeping your cream
I actually prefer this method when I’m going to whip my cream. It ensures you don’t over-heat it so that it can whip up perfectly (overheating can sometimes impede the cream’s ability to form stiff peaks). In this method, you have to plan ahead. Double the amount of fresh mint called for, as cold steeping doesn’t draw out as much flavor. Chop the mint as directed and stir in the heavy cream. Cover or place in a sealed jar and refrigerate 12-24 hours. Strain the leaves and proceed with the recipe as written.
My tools
Here are my must-have tools I use for making ice cream. Affiliate links provided.
No-Churn Fresh Mint Chip Ice Cream
- prep time: 15-20 minutes
- steep time: 1 hour
- freeze time: 3-4 hours (or overnight)
- total time: 5 hours, 20 minutes
servings: about 12 (½ cup servings)
Ingredients:
- 1 cup (30g) packed fresh mint leaves (about 50-70 leaves or 1-2 bunches)
- 2 cups (232g) heavy whipping cream, cold
- 14 ounces (396g) sweetened condensed milk*
- 1 tablespoon (13g) pure vanilla extract
- 6 ounces (170g) dark chocolate, chopped
- optional: green food coloring
Instructions:
- If needed, wash the mint leaves and let dry completely. Remove leaves and discard stems. Chop the mint roughly and set aside. Heat the heavy cream in a medium saucepan over medium heat, until steaming and bubbles begin to form along the edges. Remove from heat and stir in the chopped mint leaves. Let sit 1 hour, until completely cooled. Strain out the leaves and discard. Refrigerate the cream 1 hour, until completely cooled again. Time may vary, depending on your fridge. You want the cream very cold before you use it.
- Note: taste the cream before straining the mint. It should taste very minty, as the flavor will be diluted by the end. If it is not very minty, leave the mint in the cream while you refrigerate it, straining after very cold and minty tasting.
- When the mint cream is very cold, place the bowl of your stand mixer and the whisk attachment (or a large mixing bowl and the beaters of a handheld mixer) in the fridge for 15 minutes.
- While the bowl chills, pour the sweetened condensed milk* in a large mixing bowl and stir in the vanilla and 1-2 drops green food coloring, if using. Stir until well mixed and just slightly darker green than you want your finished ice cream. Set aside.
- Pour the strained, cold mint cream in the bowl and begin beating on medium until frothy. Turn speed to high and beat until stiff peaks just begin to form. The cream will turn matte in appearance, and this means you are done mixing, so watch carefully to catch it at the right time.
- Fold** ⅓ of the cream into the condensed milk, until fully combined. Repeat with another ⅓ of the whipped cream. Add the last ⅓ along with the chopped chocolate, folding until no lumps remain.
- Spread the ice cream into a loaf pan or ice cream container. Cover well and freeze 3-4 hours for a soft-serve consistency or 8+ hours for a traditional consistency.
Enjoy!
Store leftovers in an airtight container. Ice cream should last at least a month, but this can vary depending on your freezer and how well-sealed it is.
*See note above for substituting custard base for sweetened condensed milk.
**Optionally, you could also combine the steeped cream, cooled custard, and vanilla and use an ice cream maker, adding the chocolate whenever your machine says to add mix-ins.


